Tiles layout helps you show many images in a clean grid without wasting space, even when the image sizes are different. It keeps your gallery neat and easy to browse. In this guide, you will learn how to create a tile-layout image gallery in WordPress.
Adding the Tile Gallery #
Open your desired post/page. Click the plus (+) icon on the editor. Type Galleryberg in the search box. Once the block appears, add the block to the editor.

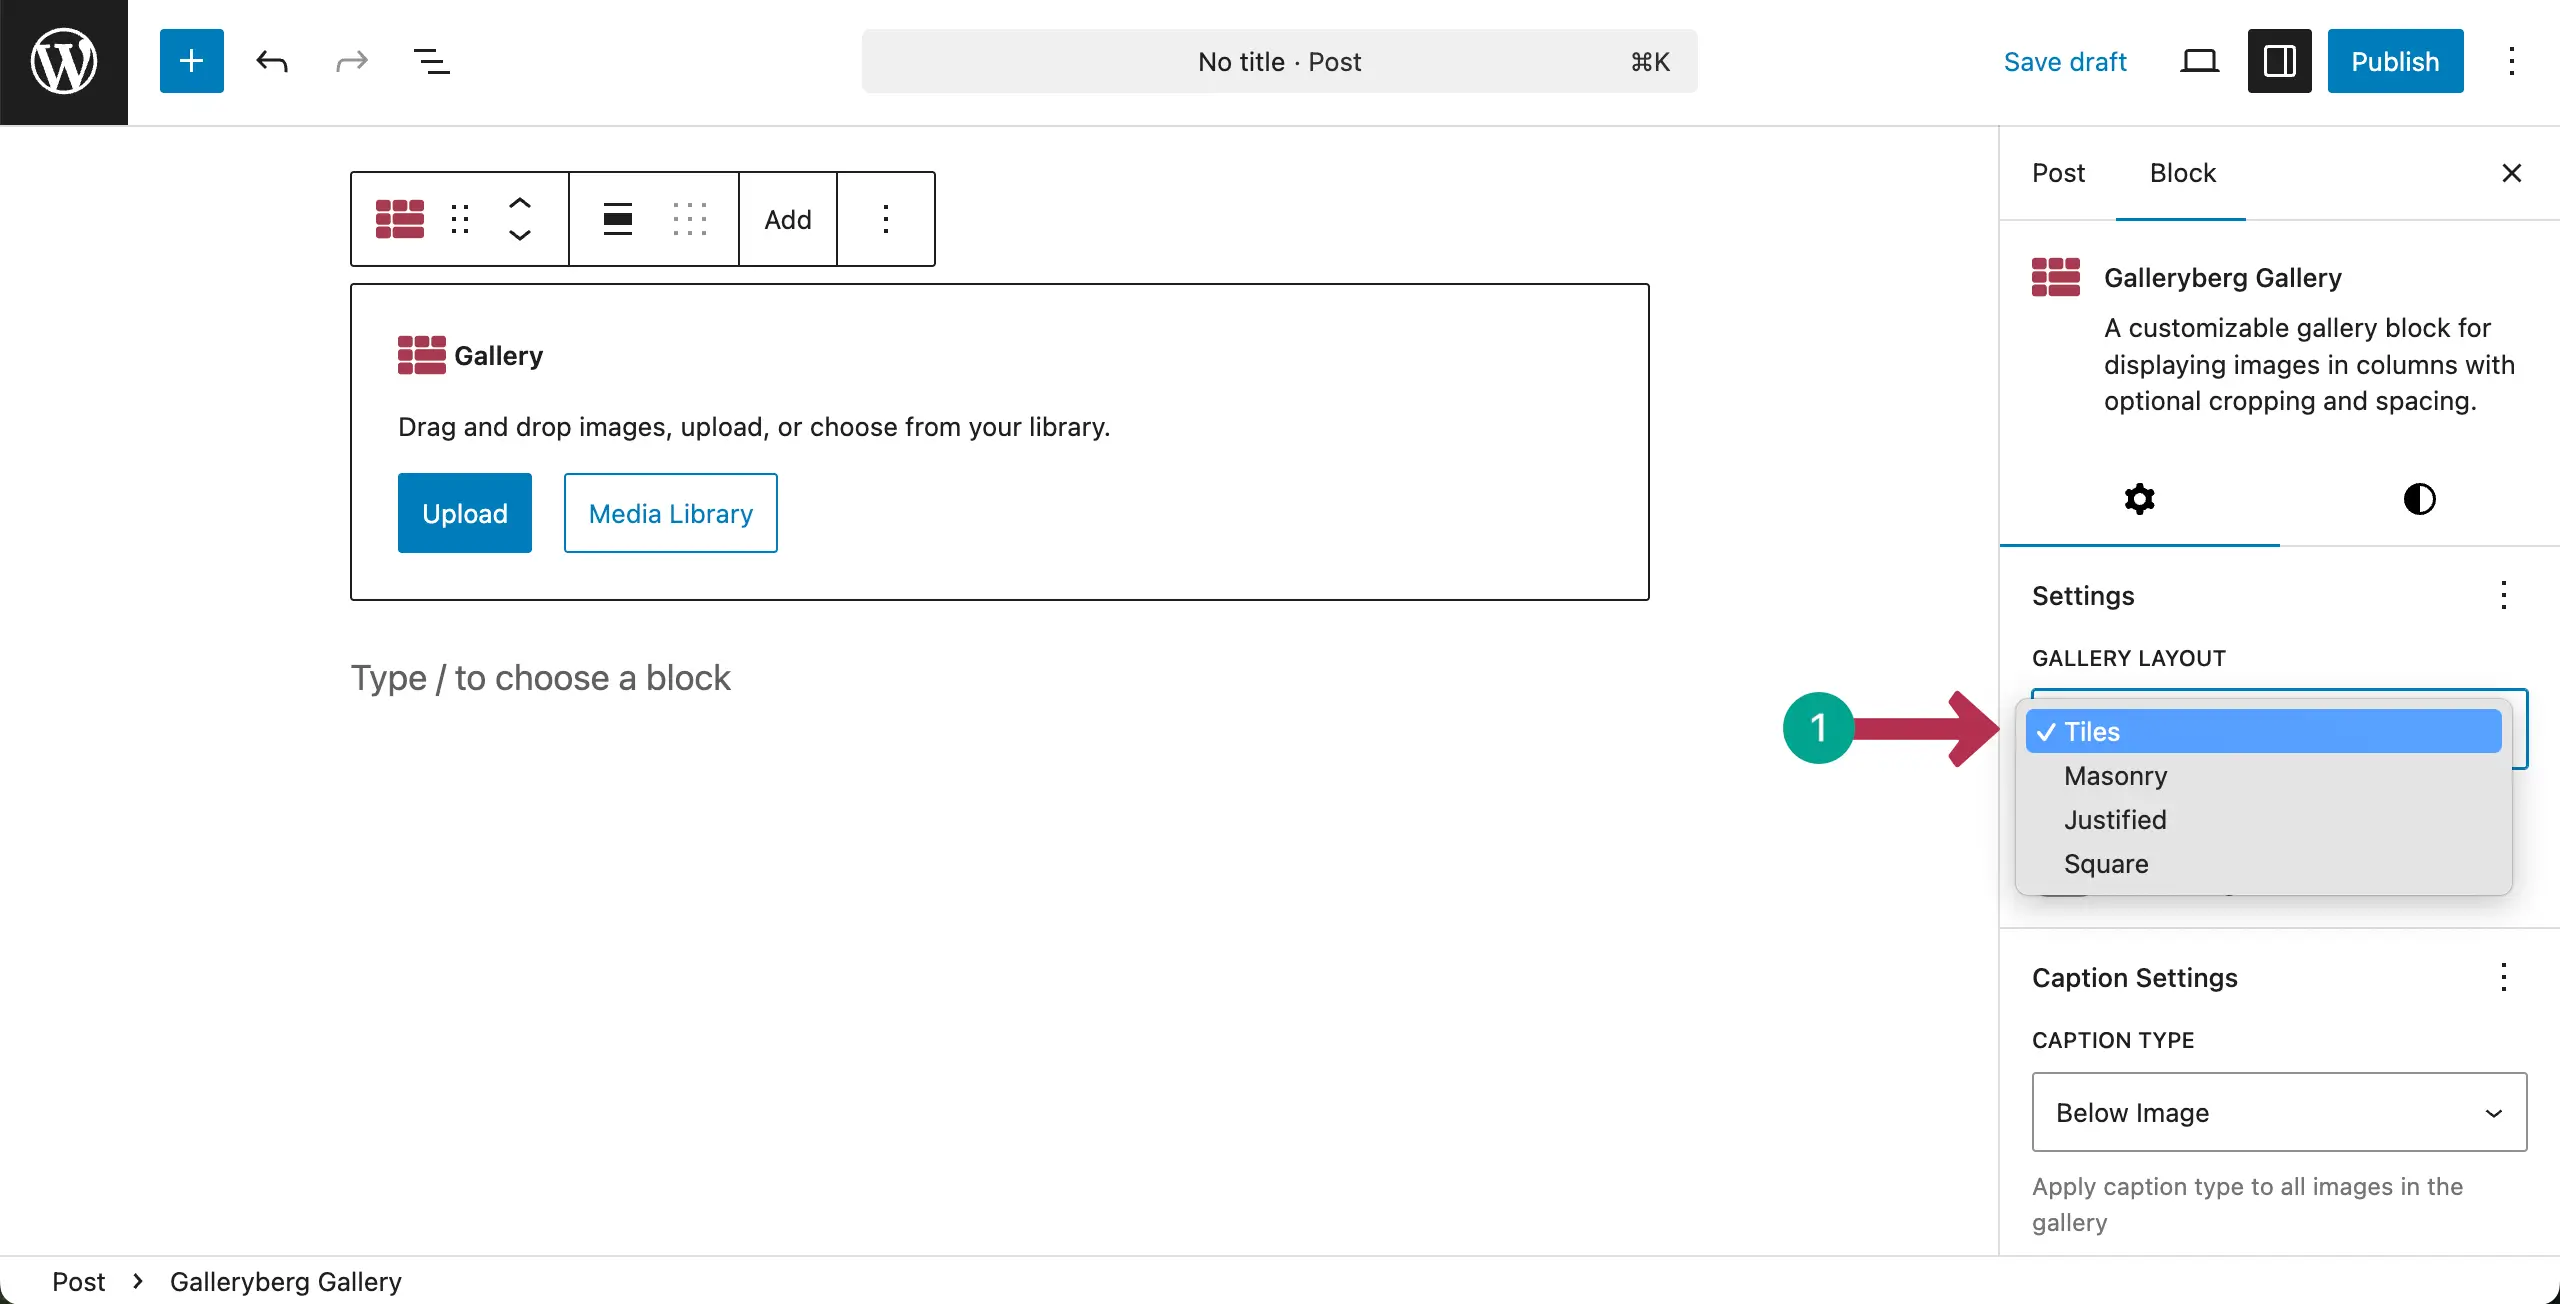
Now, come to the Settings tab on the right sidebar. From the Gallery Layout, you can select the Tiles layout option.
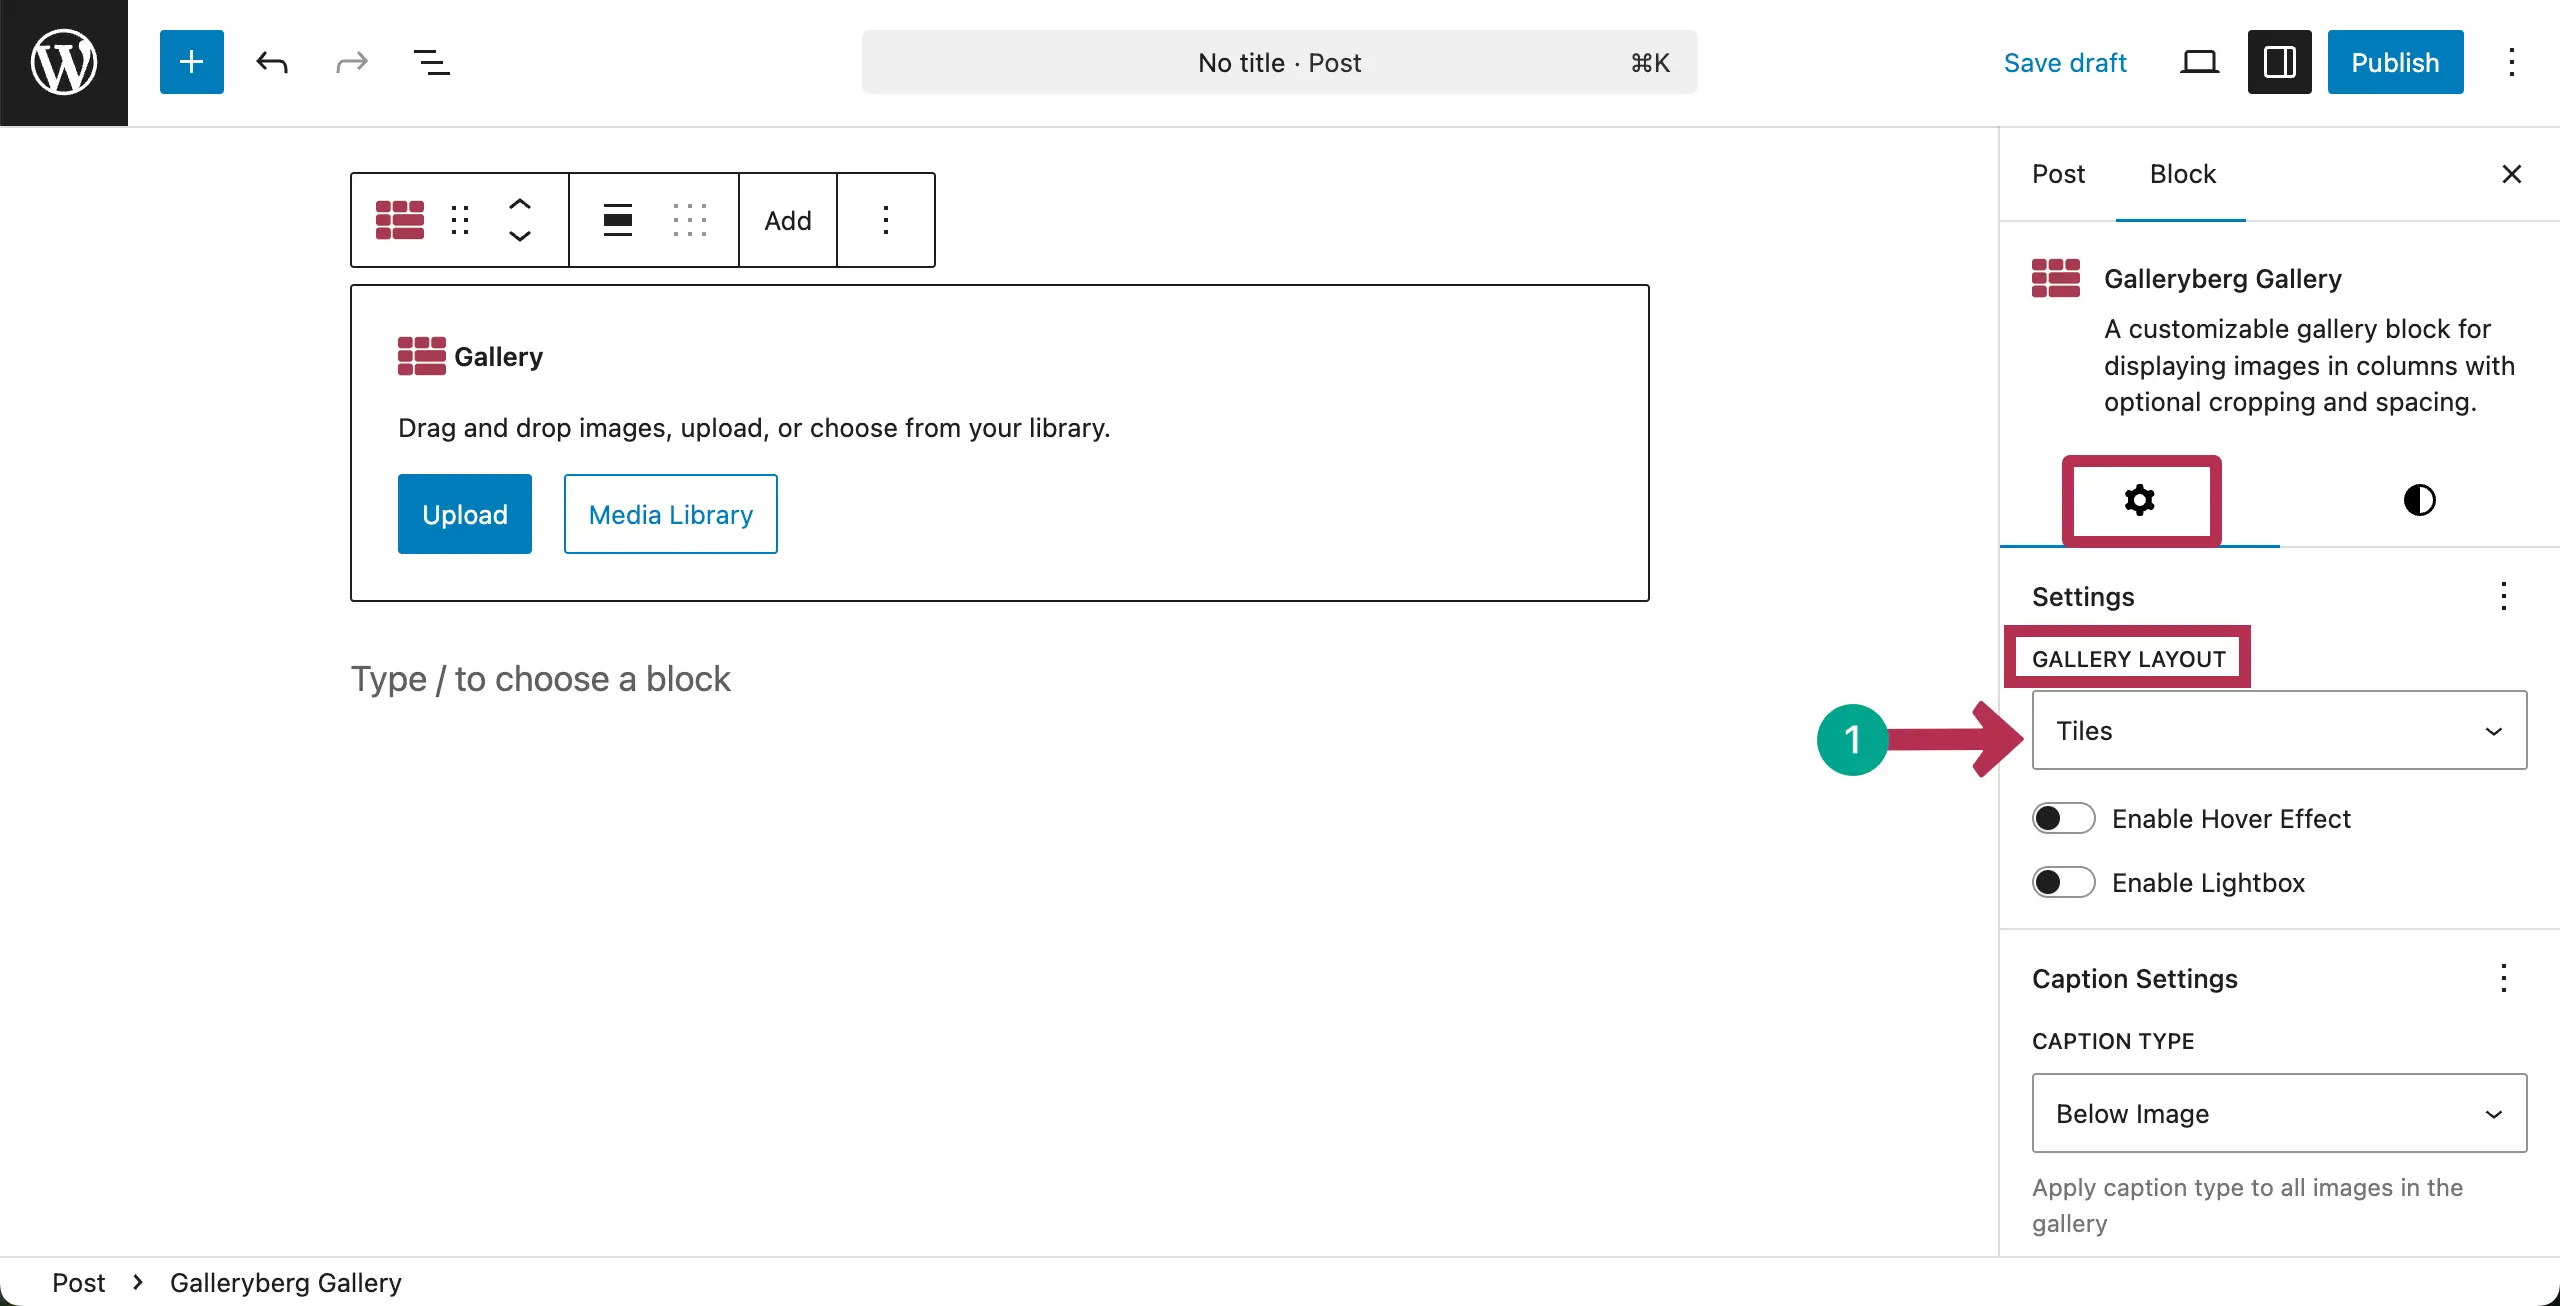
If you click the dropdown option, you’ll see all the Gallery Layout options. For this tutorial, we’re selecting the Tiles option.
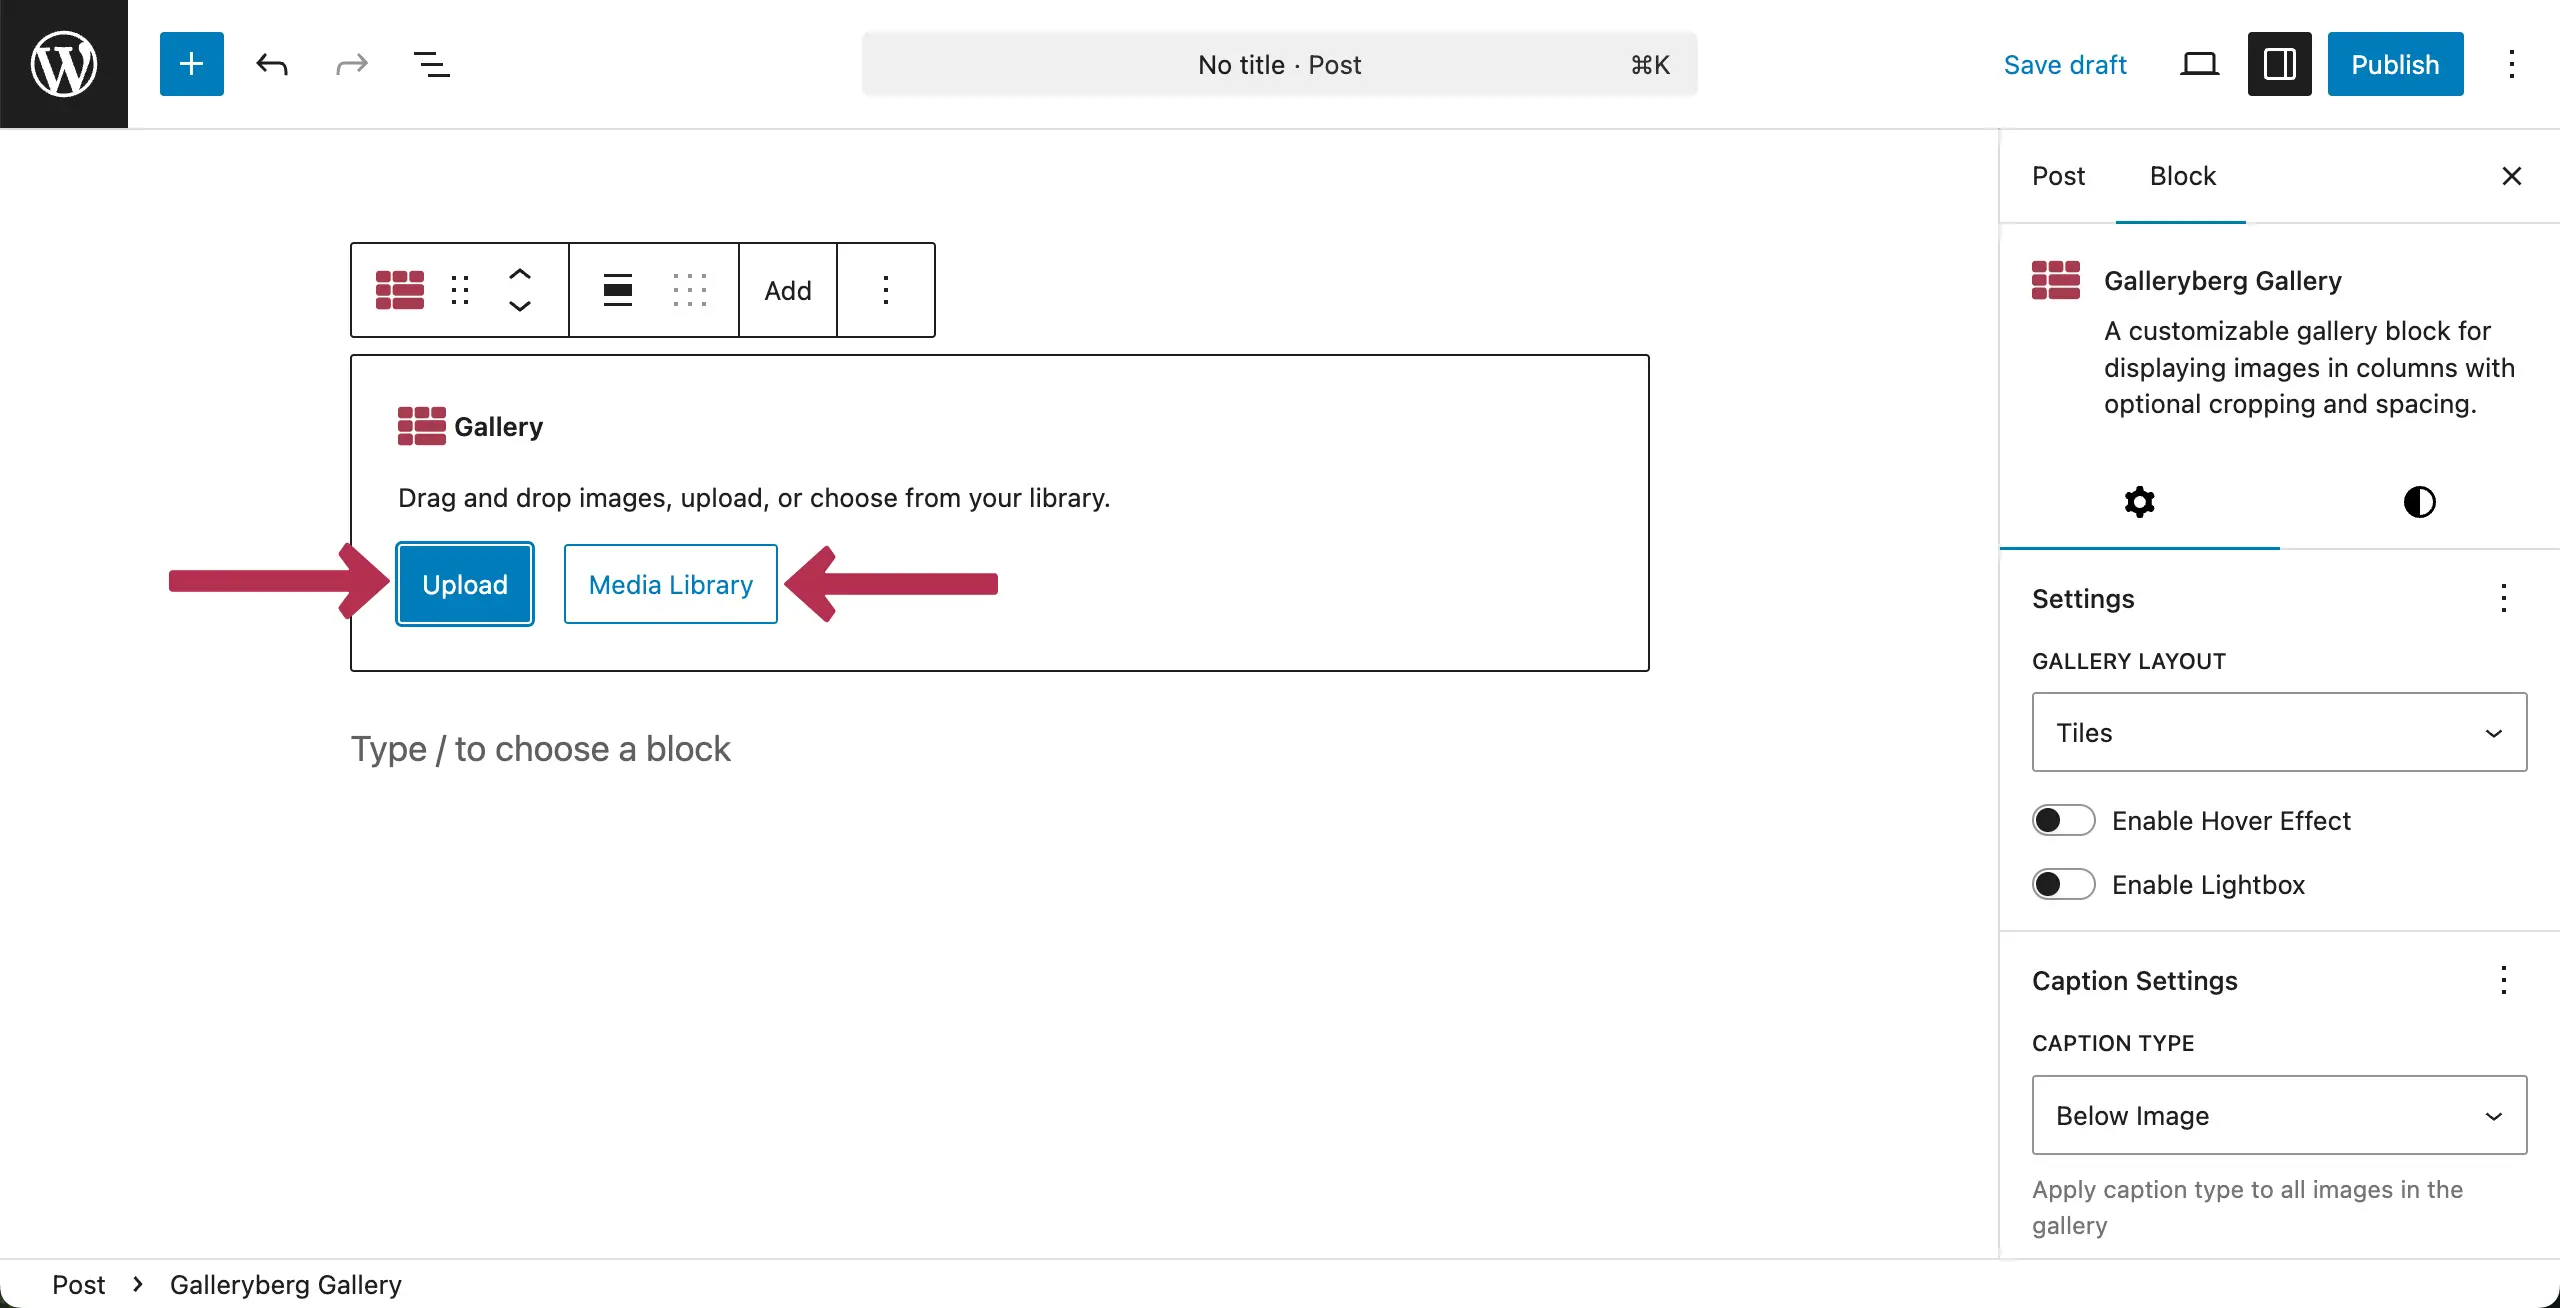
Select the Upload or Media Library option to upload images to the post/page. For the tutorial, we’ll select the Upload option.
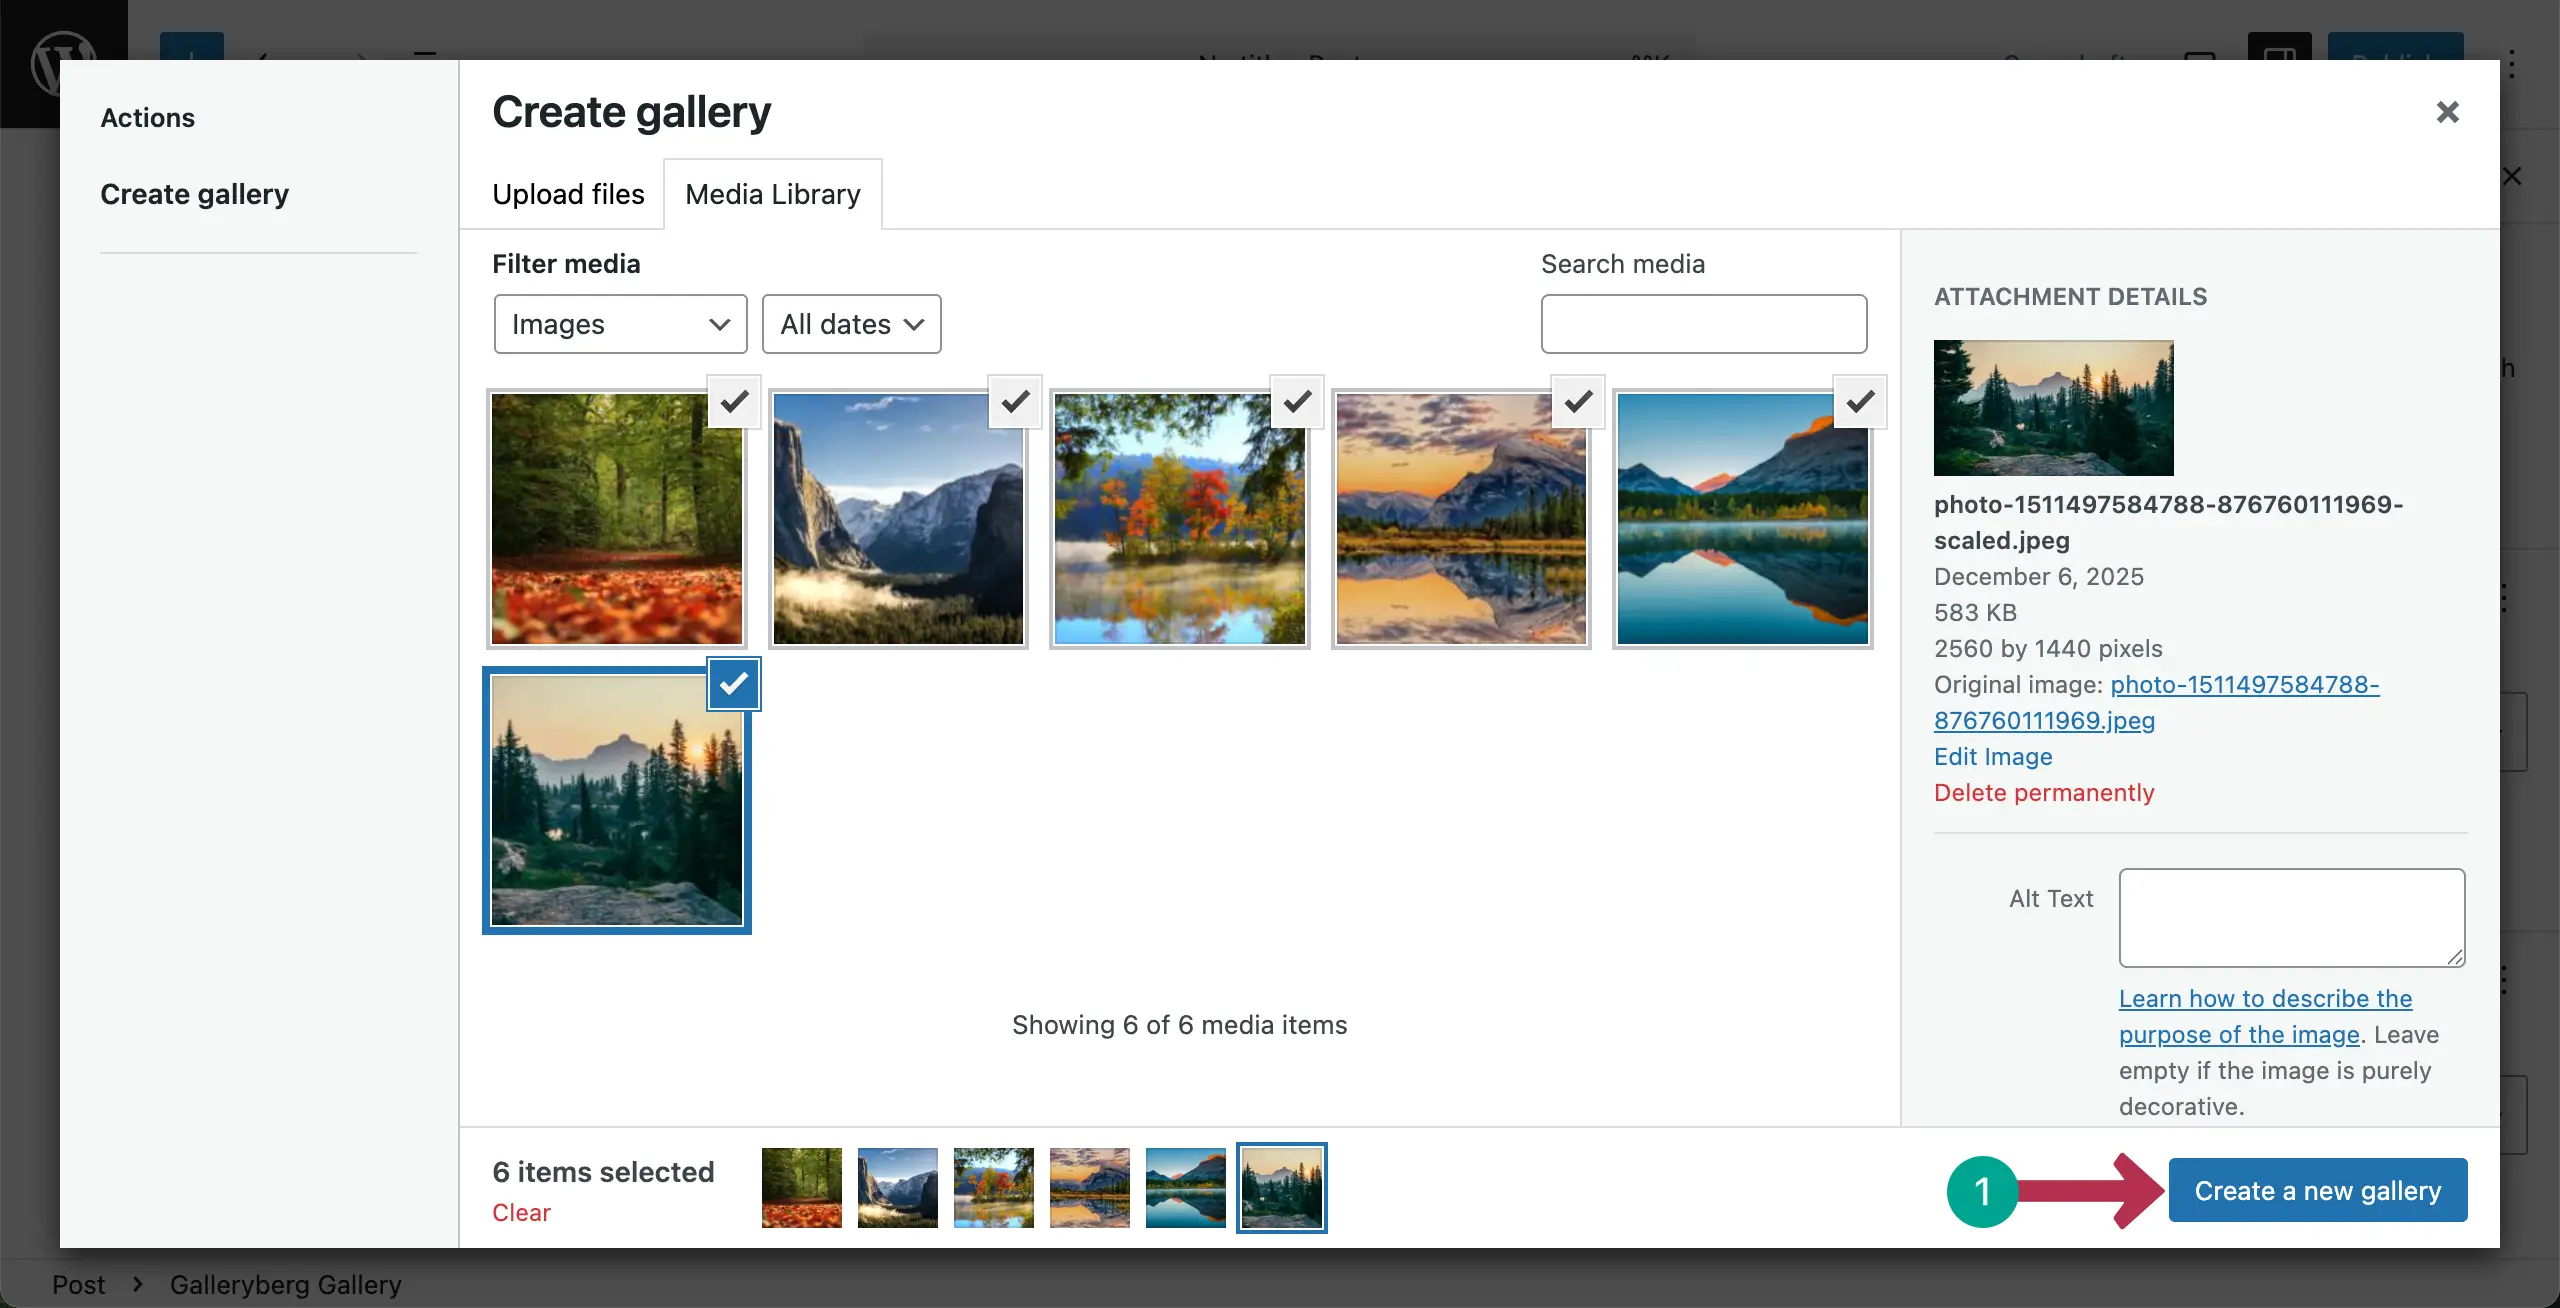
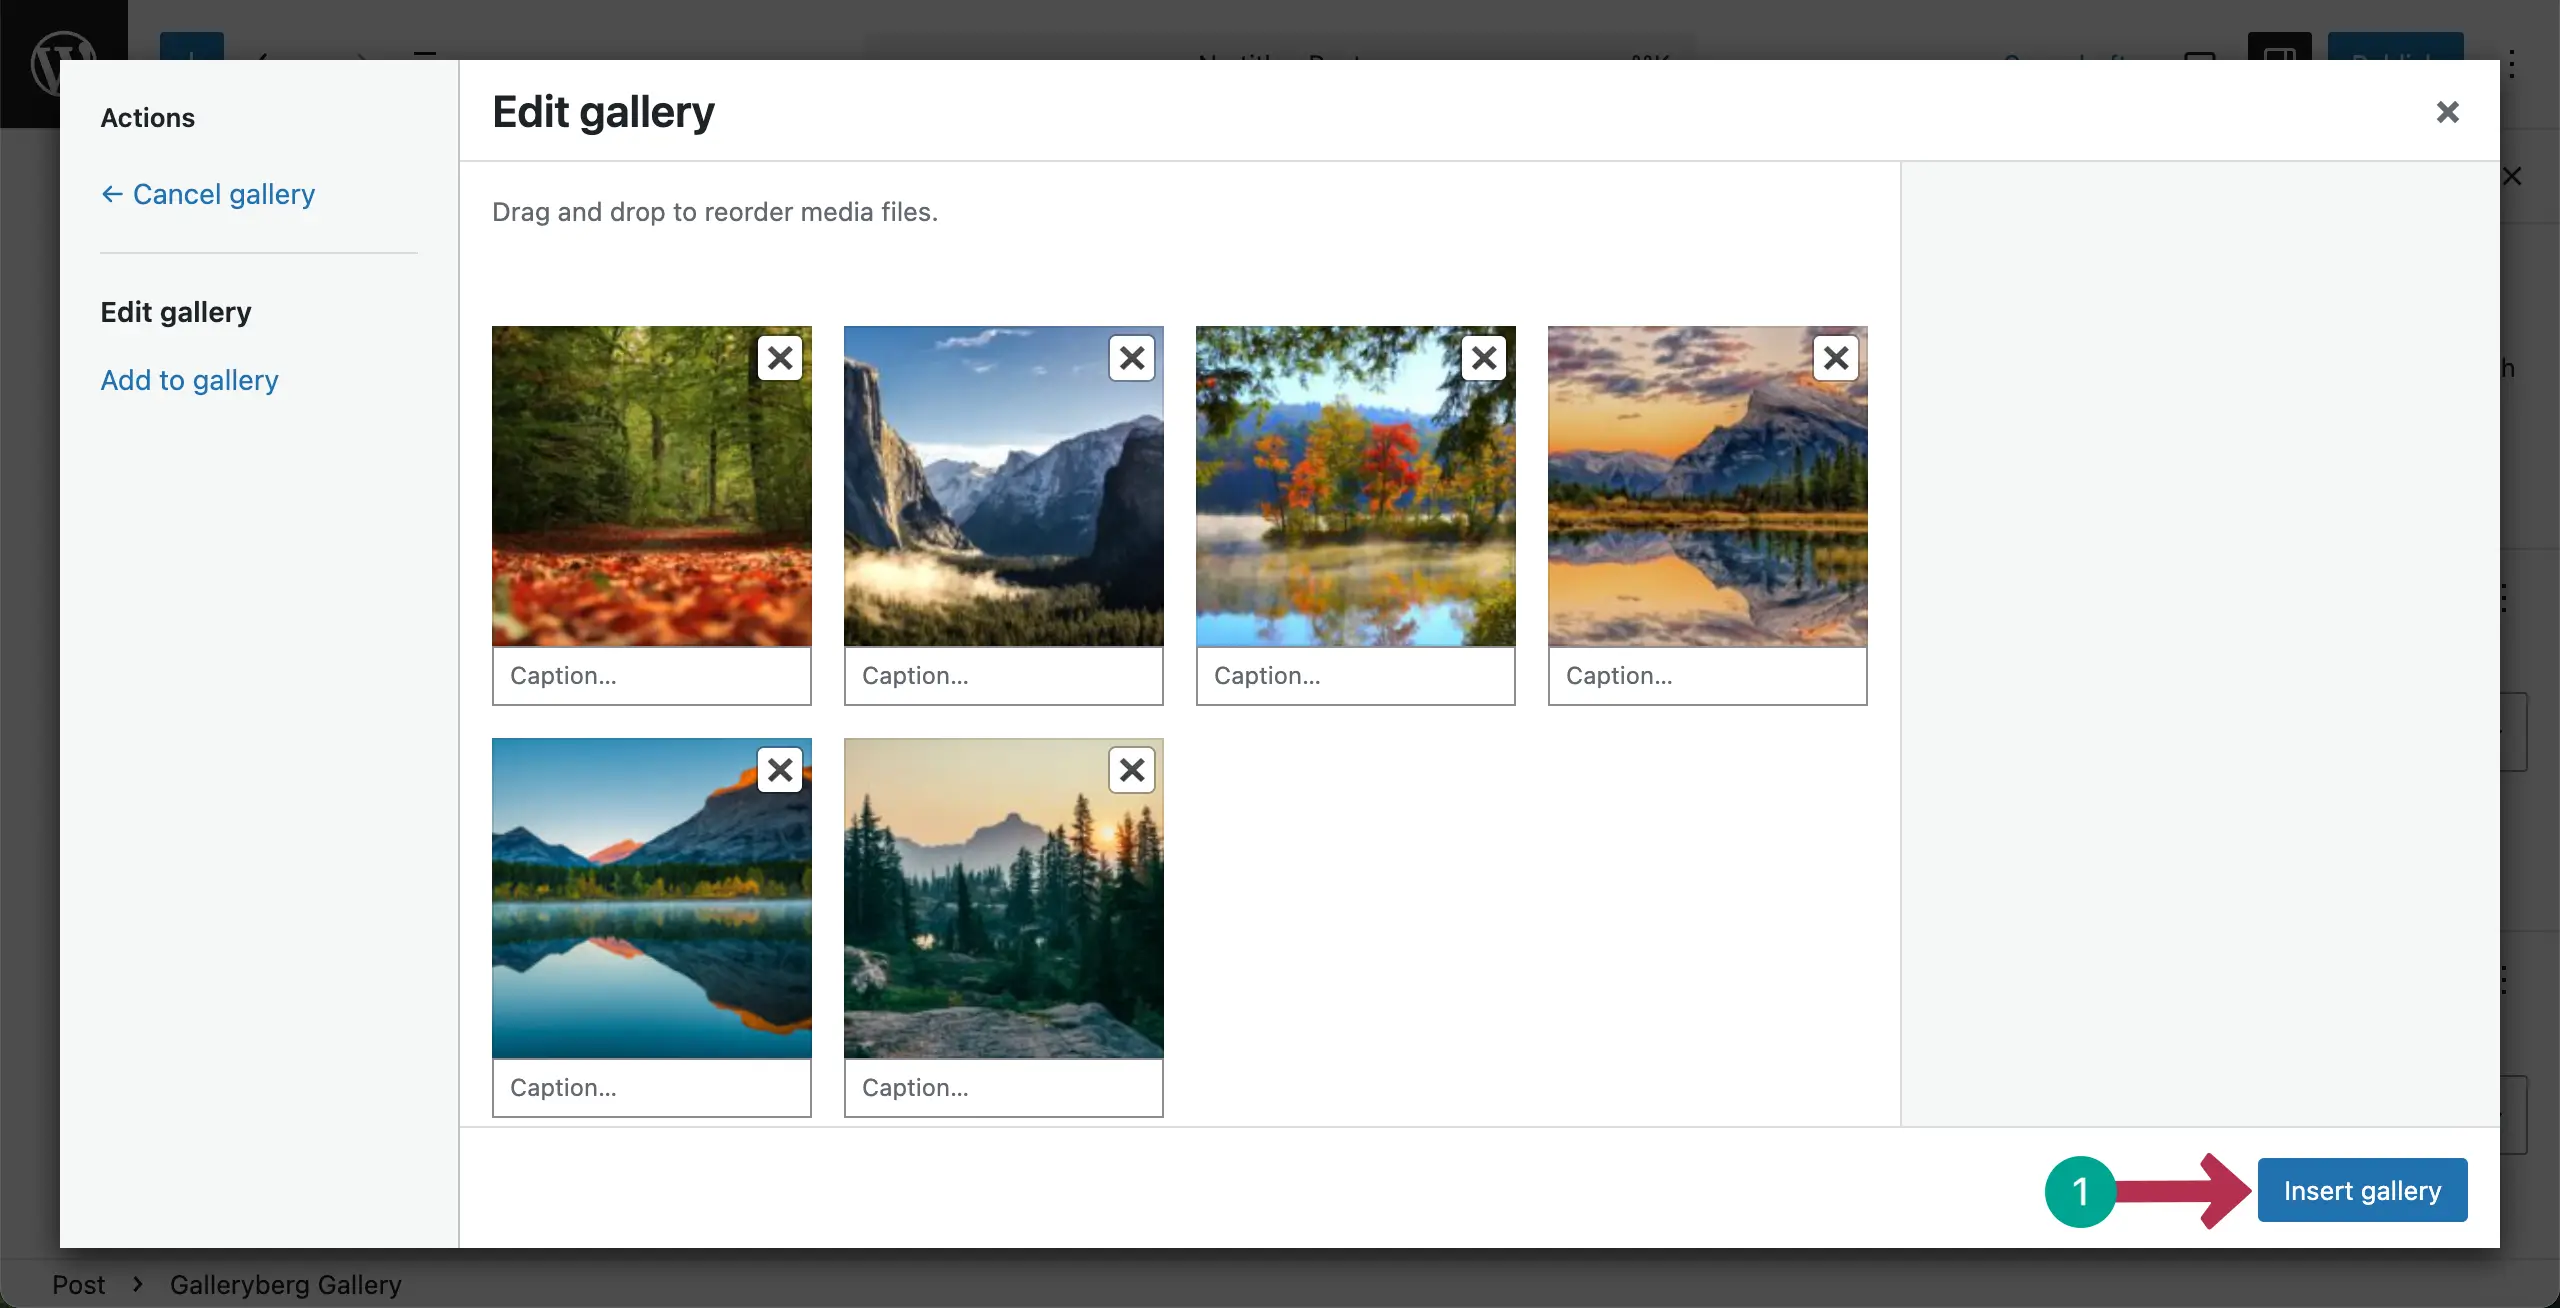
After the images are uploaded, select the ones you like. Then, hit the Create a new gallery button.
Now, you can write a caption for each image. Finally, click the Insert gallery button.
The selected images will instantly be displayed on the editor as a gallery in the Tile layout.

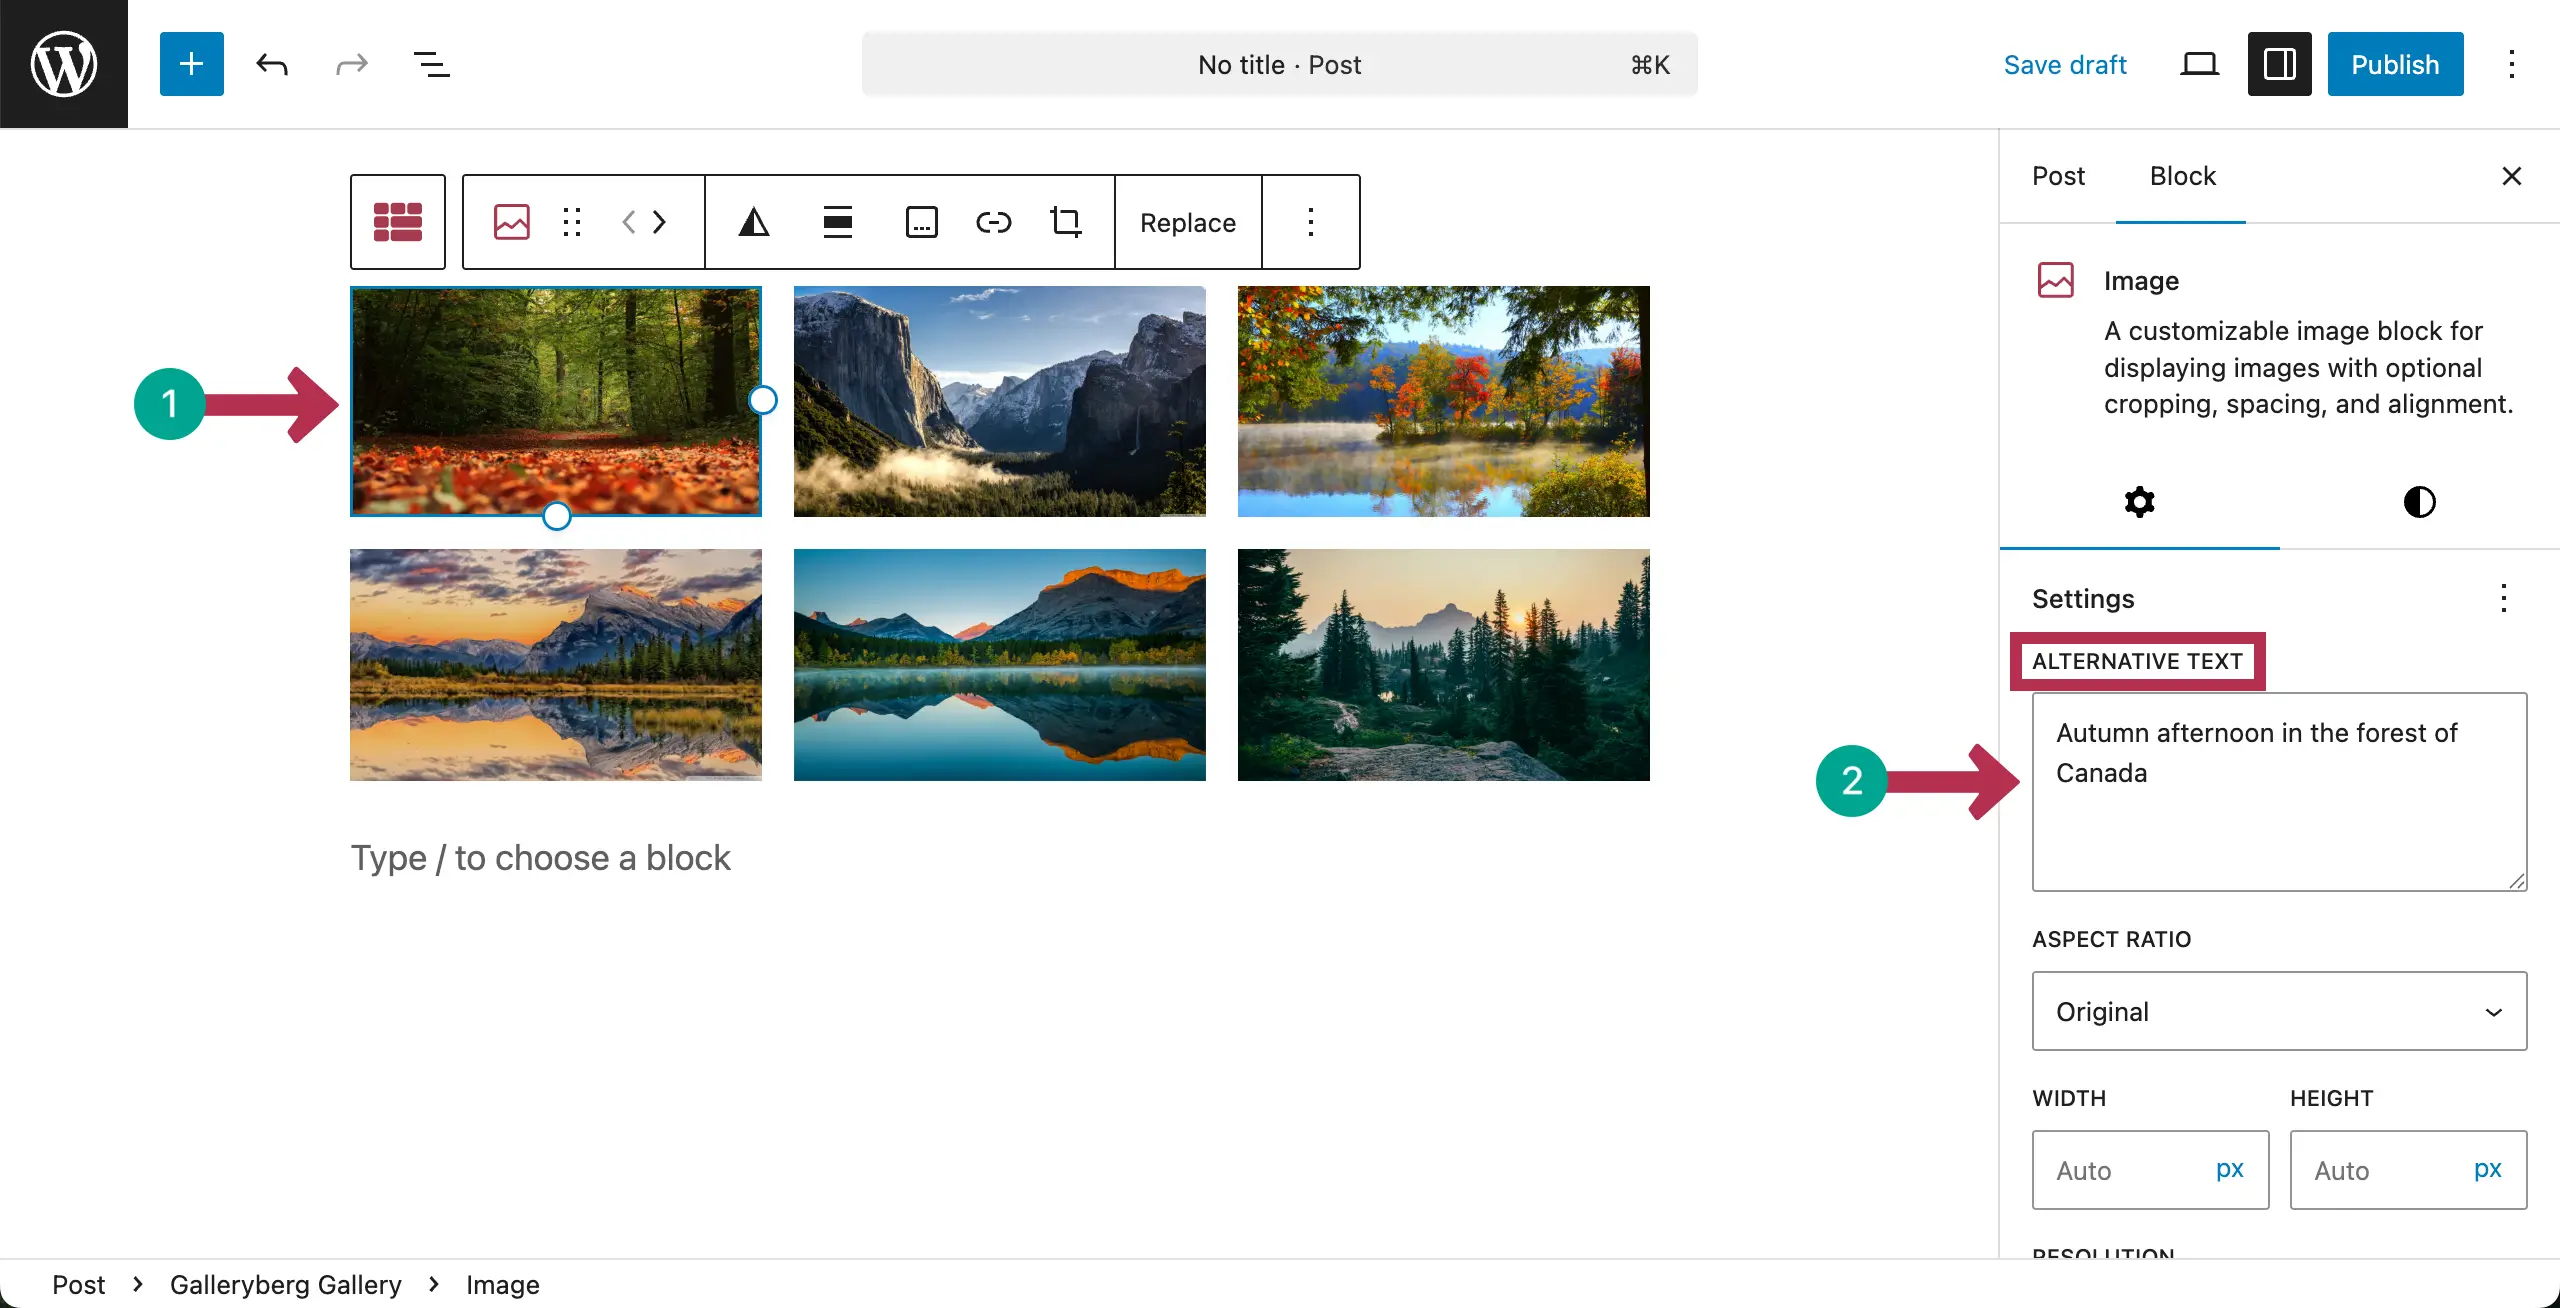
Hope you know the importance of adding alternative texts. You can add alternative texts to the images by selecting them one by one.
Configuring General Settings #
Click on the Galleryberg icon on the toolbar to select the entire gallery block. Then, come to the Settings tab on the right sidebar.
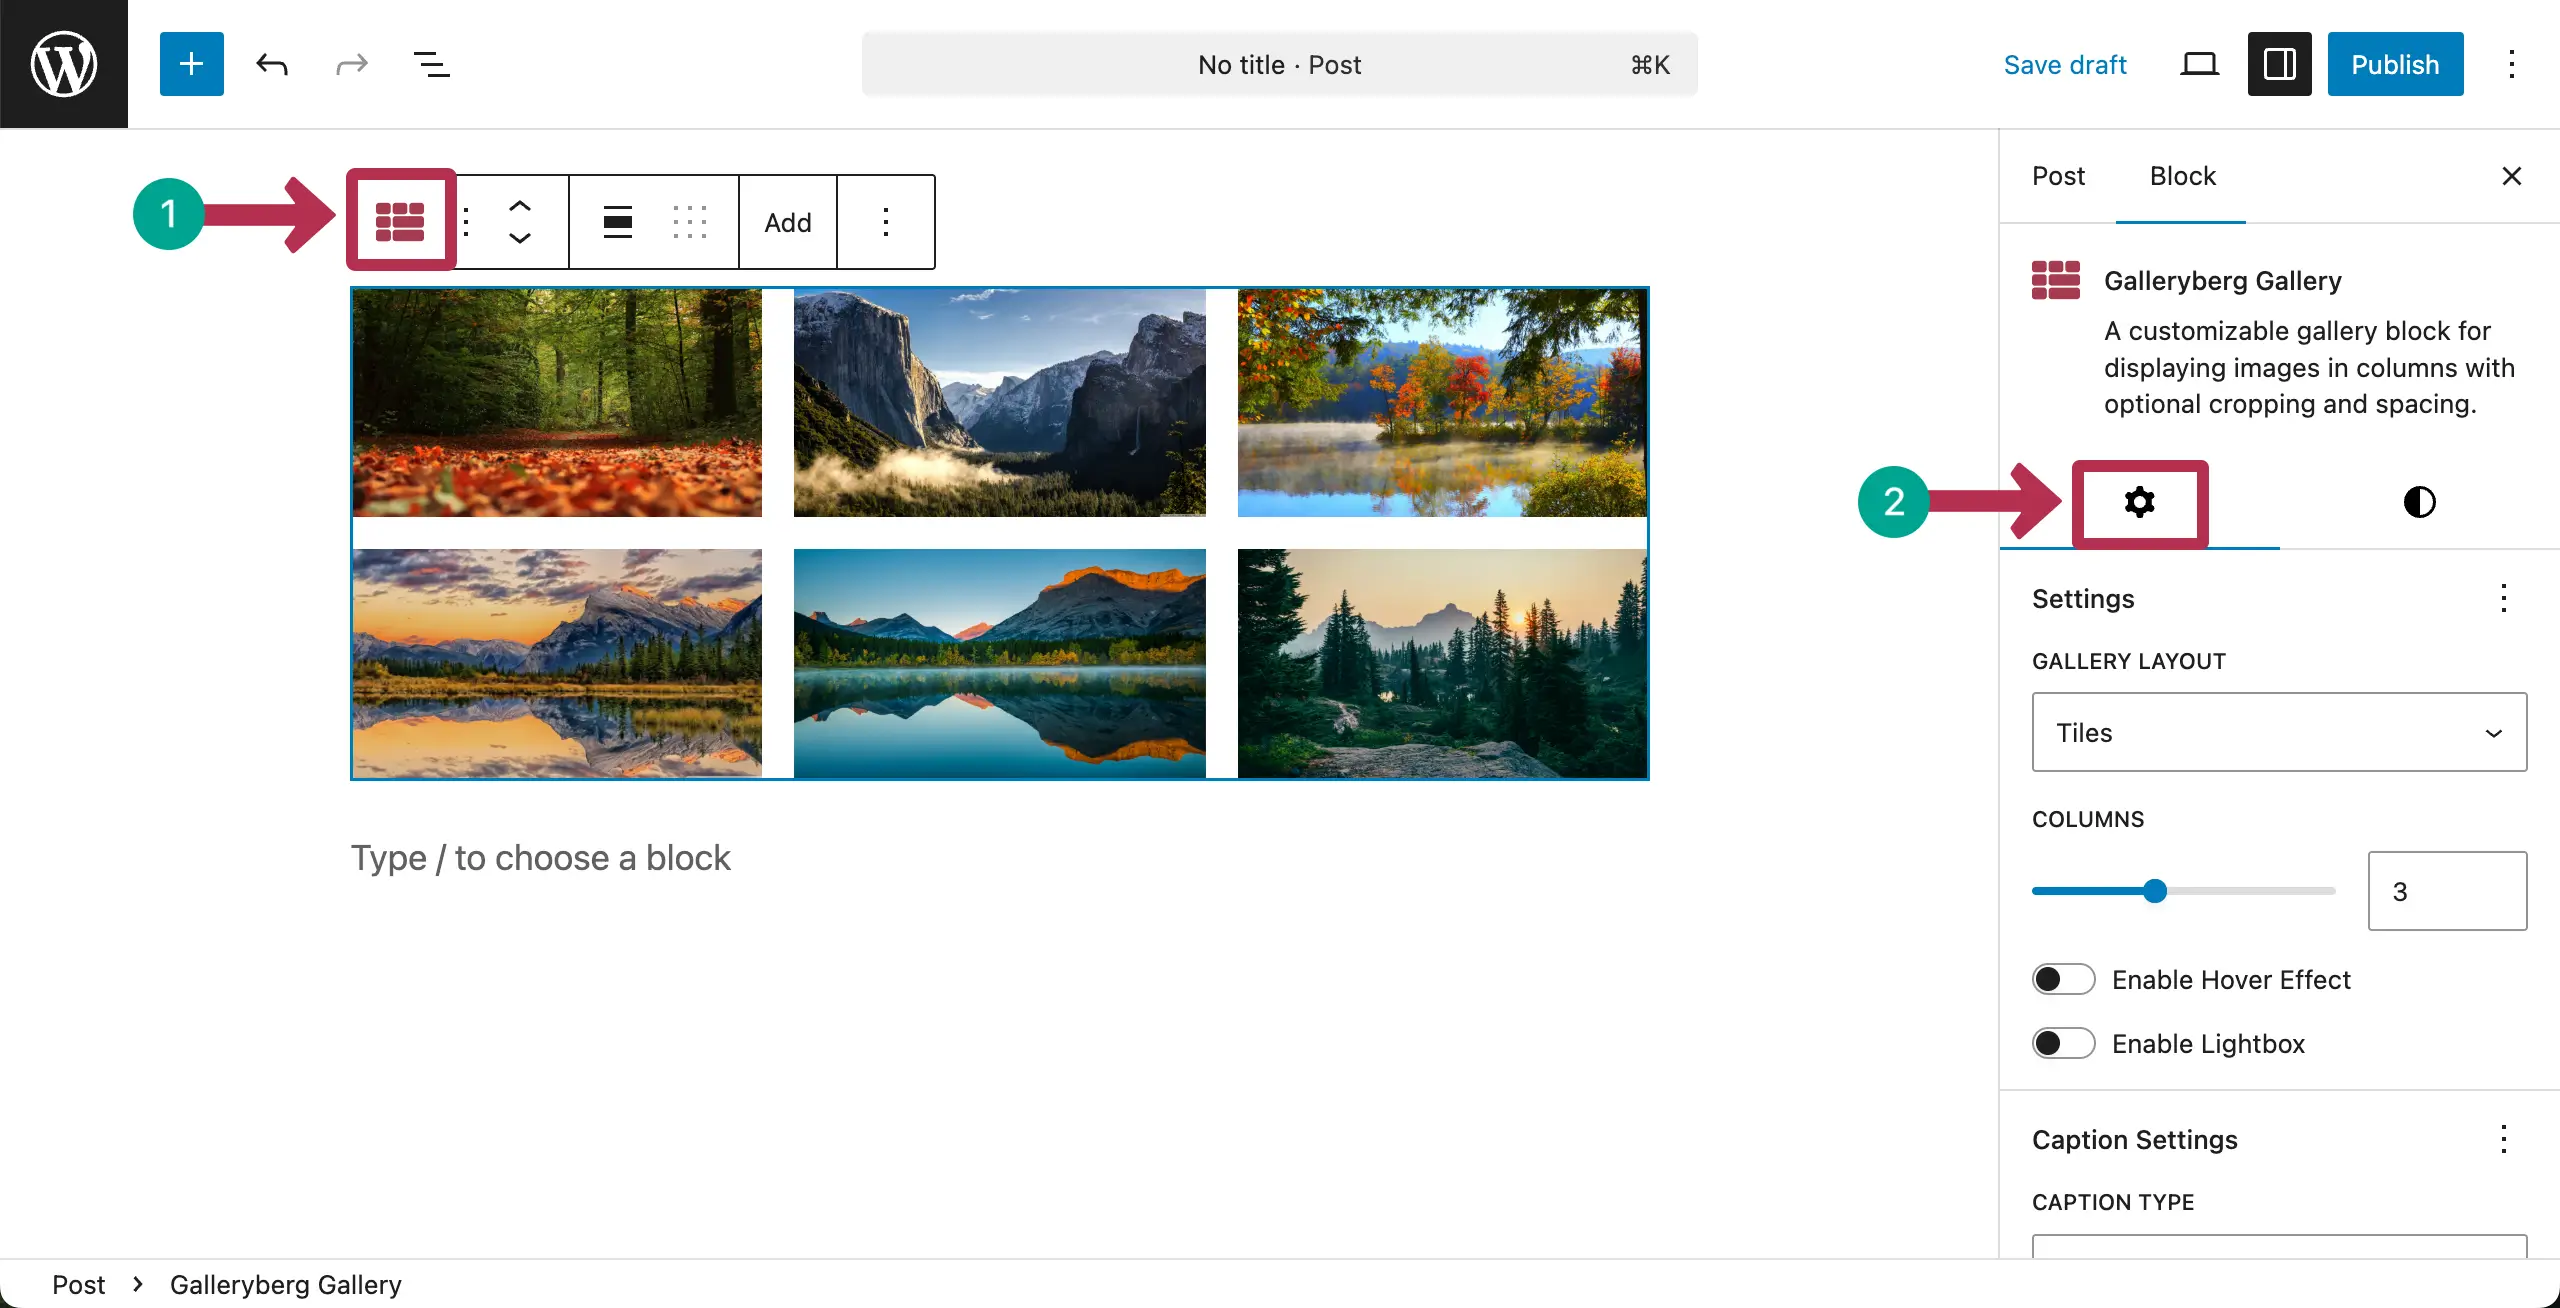
Under the Settings tab, you’ll get options to change the number of Columns, Caption Type, Caption Visibility, and Caption Alignment.
You can also consider enabling the Hover Effect and Lightbox options or leave them as disabled.
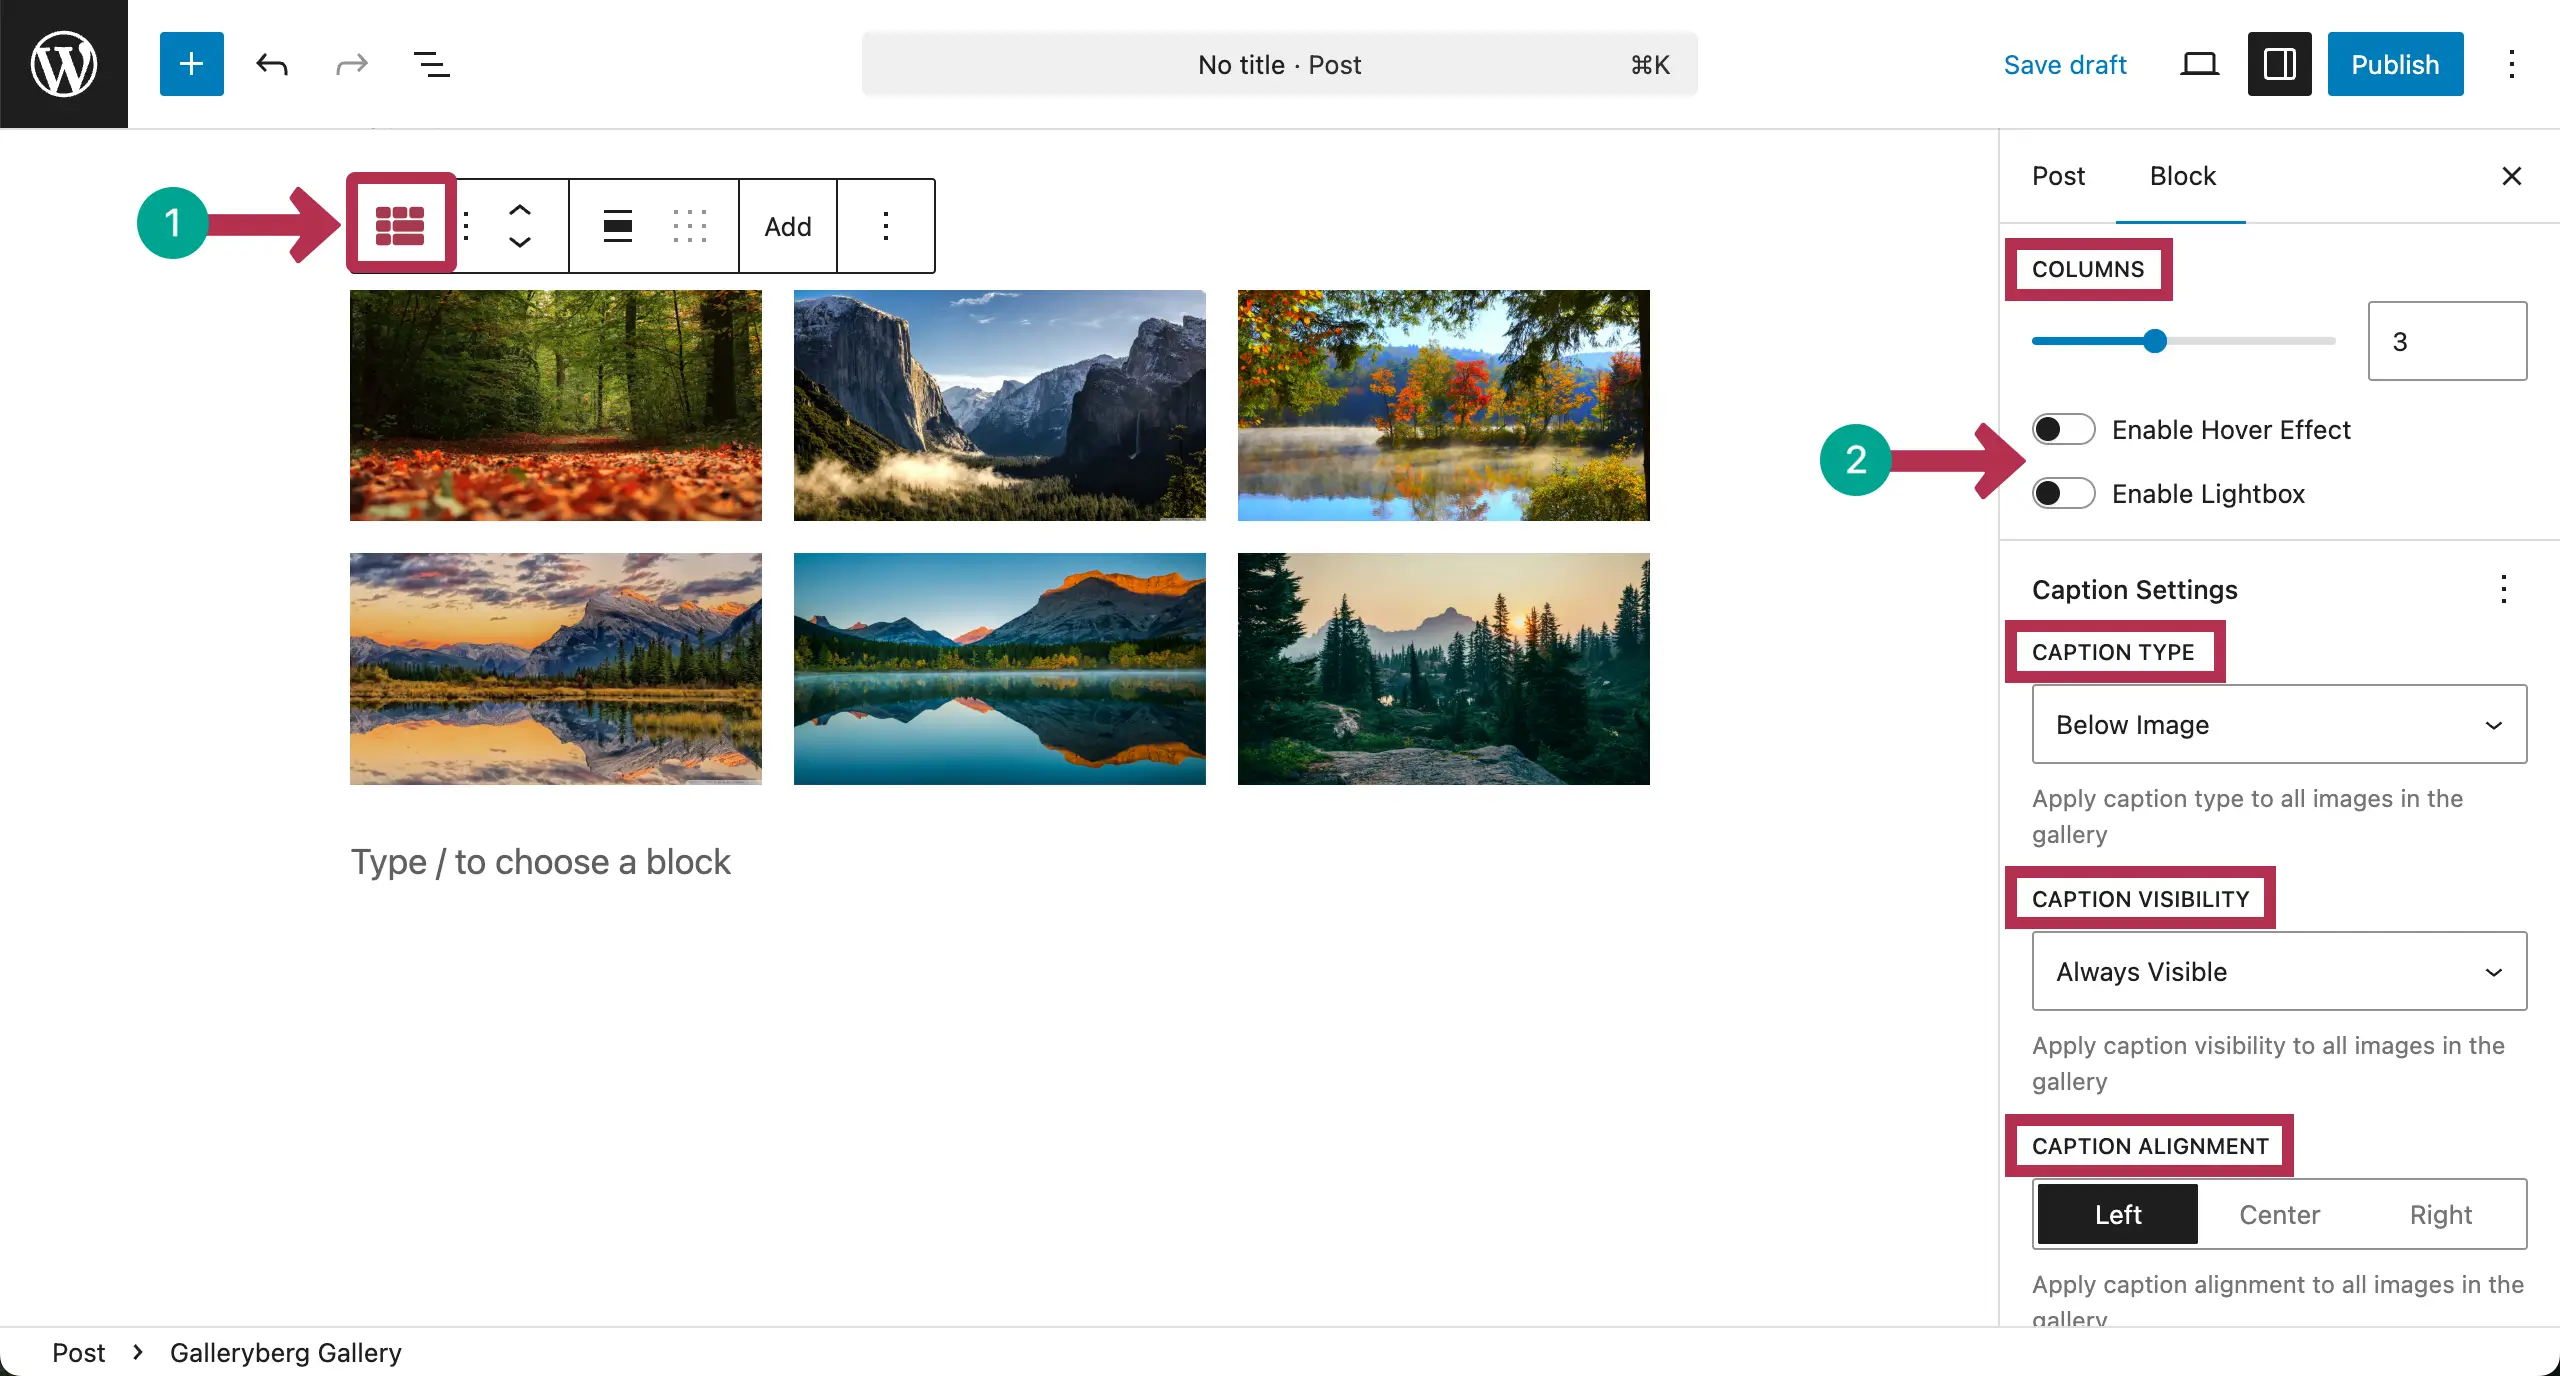
You can see that we have changed the number of columns and enabled many settings available under the settings tab.

Thus, you can configure the settings part for the Tile layout gallery.
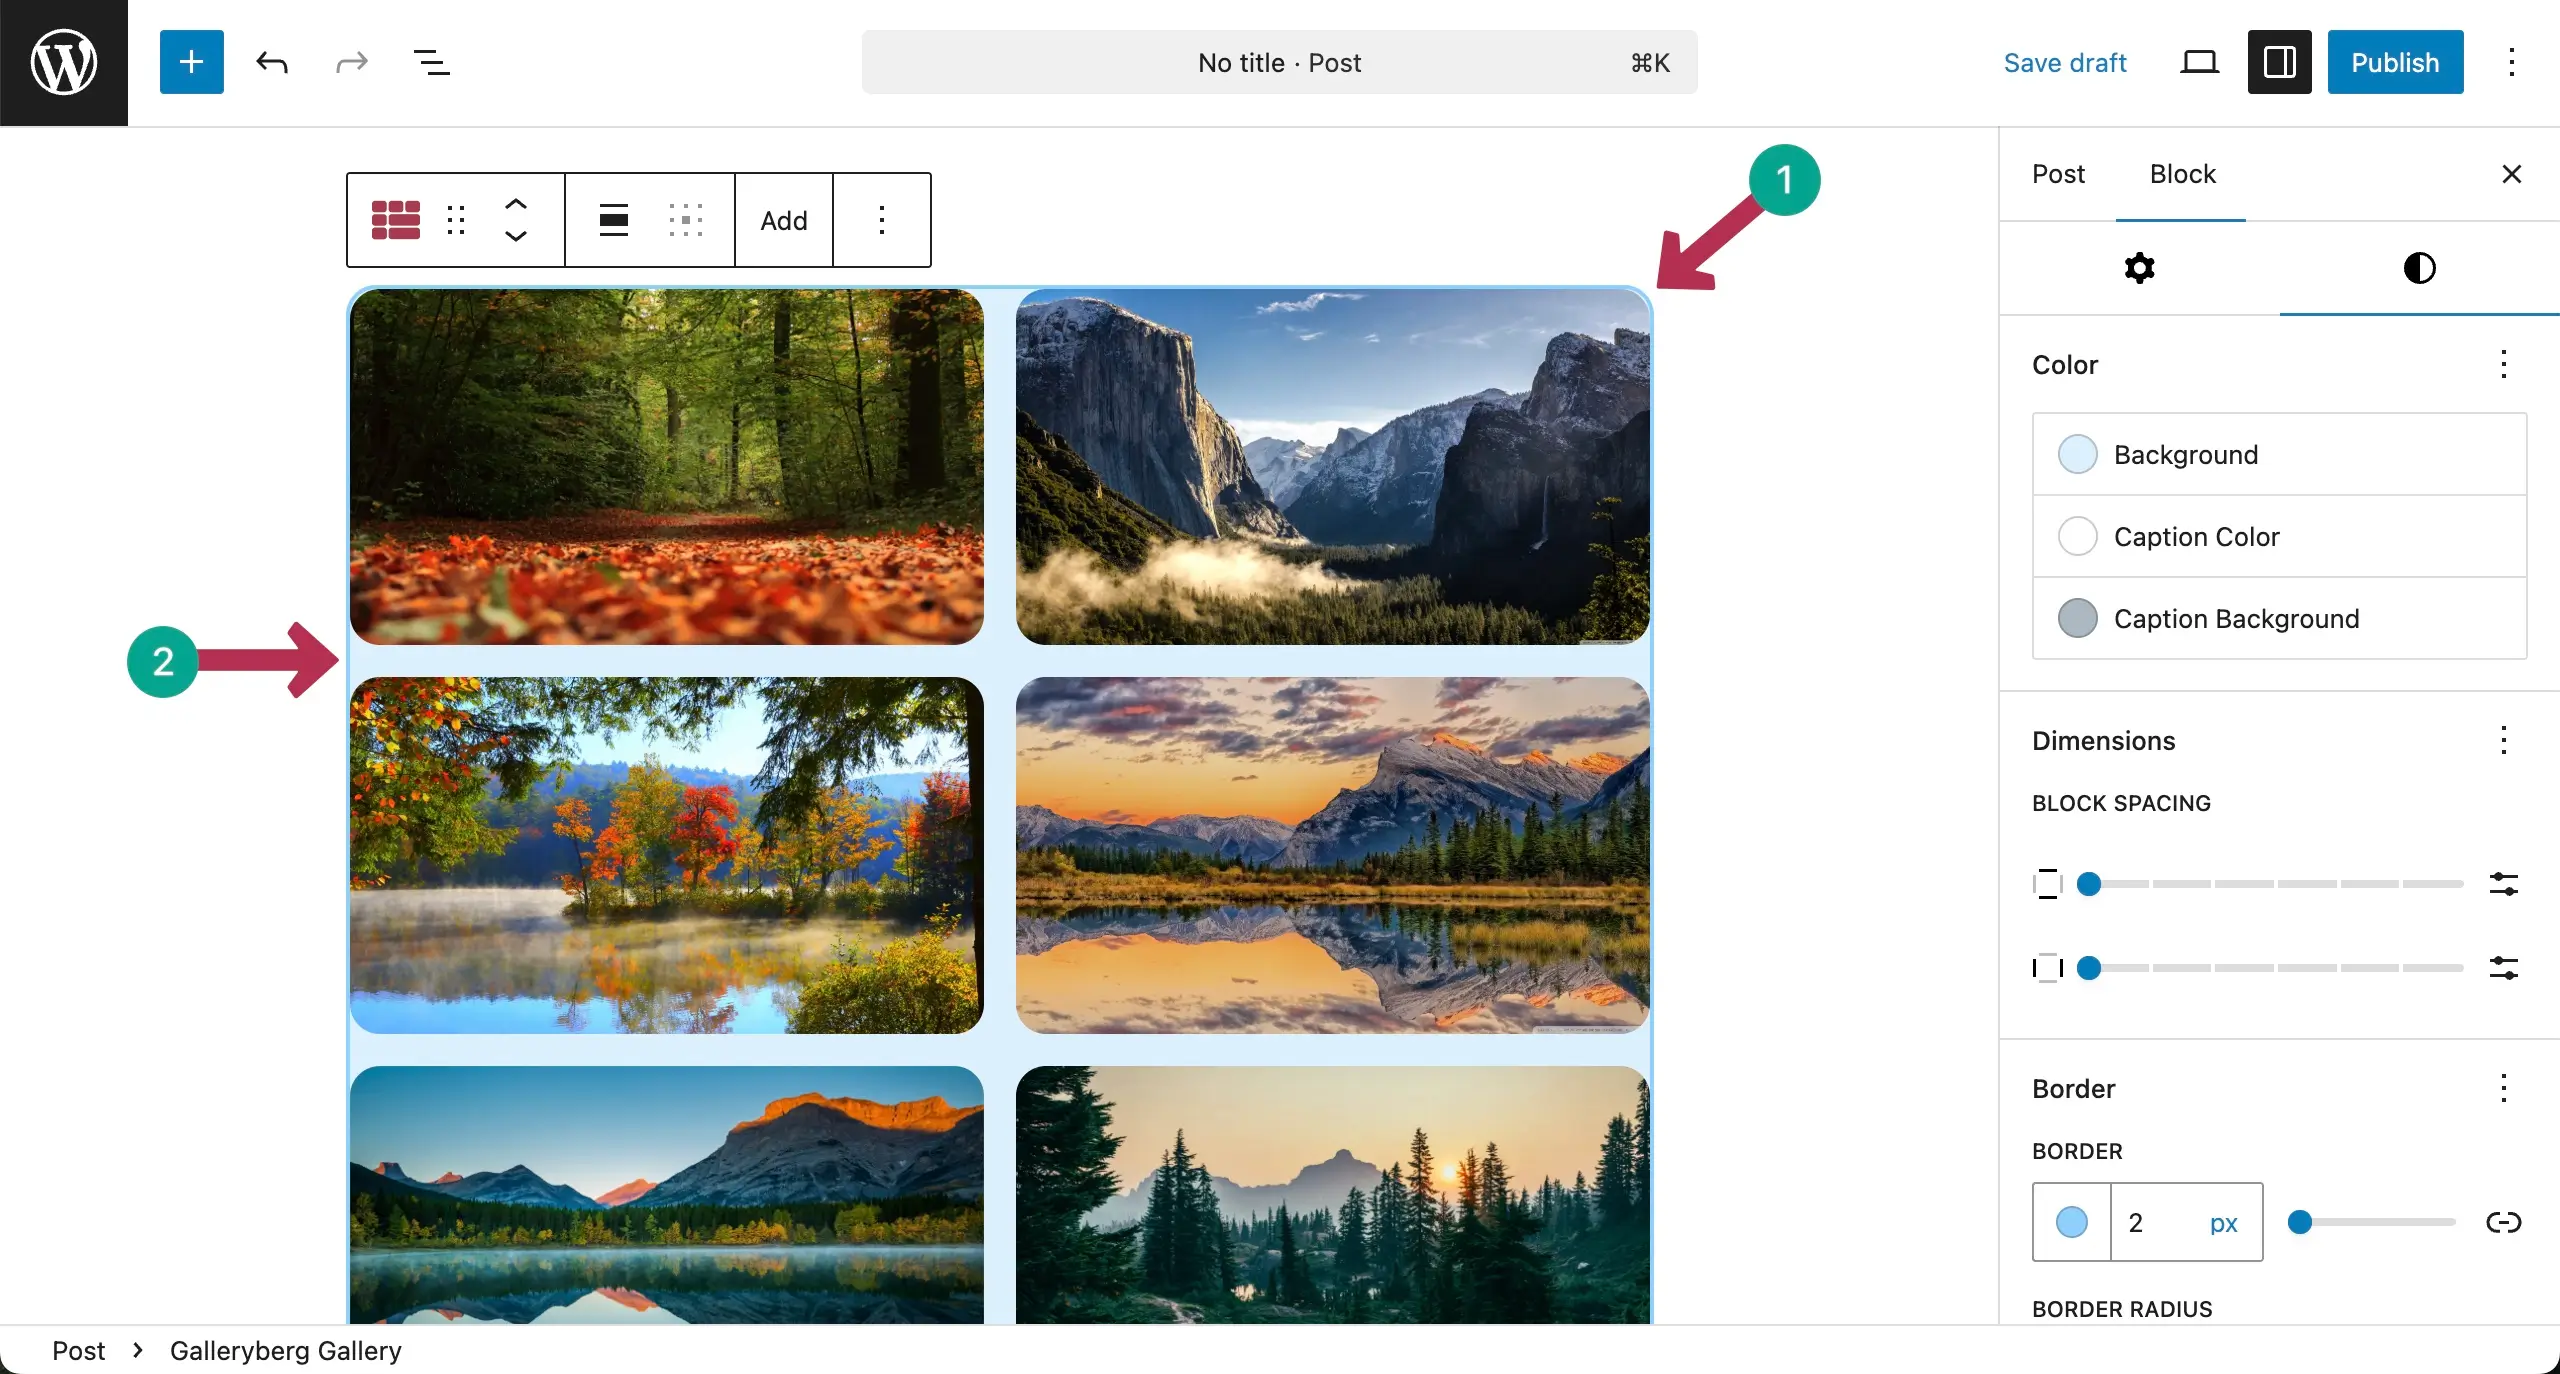
Customization #
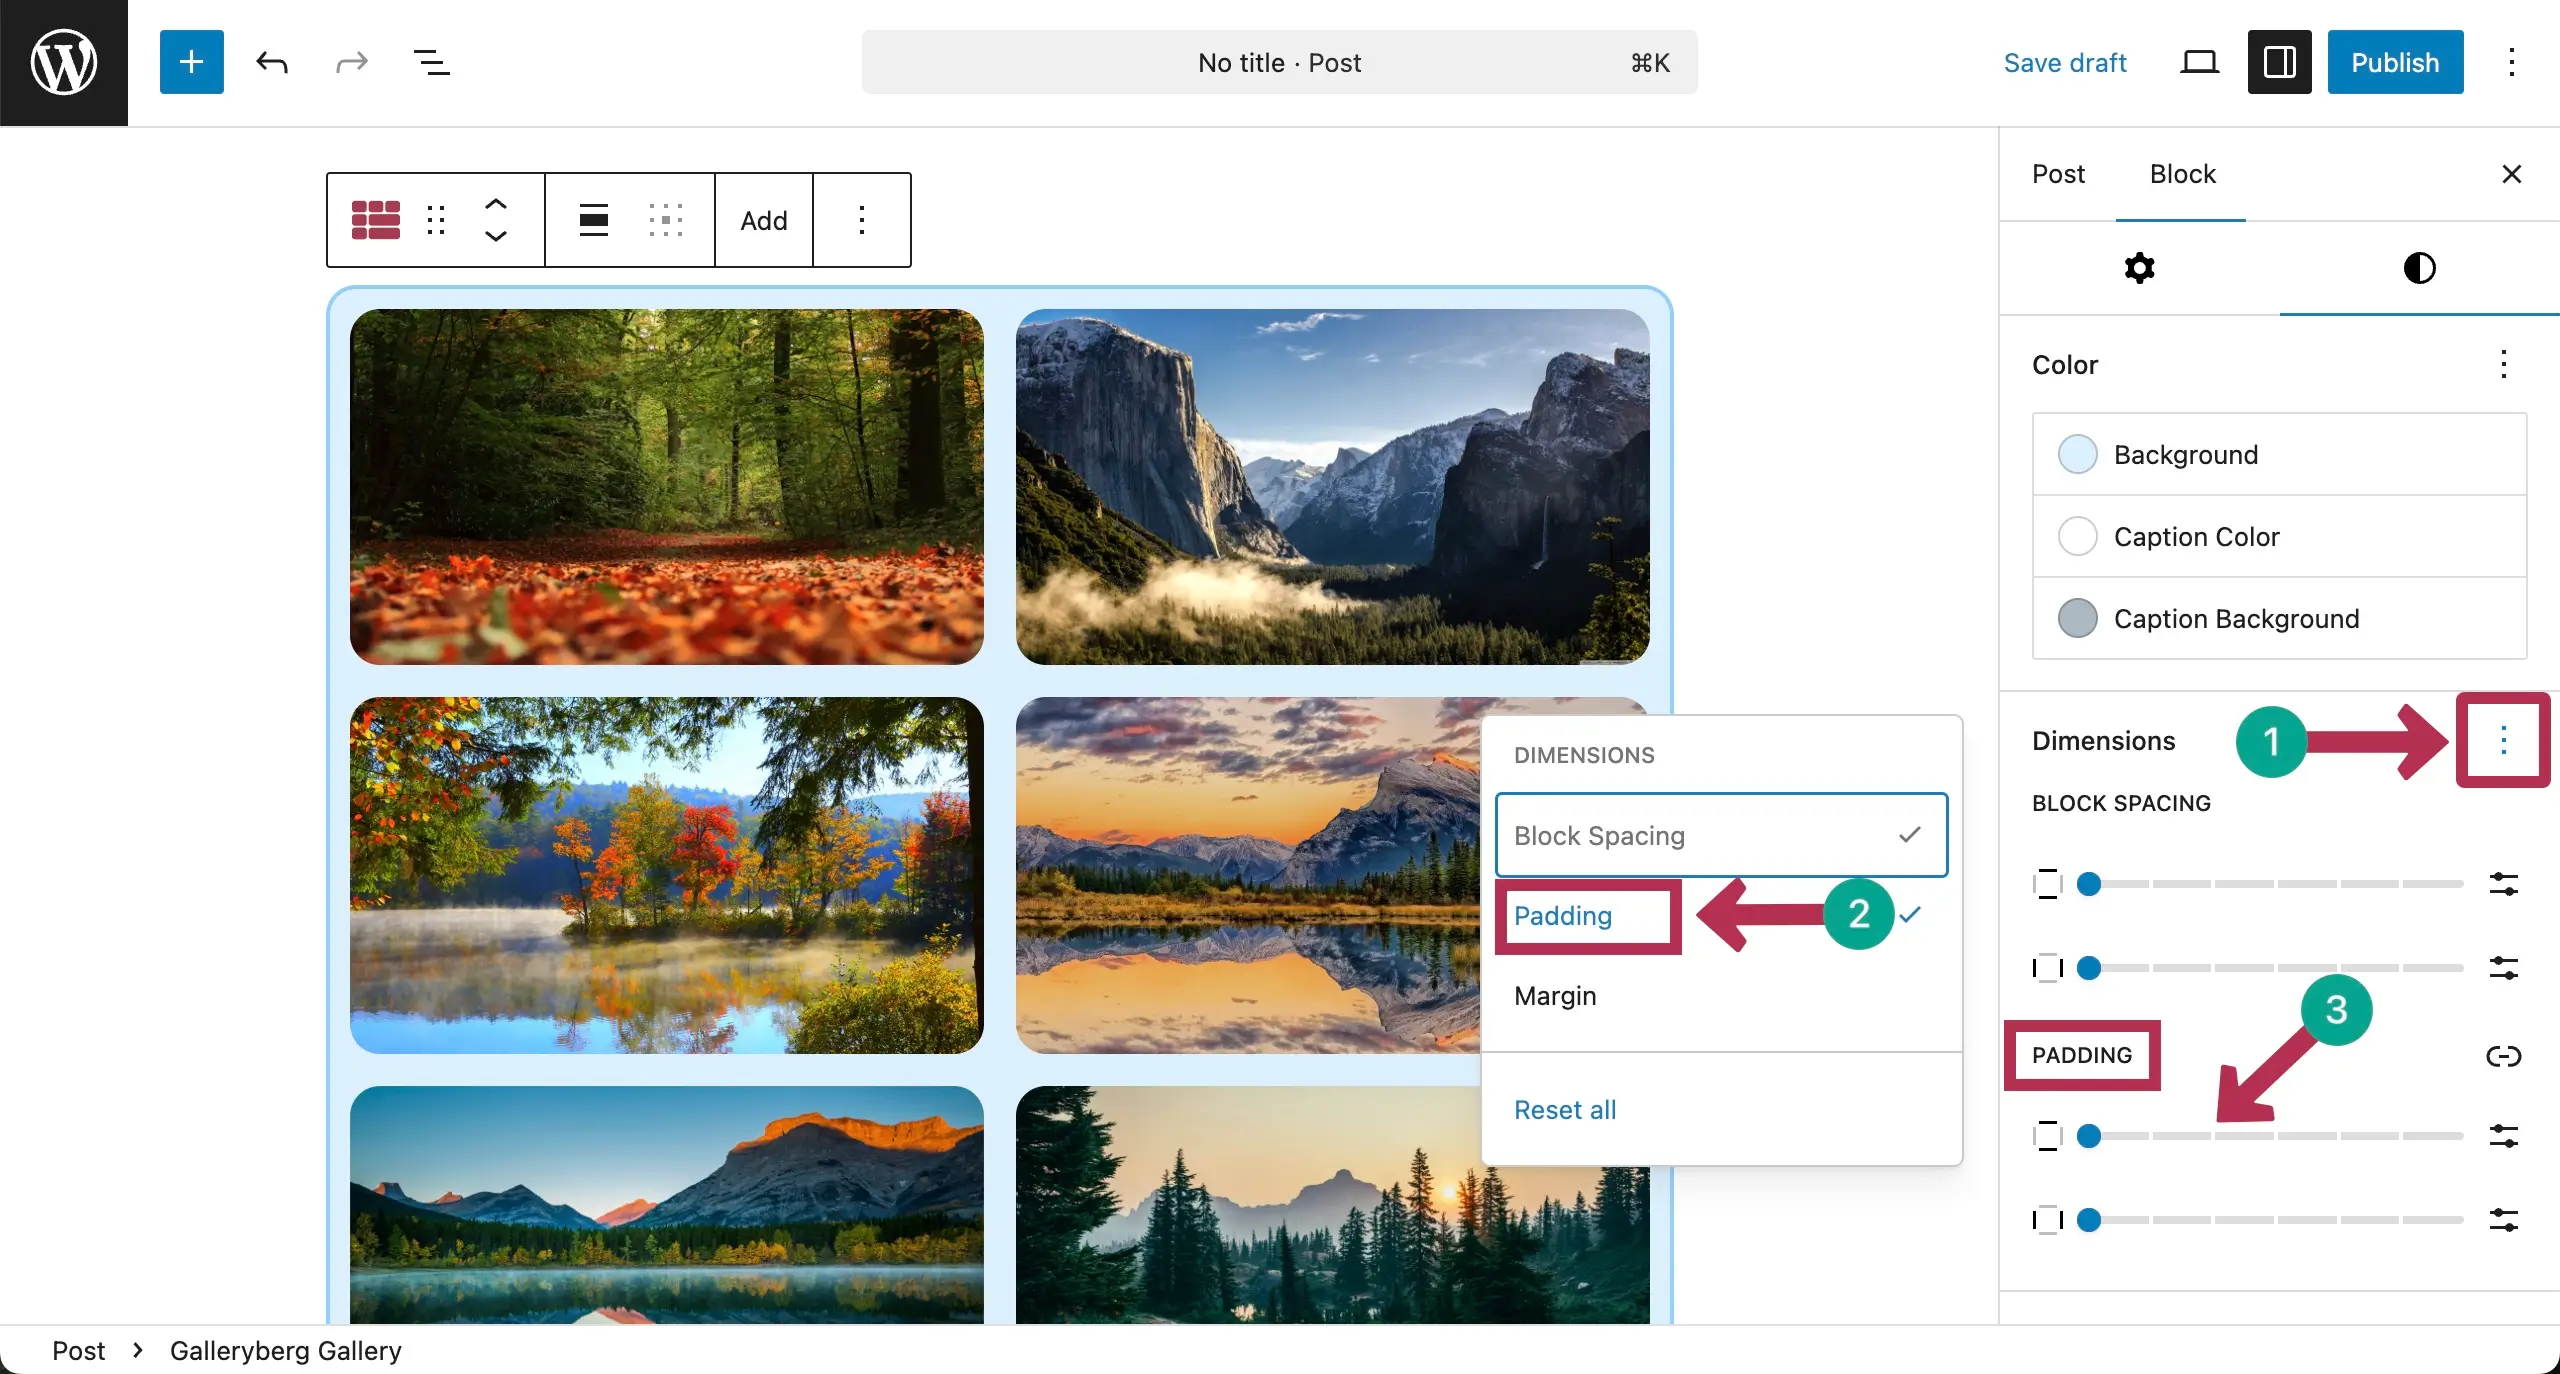
Now, come to the Styles tab on the right sidebar. You’ll get to customize Colors, Block Spacing, Border, and Radius.
Hope you can explore and do these customizations yourself.
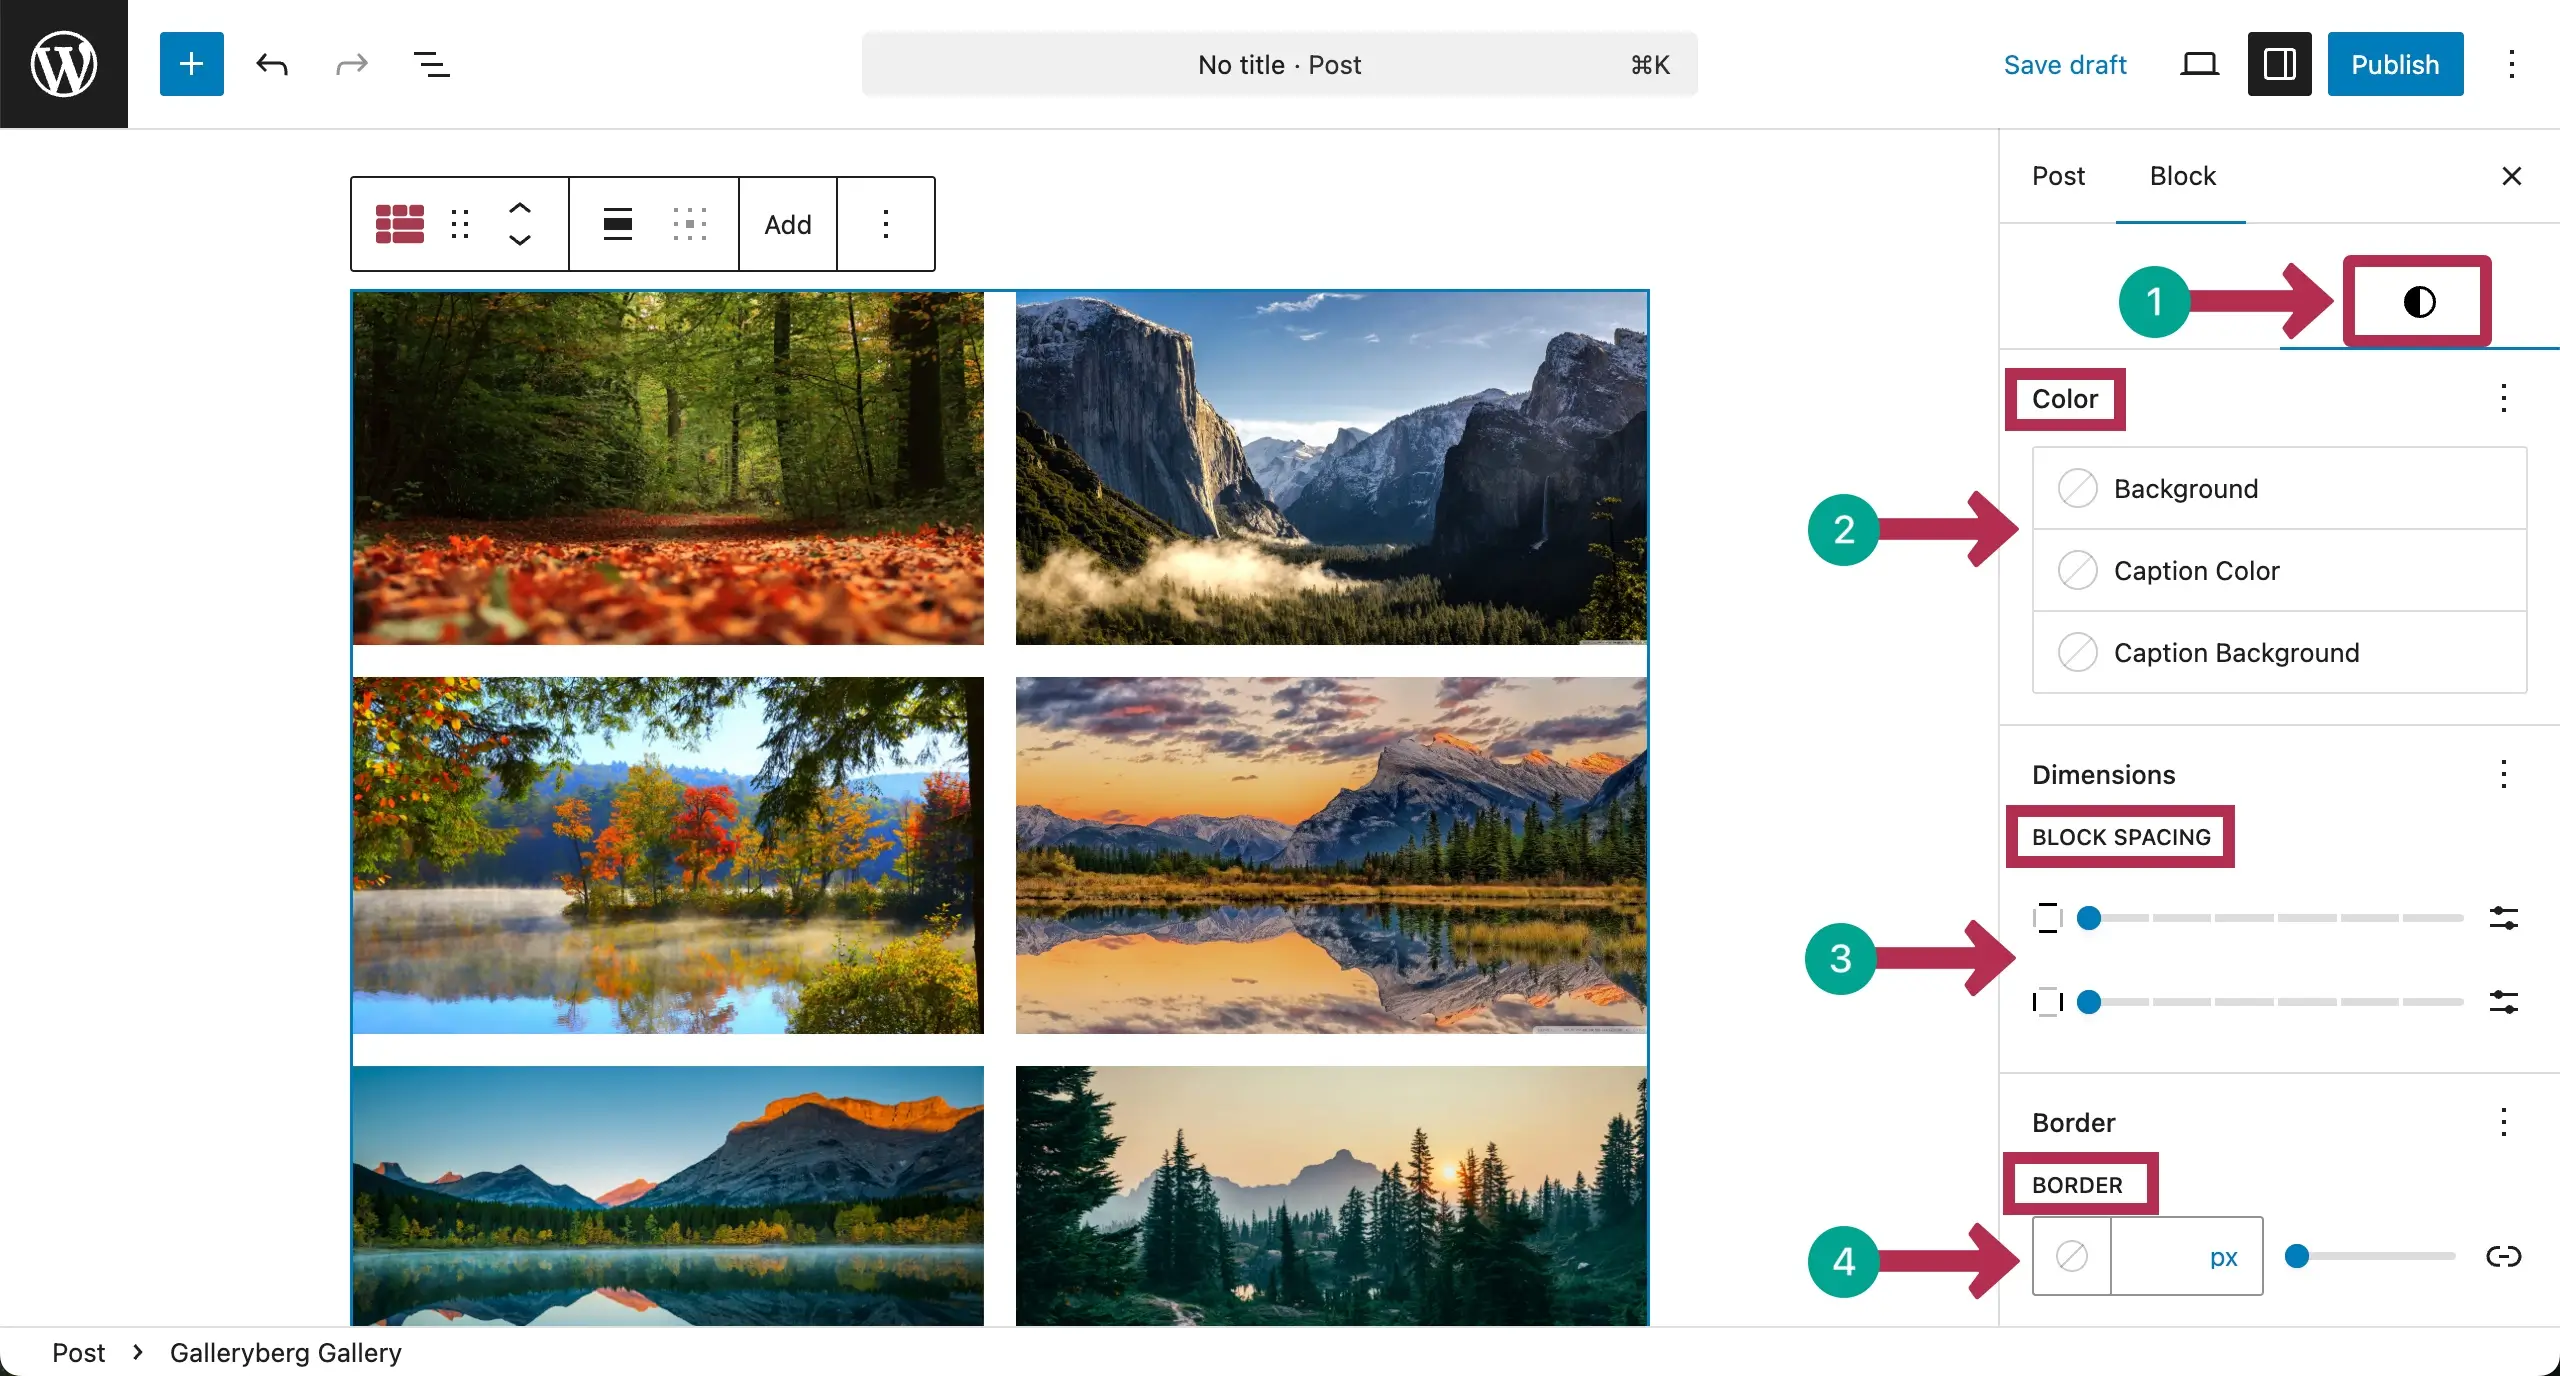
You can see that we have already set background color, caption color, and caption background color.
We have also selected a border color and set its value 2 px. From the Radius option, we set its 15 px, so you can see a curve in the edges.
Scrolling down the tab a bit, you’ll get options to add padding and margin around the gallery so it looks more appealing.
Thus, you can stylize the Tile layout gallery to align it with your website design.
Conclusion #
A tile layout works best when you choose images that match in style and mood. Try to use clear, high-quality photos so the grid feels clean and balanced. Keep the number of images reasonable to avoid clutter and give each photo enough space to stand out.
Arrange your images with a clear story in mind. Group similar colors or themes together to guide the viewer’s eye smoothly. Test different tile sizes and spacing until the gallery feels natural and easy to view. This simple attention to detail can make your gallery look truly professional.


