Once you’ve installed and activated the Galleryberg plugin, creating a stunning image gallery is just a few clicks away. This guide will walk you through the step-by-step process of creating your first gallery using the Gutenberg block editor.
Step 1: Open the WordPress Editor #
Go to your WordPress dashboard and:
- Create a new post or page (
Posts or Pages → Add PostorPage) - Or open an existing post/page where you want to insert the gallery
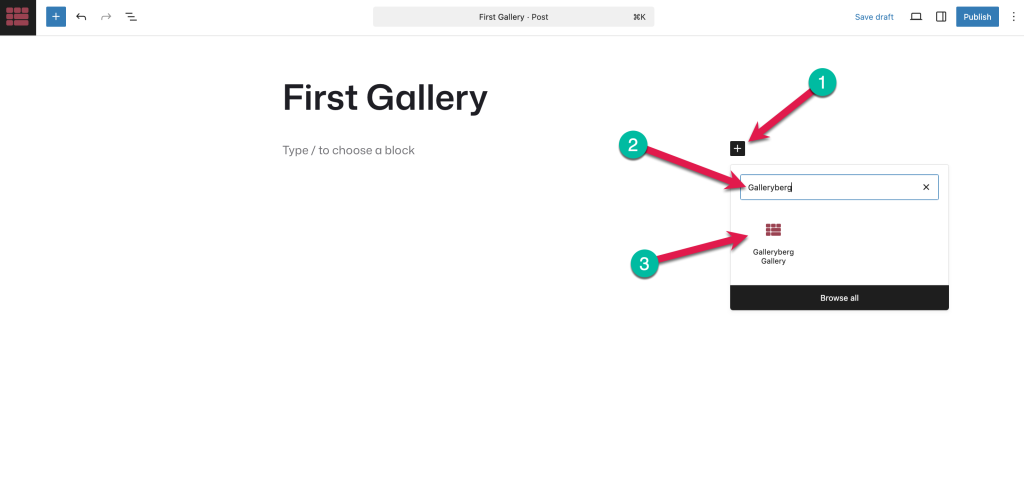
Step 2: Insert the Galleryberg Block #
- Click the “+” button in the editor to add a new block
- In the search bar, type “Galleryberg”
- Click on the ‘Galleryberg’ block.
Step 3: Add Images to Your Gallery #
- After inserting the block, choose images from your Media Library or upload new ones
- Once selected, click the “Select” button
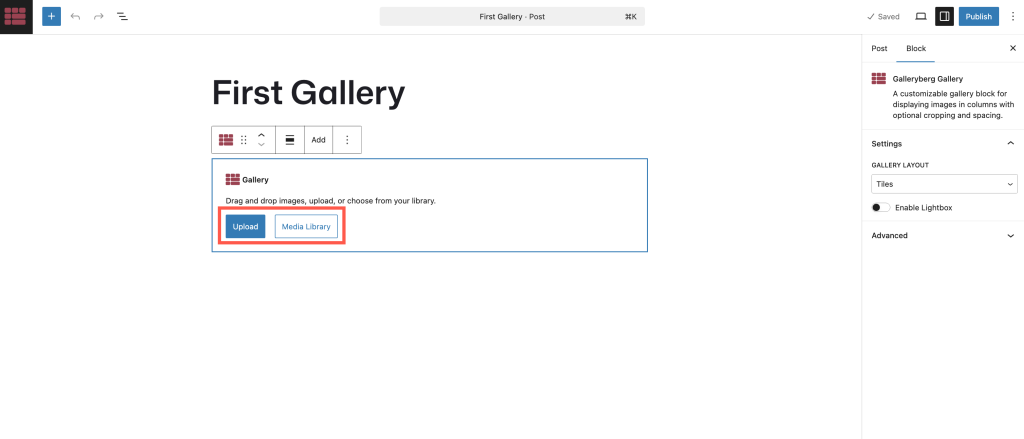
Your images will now appear inside the Galleryberg block.
Step 4: Select a Gallery Layout (Optional) #
By default, Galleryberg will show the photo gallery in tiles layout. You can choose one from tiles, masonry, justified, or square layout.
Each layout offers a different visual style — you can try them out to see which one fits your content best.
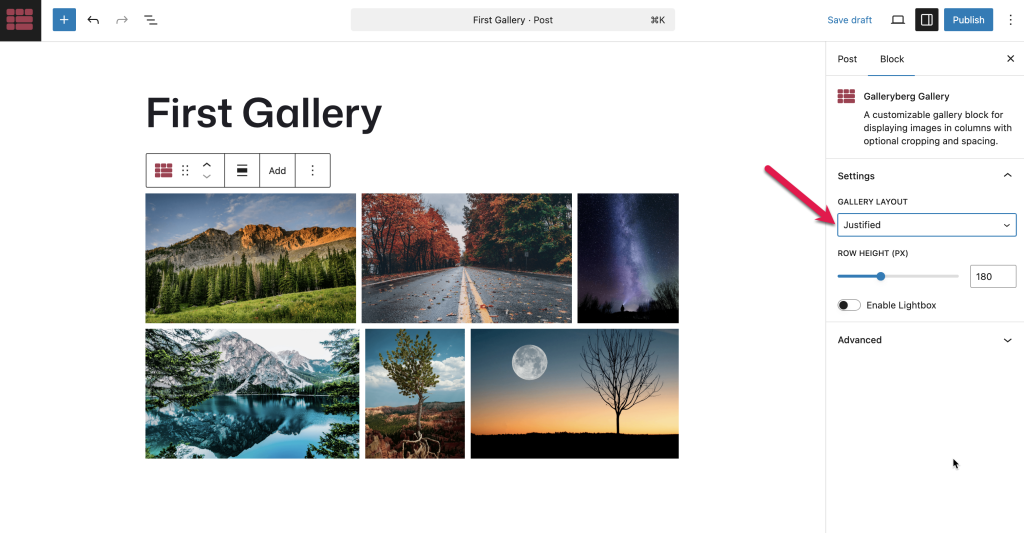
Make changes as needed to match your design preferences.
Step 5: Enable Lightbox (Optional but Recommended) #
Want your visitors to click and enlarge images in a popup view? Toggle on “Enable Lightbox” from the sidebar panel.
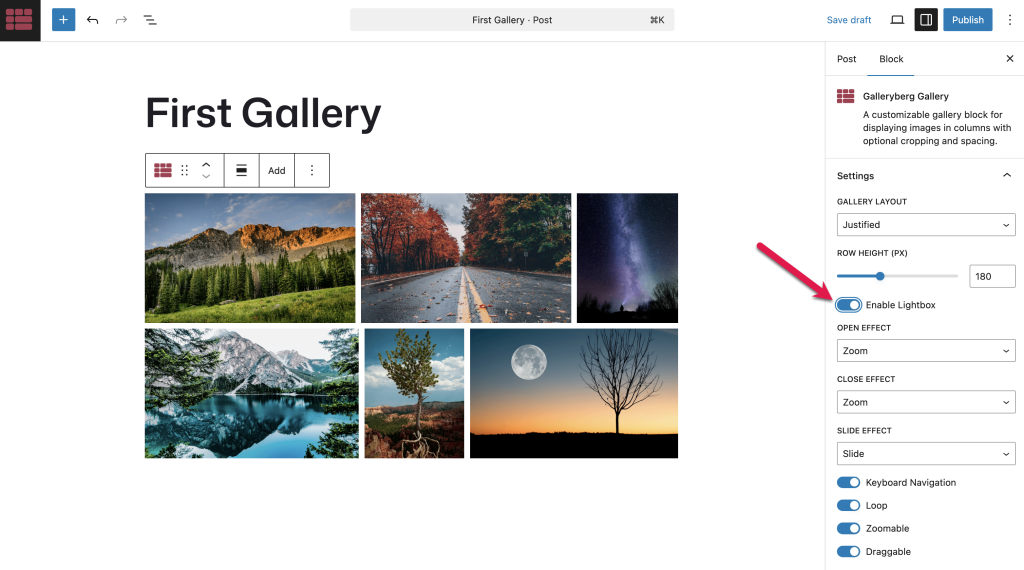
Now, when users click an image, it will open in a beautiful, distraction-free lightbox.
Step 6: Save or Publish Your Page #
Once you’re happy with your gallery:
- Click Preview to see how it looks
- Then hit Publish (or Update, if editing an existing page)
That’s it — your first Galleryberg gallery is live!
Final Result #
Your beautifully crafted gallery will be:
✅ Fully responsive
✅ Fast-loading
✅ Easy to navigate
✅ Styled with the layout you selected
Want to see some examples?
👉 View Galleryberg Demo Galleries


