


Wedding photos are some of the most shared images on the web. Couples want to relive the day, families want to download their favorites, and photographers want a gallery that wins the next booking. A cluttered or slow gallery spoils all of that.
In this guide, you will learn how to plan your wedding photos and show them in a beautiful wedding photo gallery in WordPress. We will start with the default Gallery block, then build a more elegant gallery with Galleryberg, complete with a Masonry layout, a lightbox, and mobile friendly columns.
Why a Wedding Photo Gallery Needs Extra Care
A wedding gallery is not just a grid of pictures. It tells the story of a once in a lifetime day, so it should feel calm, personal, and easy to browse:
- Mixed photo shapes. Wedding sets mix tall portraits of the couple with wide shots of the venue and guests. Your layout should handle both without awkward cropping.
- Large image counts. A full day can produce hundreds of photos, so the page has to stay fast.
- Emotional viewing. People want to see each photo big, one after another, without leaving the page. A lightbox does exactly that.
- Phone first audience. Most guests will open the link on their phones, often right after the event.
Plan Your Wedding Photos Before You Build the Gallery
Good galleries start with good selection. Before you open WordPress, spend a few minutes organizing the shoot:
- Cull hard. Remove blinks, near duplicates, and test shots. Twenty strong photos beat two hundred average ones on a public page.
- Follow the timeline. Getting ready, details (rings, dress, shoes, flowers), the ceremony, couple portraits, family and the bridal party, then the reception.
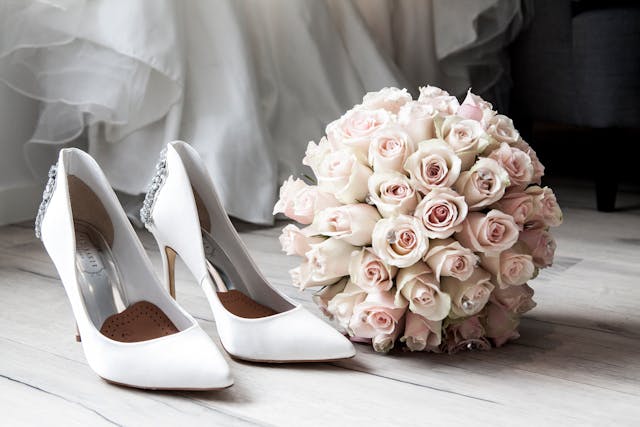
- Mix portraits and details. Close ups of rings, the bouquet, and the shoes give the eye a rest between wider group shots.
- Keep the editing consistent. Use the same color style across the set so the gallery feels like one story.
- Resize before uploading. Export at around 2000 pixels on the long edge and compress the files. Our guide on making galleries load faster explains why this matters.
- Get permission. Ask the couple before you publish their photos on your website, and respect any guests who prefer not to appear.
Method 1: Create a Wedding Gallery with the Default Gallery Block
WordPress includes a basic Gallery block that works for a small set of photos.
- Open a post or page in the block editor and click the plus (+) icon.
- Search for Gallery and insert the block.
- Click Upload or Media Library and select your wedding photos.
- In the block settings sidebar, set the number of columns. Turn off Crop images to fit if you do not want portraits cut off.
- Open the link settings and choose Expand on click so visitors can view larger versions.
This works for a quick preview. However, the default block only gives you a simple grid. With cropping turned off, mixed portrait and landscape photos leave uneven gaps, and you get little control over captions, hover effects, or columns on each device. Learn more in our guide on how to create an image gallery in WordPress.
Method 2: Create a Wedding Photo Gallery with Galleryberg
Galleryberg is a gallery block plugin for the WordPress block editor. It adds several layouts, a built-in lightbox, flexible captions, hover effects, and separate columns for desktop, tablet, and phone. That makes it a great fit for wedding photographers and couples alike.
Step 1: Install and Activate Galleryberg
In your dashboard, go to Plugins → Add New, search for Galleryberg, then install and activate it. Everything in the main steps below works with the core Galleryberg plugin.
Step 2: Add the Galleryberg Gallery Block
Create a new page for the wedding, for example “Sarah and James, June 2026”. Click the plus (+) icon, search for Galleryberg Gallery, and insert the block. Then upload your photos or pick them from the Media Library.
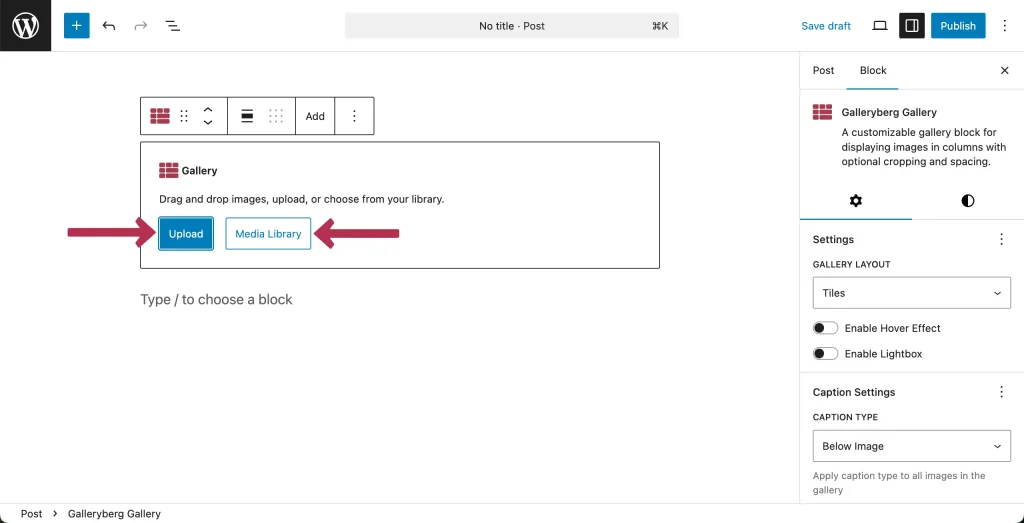
Add the photos in timeline order. You can drag images inside the block later to fine tune the story.
Step 3: Choose the Masonry Layout
Select the gallery block and open the layout setting in the sidebar. For weddings, Masonry is usually the best pick because it keeps every photo in its original shape. Tall portraits and wide venue shots sit together in a natural, cascading flow, with nothing cropped.
The other core layouts are useful too:
- Justified: rows of equal height that fill the full width. Great for a reception or venue set with many wide photos.
- Tiles: a tidy, even grid. Good for a short “highlights” section.
- Square: every photo shown as a square, perfect for detail shots like rings, invitations, and flowers.
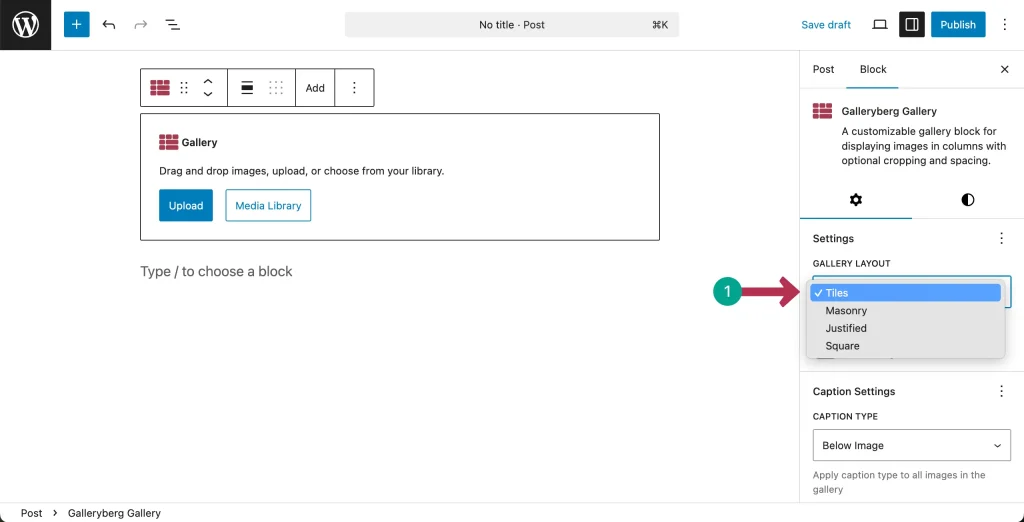
With Galleryberg Pro, you also get the Mosaic layout for a magazine style collage and the Carousel layout, which works nicely as a sliding highlights reel at the top of the page.
Step 4: Set Columns for Each Device
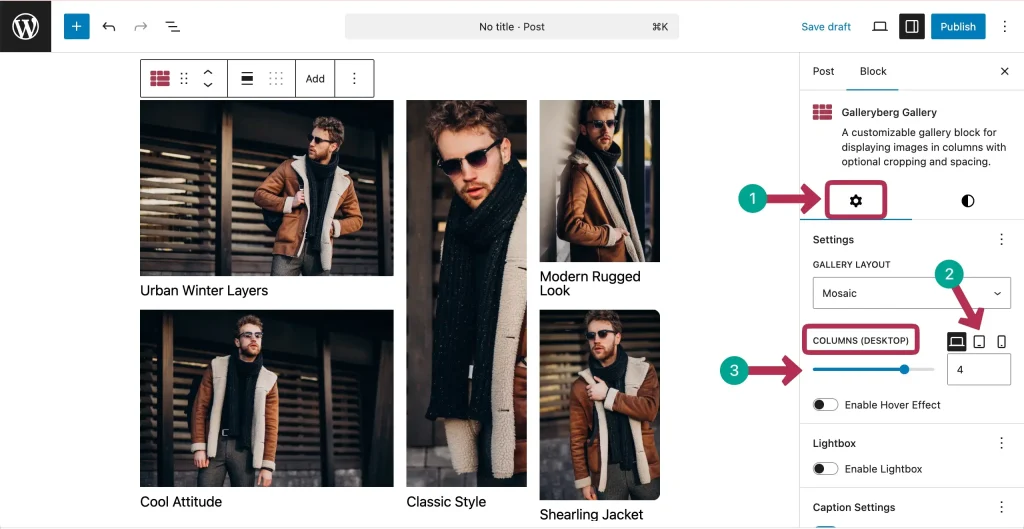
Three columns look elegant on desktop. Set two columns for tablets and one or two for phones so faces stay large enough to enjoy. Our guide on creating responsive galleries covers these settings in detail.
Step 5: Turn On the Lightbox
Open the Lightbox panel and switch on Enable Lightbox. Now guests can click any photo to view it full screen, swipe or use the arrow keys to move through the whole day, and zoom in on details like the rings. Galleryberg Pro adds thumbnail navigation inside the lightbox, which is handy for large wedding sets.
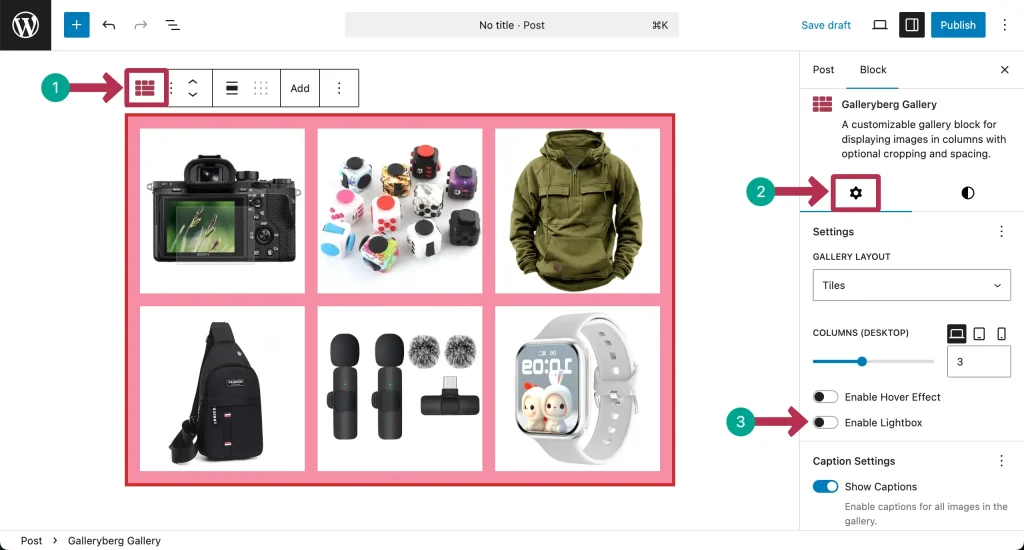
See all the options in our guide on adding lightbox effects to WordPress galleries.
Step 6: Add Alt Text and Optional Captions
Click each image and add descriptive alt text, such as “Bride and groom sharing a kiss in front of a flower wall”. Alt text helps visitors who use screen readers and helps your work appear in image search.
Captions are optional for weddings. Many photographers leave them off for a clean look, or add short labels like “Ceremony” and “First dance” shown on hover.
Step 7: Style and Publish
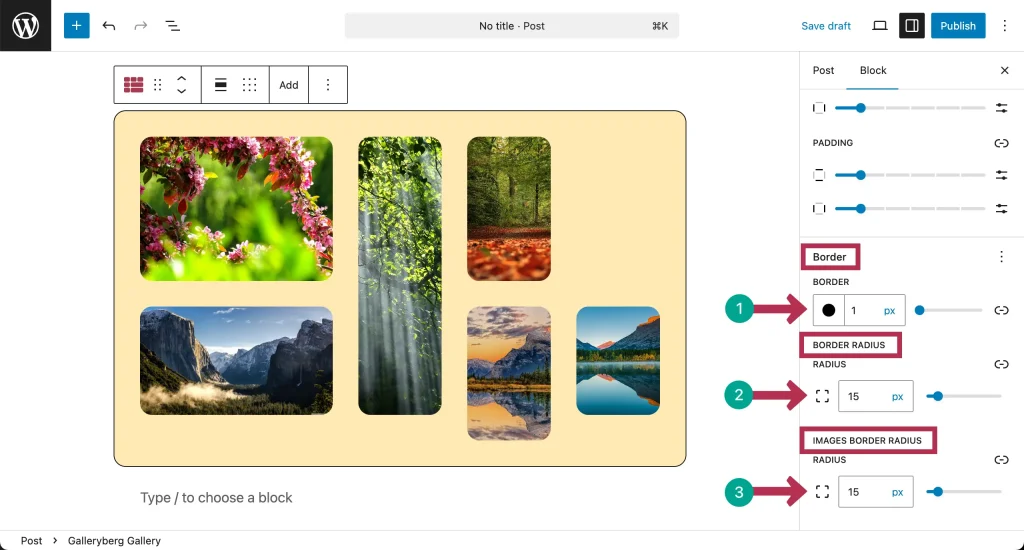
Keep the styling soft and romantic. A small gap between photos, a gentle border radius, and a subtle zoom in hover effect are usually enough. When you are happy, publish the page and open it on your phone to check how it looks.
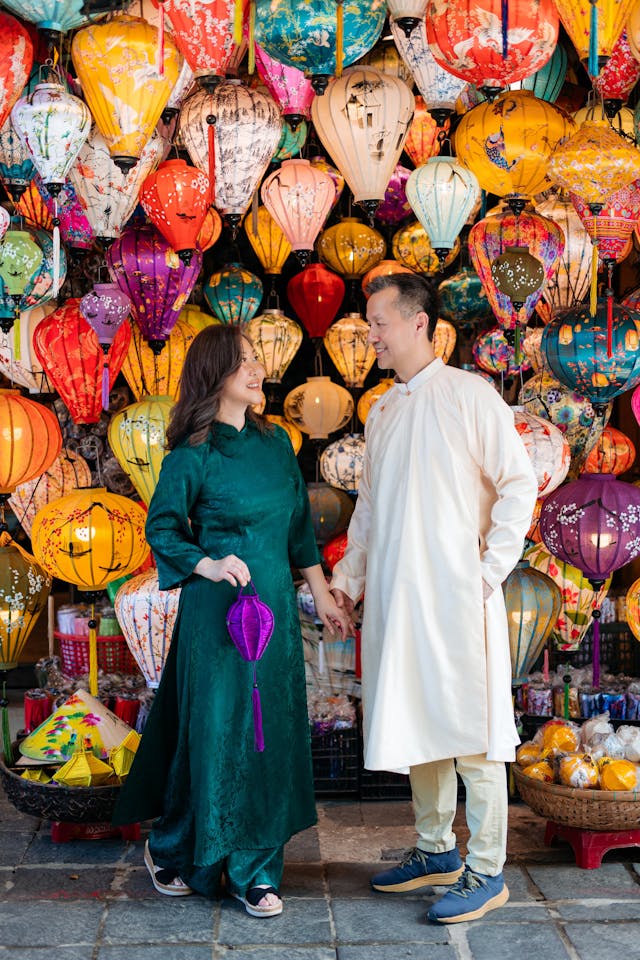
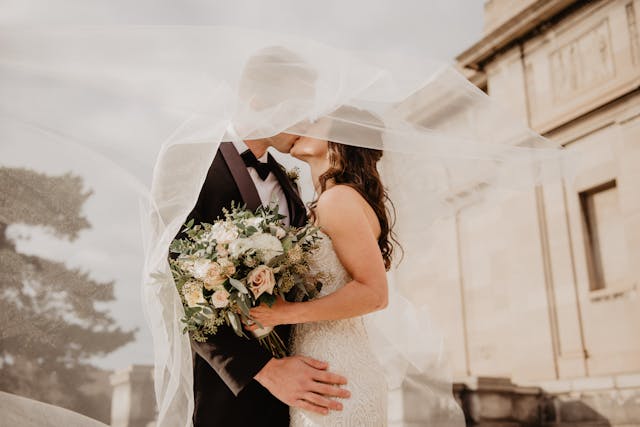
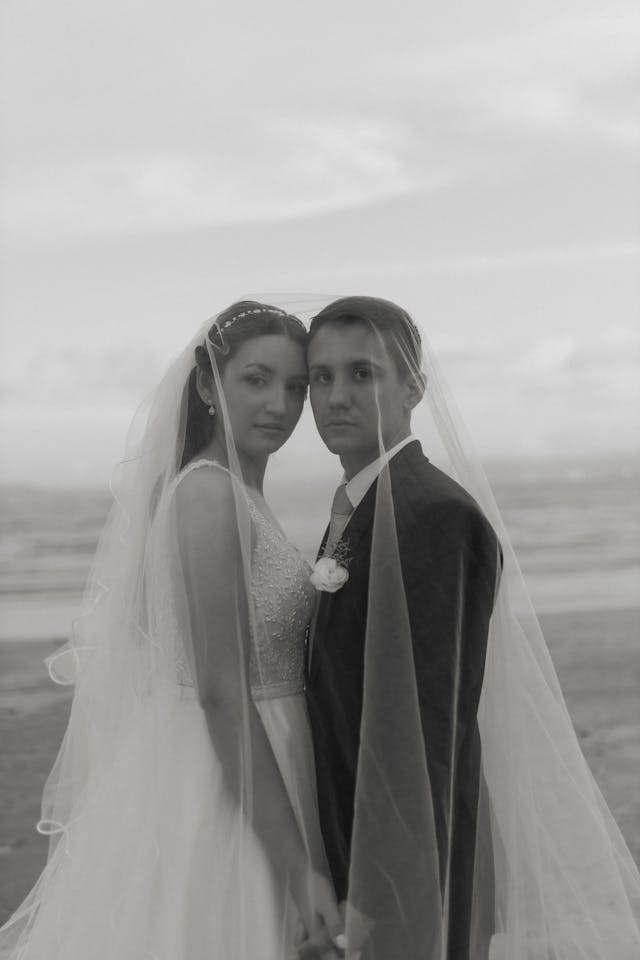
Here is a live wedding gallery built with Galleryberg. It uses the Masonry layout, three columns, a zoom in hover effect, and the lightbox. Click any photo to try it:


Tips for a Better Wedding Gallery
- Lead with your best shot. Put a strong couple portrait first. It sets the mood and often becomes the image people share.
- Split big days into sections. Use a heading and a separate gallery for each part of the day, such as Ceremony, Portraits, and Reception. Shorter galleries load faster and are easier to browse.
- Use the Square layout for details. A small square grid of rings, shoes, and flowers makes a lovely break between larger sections.
- Protect private galleries. If the couple wants privacy, set the page visibility to Password protected in the editor and share the password only with guests.
- Add a short story. A few sentences about the venue and the couple above the gallery make the page more personal and help it rank in search.
- Reuse the setup. Photographers can copy the finished page for the next wedding and just swap the photos, so every client gallery looks consistent.
Building galleries for other celebrations too? Our guide on creating an event gallery in WordPress uses the same approach for parties, conferences, and more.
Frequently Asked Questions
What is the best gallery layout for wedding photos?
Masonry is usually the best choice because it keeps every photo in its original shape, so tall portraits and wide venue shots are never cropped. Justified also works well for sets with many wide photos.
How many photos should a public wedding gallery have?
For a blog post or portfolio page, 20 to 40 of your strongest photos is plenty. Share the full set with the couple privately, and keep the public gallery focused on the highlights.
Can I make a wedding gallery private in WordPress?
Yes. In the block editor, open the page settings, set the visibility to Password protected, and share the password only with the couple and their guests.
Do I need Galleryberg Pro for a wedding gallery?
No. The core Galleryberg plugin includes the Masonry layout, lightbox, captions, hover effects, and responsive columns used in this tutorial. Pro adds extras such as the Mosaic and Carousel layouts and lightbox thumbnails.
Conclusion
A great wedding gallery starts with a careful selection of photos and ends with a layout that lets each moment shine. The default Gallery block is fine for a quick preview, while Galleryberg gives you an uncropped Masonry layout, a full screen lightbox, and per device columns without writing any code.
Want to show off more of your work? Learn how to build a portfolio gallery in WordPress next.