


You built a beautiful gallery, and now you want to share it. Maybe a client asked for a link to their photos, or you want to post your latest travel shots on social media. Sending people to your home page and telling them to “scroll down a bit” is not a great experience.
The fix is simple: give the gallery its own unique URL. In this guide, you will learn three ways to do that in WordPress. You can give a gallery its own page, link straight to a gallery inside a long page, or even link to one single image in the gallery. We will use the block editor and the Galleryberg gallery block, and every method works without code.
Why Give a Gallery Its Own URL?
A unique URL turns a gallery into something you can share, bookmark, and promote. Here are the most common reasons people want one:
- Client delivery: photographers can send each client a direct link to their event or session photos.
- Social sharing: a link that opens right on the gallery gets more clicks than a link to a busy page.
- Menus and buttons: you can add the gallery to your navigation menu or link to it from a call to action.
- Search engines: a dedicated gallery page with a clear title and URL is easier for Google to understand and rank.
- Print and QR codes: a short, clean URL fits nicely on business cards, flyers, and QR codes.
Three Types of Gallery URLs
Before we start, it helps to know which kind of link you need. There are three options, and you can mix them on the same site:
- A page URL, like
example.com/gallery/landscapes/. The whole page is about one gallery. This is the best choice for most people. - An anchor link, like
example.com/portfolio/#landscapes. It opens a longer page and jumps straight down to one gallery. - An image link, like
example.com/gallery/#wp-image-191. It opens the page and scrolls to one specific photo in the gallery.
Method 1: Give Your Gallery Its Own Page
In WordPress, every page and post already has its own URL. So the easiest way to give a gallery a unique URL is to place it on a page of its own. If you are new to galleries, our guide on how to create an image gallery in WordPress covers the basics in more detail.
Step 1: Check Your Permalink Settings
Go to Settings » Permalinks in your WordPress dashboard. Make sure Post name is selected. This gives you readable URLs like example.com/landscapes/ instead of example.com/?page_id=123. Most sites already use this setting, but it is worth a quick check, especially on a new site.
Step 2: Create a New Page and Add the Galleryberg Block
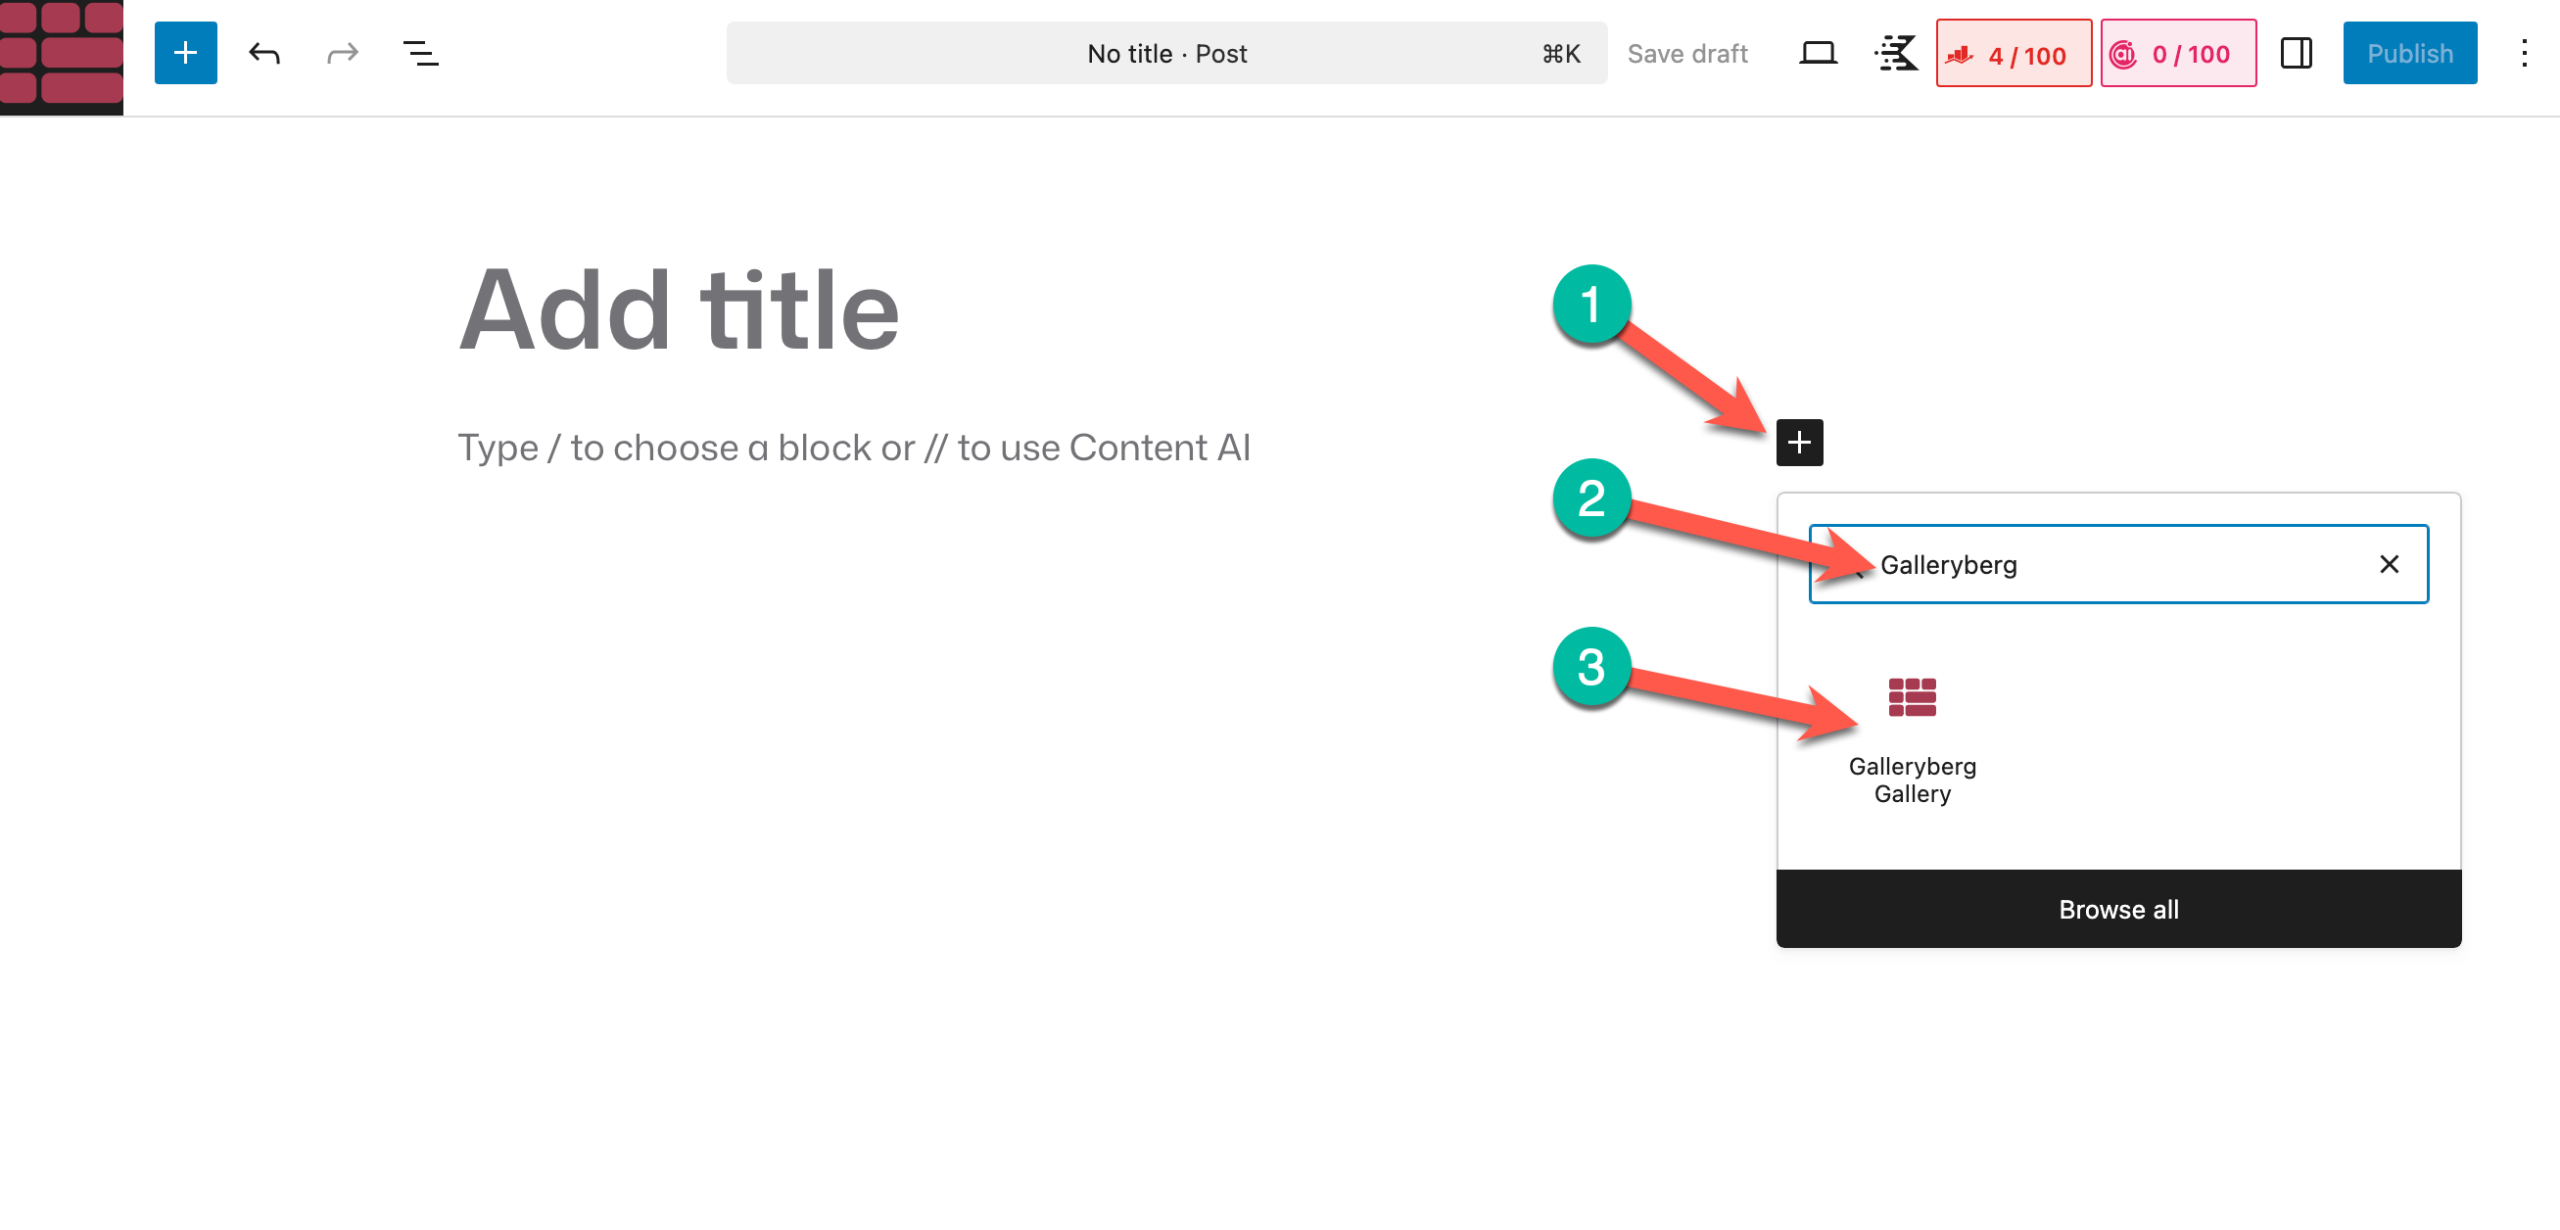
Go to Pages » Add New and give the page a clear title, such as “Landscape Photography”. Then click the + block inserter, search for “Galleryberg”, and add the Galleryberg Gallery block.
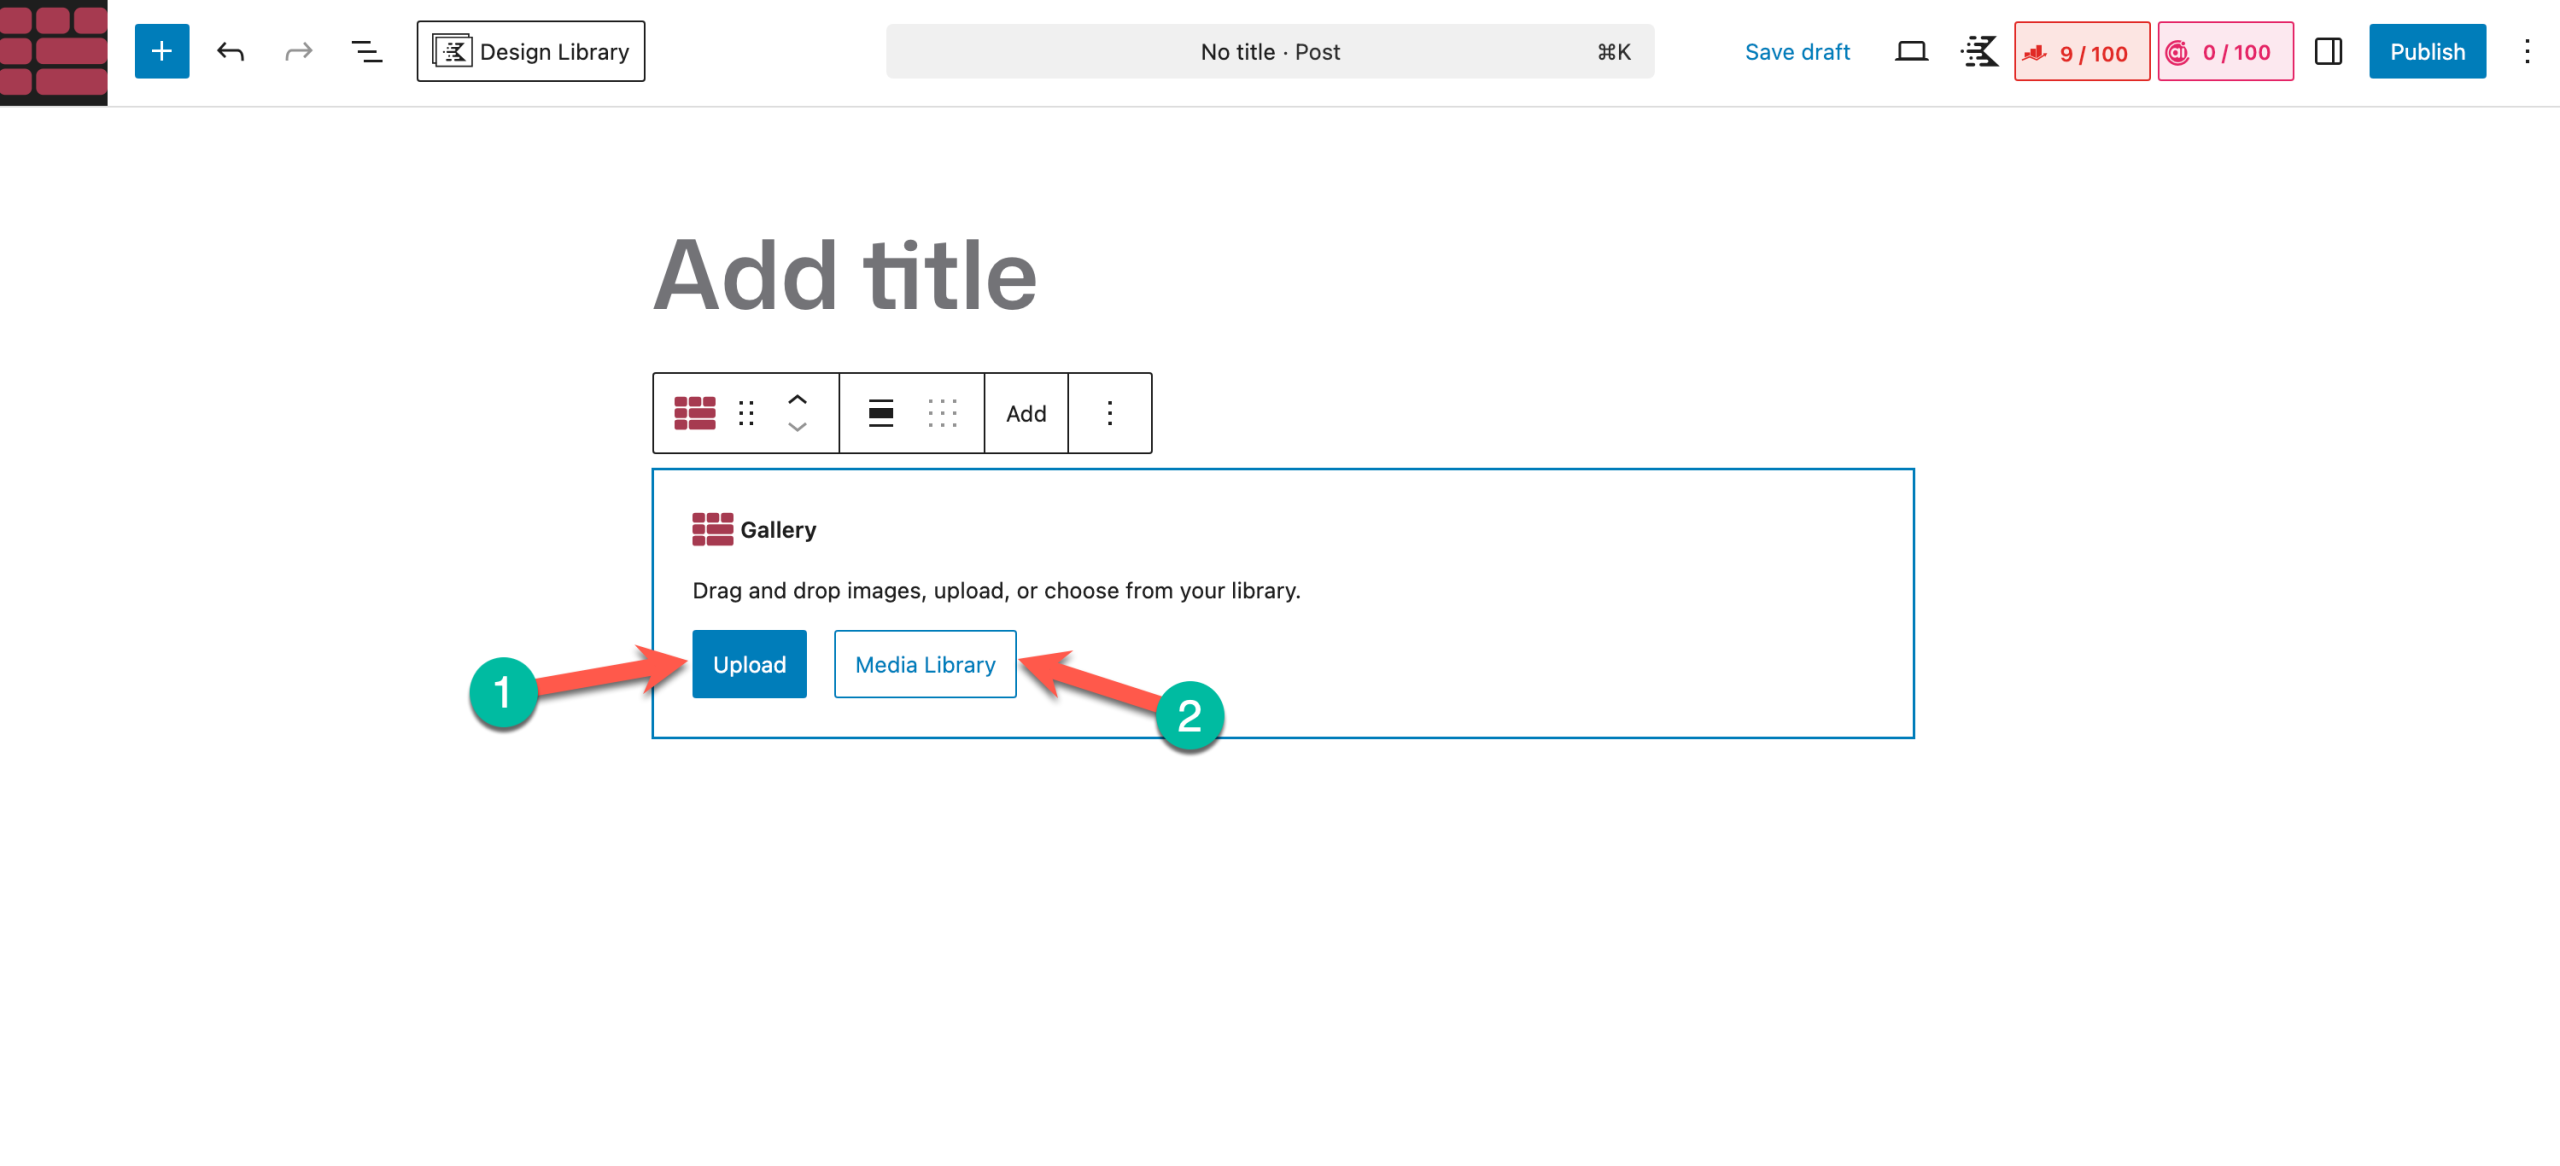
Next, click Upload to add new photos, or Media Library to pick images you have already uploaded.
Step 3: Pick a Layout and Turn On the Lightbox
With the gallery selected, open the block settings sidebar. The core Galleryberg plugin gives you four layouts: Tiles, Square, Masonry, and Justified. Galleryberg Pro adds Mosaic and Carousel layouts. You can also set a different number of columns for desktop, tablet, and mobile.
Since visitors will land directly on this page, it is a good idea to turn on the Lightbox option so they can click any photo to see it full size. Learn more in our guide on how to add lightbox effects to WordPress galleries.
Step 4: Set a Short, Clean URL Slug
WordPress creates the URL from your page title, but you can change it. In the page settings sidebar, click the URL (or Link) field and edit the slug. Keep it short, use lowercase words, and separate them with hyphens. For example, landscapes is better than my-best-landscape-photography-gallery-2026.
Try to choose the slug before you share the link. If you change it later, old links may break unless you set up a redirect.
Step 5: Organize Galleries Under a Parent Page (Optional)
If you have many galleries, create one main page called “Gallery”. Then, for each gallery page, open the page settings sidebar and set Parent to “Gallery”. Your URLs will now look like this:
example.com/gallery/landscapes/example.com/gallery/weddings/example.com/gallery/events/
This structure is easy for visitors to remember, and it tells search engines how your galleries relate to each other. On the main “Gallery” page, you can add a cover image and a link for each gallery.
Click Publish, and your gallery now has its own unique URL that you can share anywhere.
Method 2: Link Straight to a Gallery Inside a Long Page
Sometimes you want several galleries on one page, like a portfolio with sections for different projects. In that case, you can use an anchor link. An anchor is a small label you add to a block. When someone opens the page URL with #label at the end, the browser jumps right to that block.
Step 1: Wrap the Gallery in a Group Block
The Galleryberg Gallery block does not have its own HTML anchor field, so we will use the core WordPress Group block as a wrapper. Select your gallery, click the three dots in the block toolbar, and choose Group. The gallery now sits inside a Group block, and it looks exactly the same on your page.
Another option is to add the anchor to the heading right above the gallery. Both work well. The Group block is a little more precise because the page scrolls to the gallery itself.
Step 2: Add an HTML Anchor
Select the Group block (you can use the List View to make sure the Group, not the gallery, is selected). In the block settings sidebar, open the Advanced panel and type a short name in the HTML anchor field, for example landscapes.
A few rules for anchors:
- Use lowercase letters, numbers, and hyphens only. No spaces.
- Each anchor must be unique on the page.
- Do not type the
#symbol in the field. WordPress only needs the name.
Step 3: Share the Anchor Link
Update the page. Your gallery link is now the page URL plus # and the anchor name, like example.com/portfolio/#landscapes. You can share this link anywhere, or use just #landscapes as the link for a button or menu item on the same page to create a handy “jump to gallery” link.
Method 3: Link to One Specific Image in a Gallery
What if a client wants to show a friend one particular photo? Galleryberg makes this easy without any extra setup. On the front end of your site, every image in a Galleryberg gallery gets an ID based on its Media Library number, in the format wp-image-123.
Step 1: Find the Image ID
Go to Media » Library and click the image. Look at the URL in your browser’s address bar. You will see something like item=191 or post=191. That number is the image ID.
Step 2: Build the Image Link
Add #wp-image- and the ID to the end of your gallery page URL. For example: example.com/gallery/landscapes/#wp-image-191. When someone opens this link, the page loads and scrolls straight to that photo.
Two things to keep in mind:
- The link scrolls to the image, but it does not open the lightbox on its own. Visitors can click the photo to view it full size.
- The image block in the editor shows an HTML anchor field in its Advanced panel, but right now Galleryberg uses the automatic
wp-image-123ID on the front end instead. So use the image ID method above for image links.
Live Demo: Try the Gallery Links
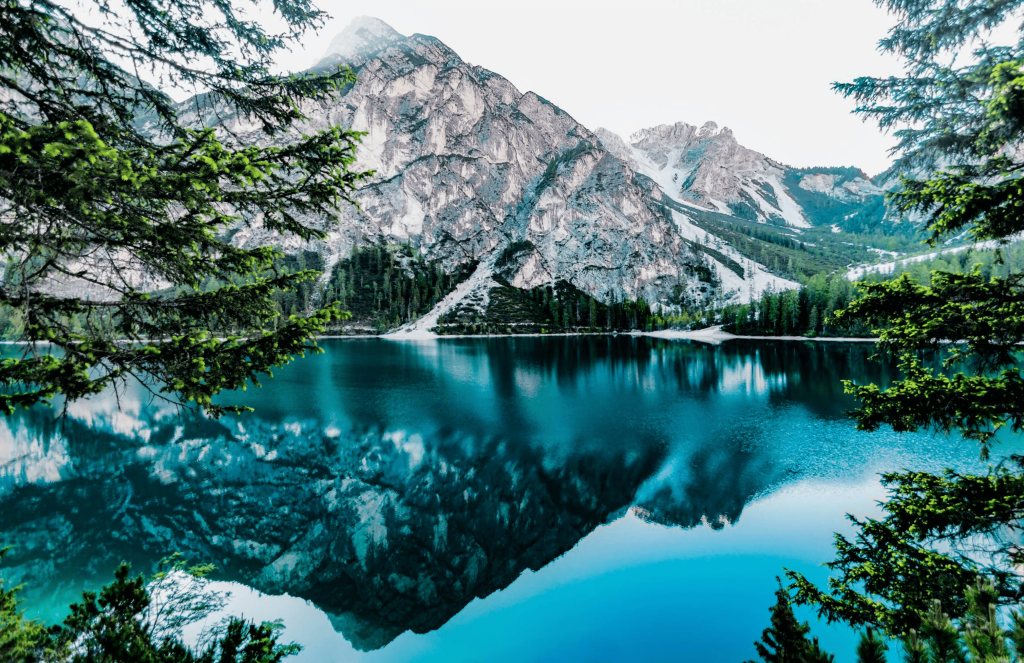
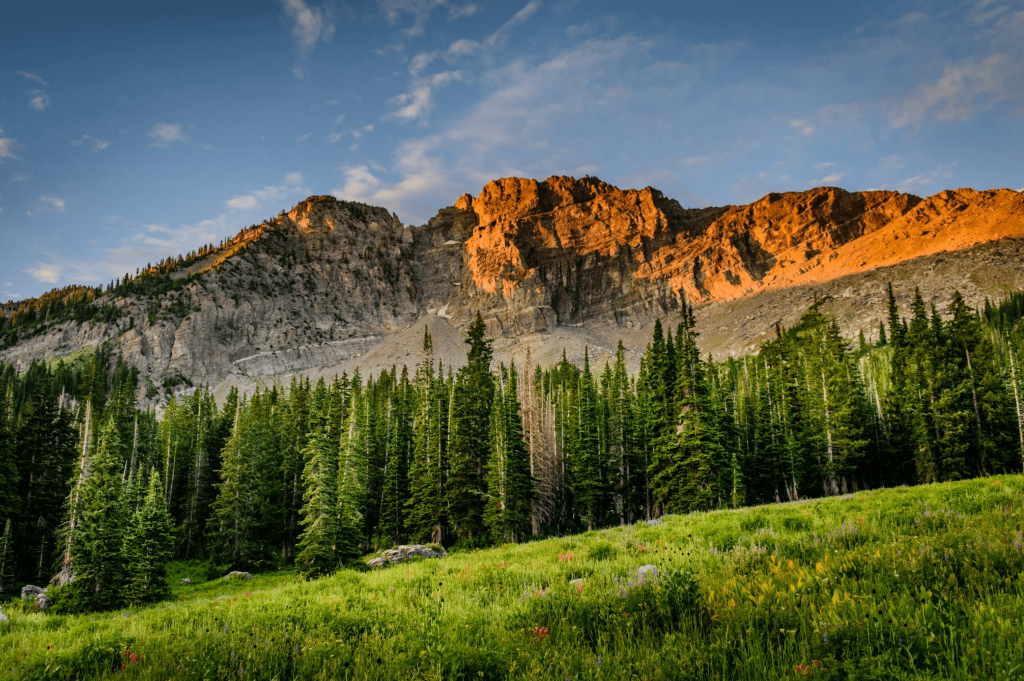
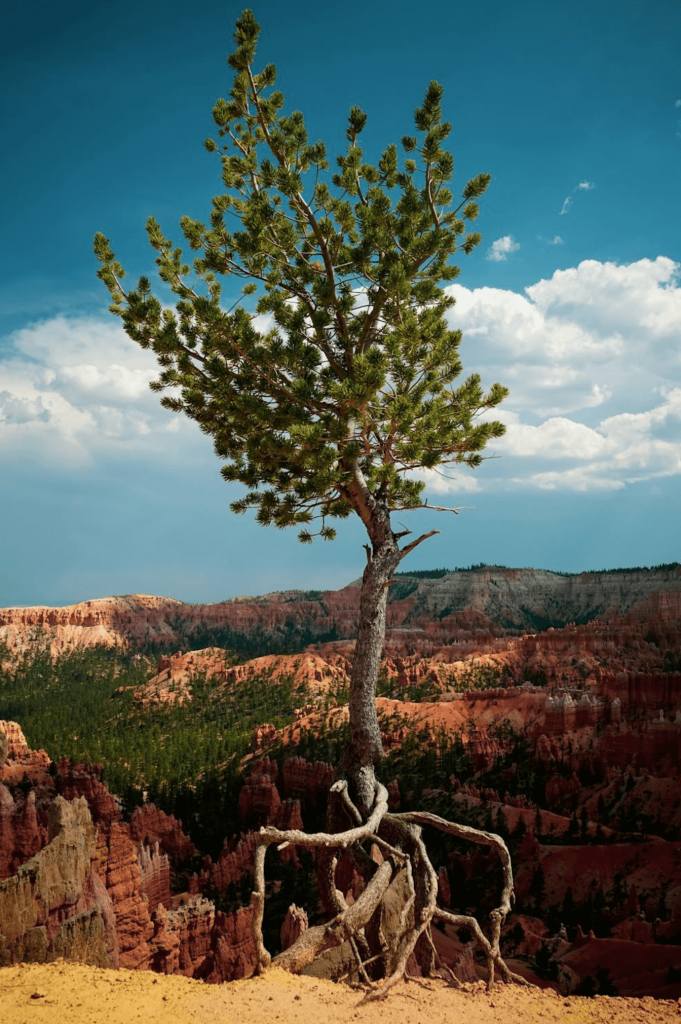
Here is a real Galleryberg gallery wrapped in a Group block with the anchor landscape-gallery-demo. Try these links: jump to the gallery or jump to the mountain lake photo. You can also click any image to open it in the lightbox.



Tips for Clean, Shareable Gallery URLs
- Write a helpful page title and description. When you share a gallery page on social media, the title, description, and featured image appear in the preview. Set a featured image that shows the best photo from the gallery.
- Add alt text to every image. It helps visitors who use screen readers and helps your photos show up in image search. Our gallery SEO guide explains more.
- Keep the page fast. A dedicated gallery page often has many photos, so compress your images and follow our tips on how to make a gallery load faster.
- Make it work on phones. Many people will open your gallery link on a phone. Set fewer columns for mobile in the Galleryberg settings so photos stay large enough to enjoy.
- Use a private page for client galleries. If a gallery is only for one client, set the page visibility to Password protected in the page settings. The URL stays the same, but only people with the password can see the photos.
Frequently Asked Questions
Can I give a WordPress gallery its own URL without a plugin?
Yes. Place the gallery on its own page and set a clean URL slug in the page settings. Every WordPress page has its own URL, so the gallery is instantly shareable. You can also add an HTML anchor to a Group block around a gallery to link to it inside a longer page.
Why does my anchor link not jump to the gallery?
Check that the anchor name in the link matches the HTML anchor field exactly, with no spaces or capital letters, and that you saved the page. Also make sure the anchor is on the Group block around the gallery, since the Galleryberg Gallery block itself has no anchor field.
Will changing the gallery URL break old links?
It can. WordPress tries to redirect old post URLs, but it does not always work for pages. If you change a slug after sharing the link, add a redirect from the old URL to the new one with a redirect or SEO plugin.
Conclusion
Giving your gallery a unique URL makes it much easier to share with clients, friends, and followers. For most sites, a dedicated page with a short slug is all you need. Use anchor links when several galleries live on one page, and use the automatic wp-image IDs to point people to one special photo.
Ready to build your next shareable gallery? Try it with a travel photo gallery or a portfolio gallery, then give each one its own link.