
Displaying images in columns and rows is a way to showcase images in a custom grid format. Instead of showing images one after another in a long list, arranging them in a grid format helps save space and makes it easier for visitors to view related visuals at once.
If your site is built on WordPress, there are many free ways you can display images in rows and columns. So, in this post, we’ll explain free ways of how to display WordPress images in columns and rows. Get started!
Method One: Using the WordPress Columns Block
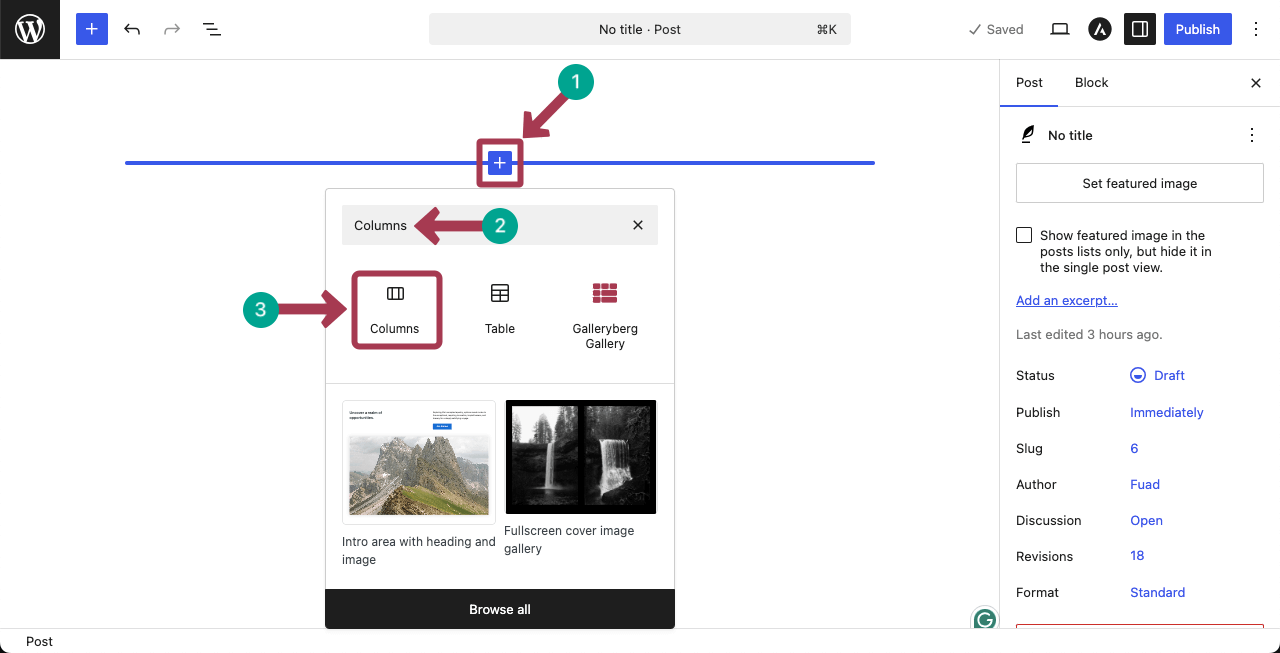
Open a post or page. Add the Columns block to the editor.
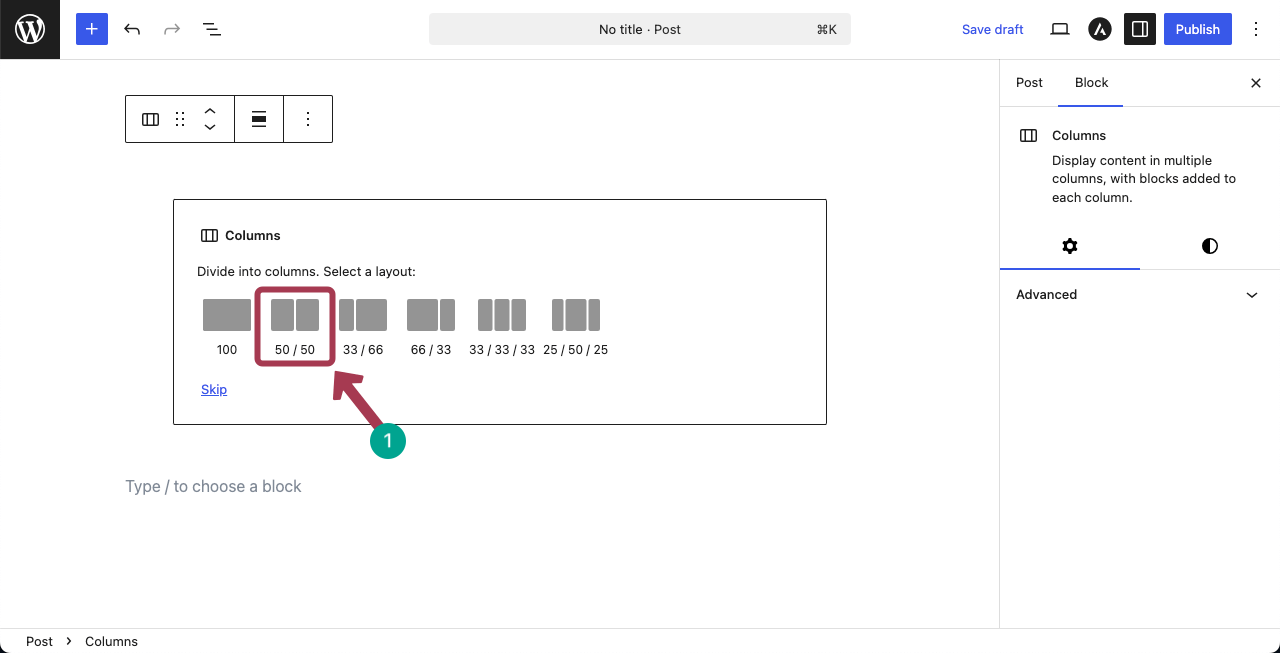
Select a layout that defines how wide each column of the block should be.
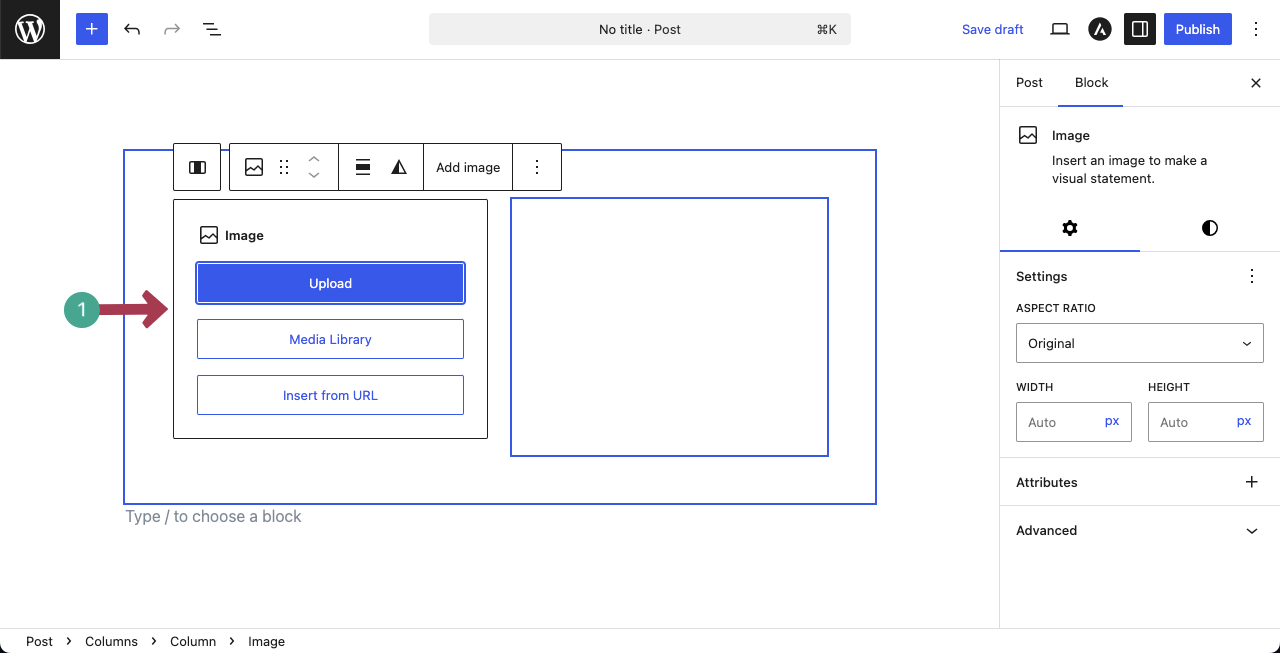
Each column will allow you to add any type of block you want. So, add the Image block to the first column.

You’ll be asked to add an image, whether from your local drive or media library. Select and add the image you want.
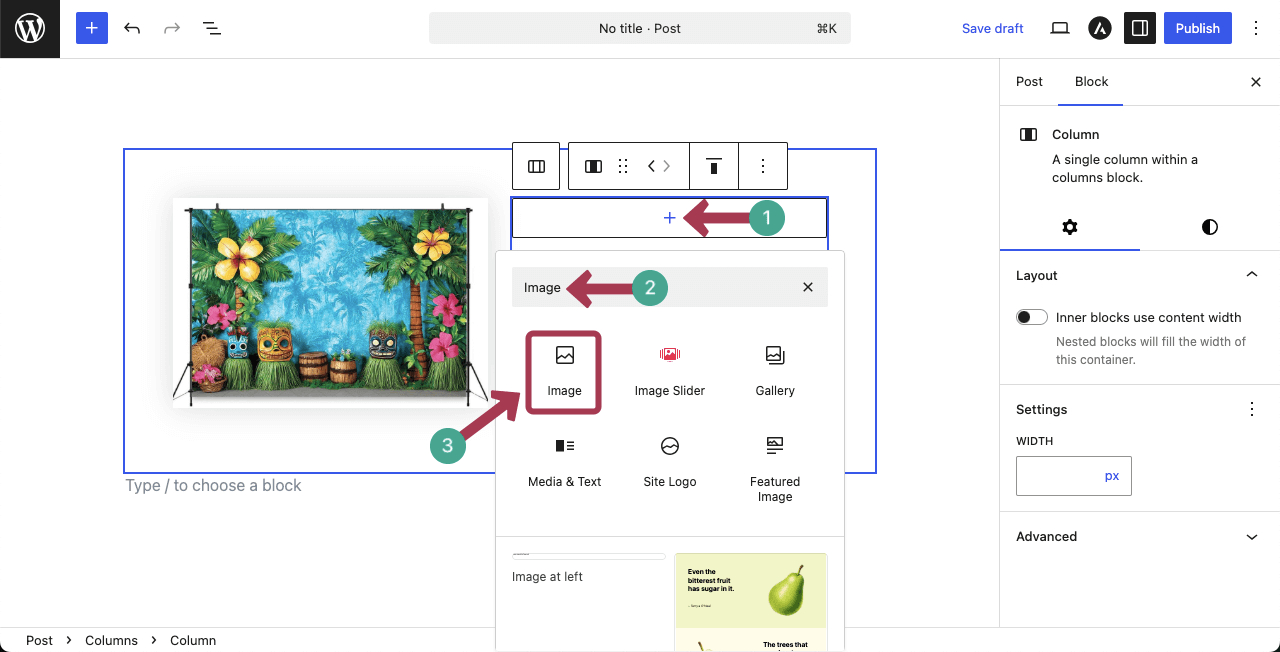
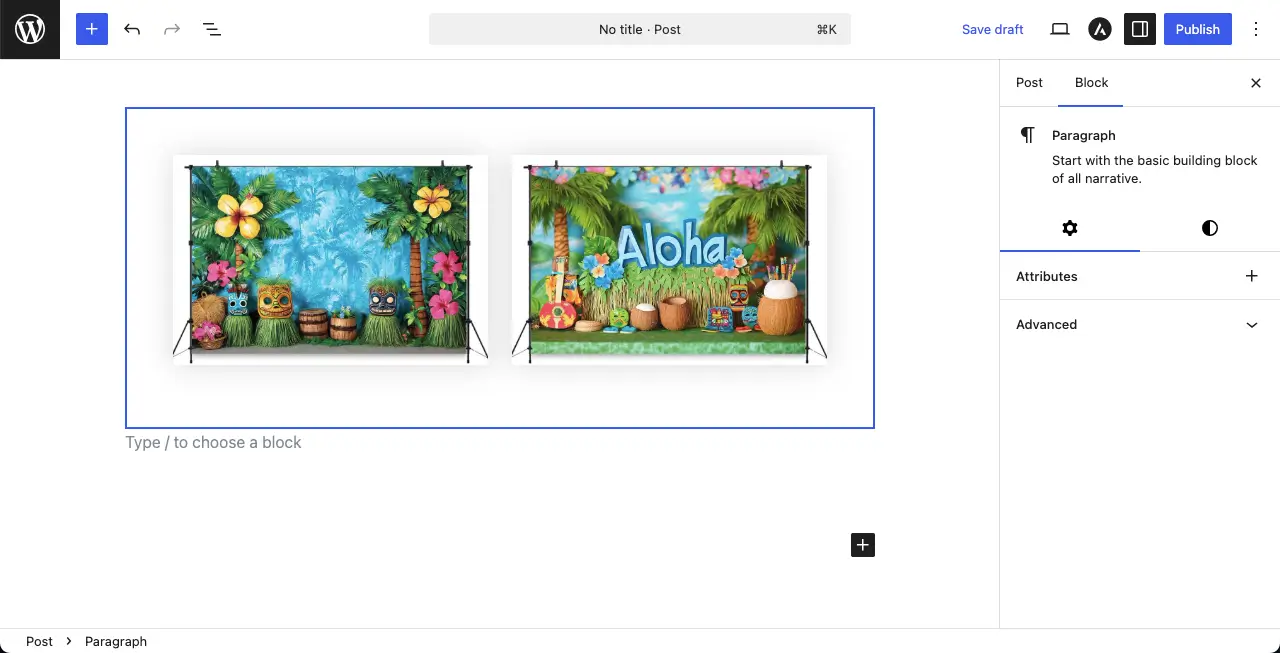
You can see that we have added an image to the first column. Now, in the same way add another image to the second column.
You can see that we have added two images to the columns.
Now, in the same way, you can create a new column under the first column and add images to it. Thus, you can display images in WordPress columns and rows.
Method Two: Using the Galleryberg Plugin
Galleryberg is a dedicated gallery builder plugin that overcomes numerous limitations that the default gallery block has. It comes with multiple gallery layouts (Tiles, Masonry, Justified, and Square) so you can choose the one that suits your content type and web design.
Besides, you can enable lightbox and many more features. Let’s see how to display WordPress images in columns and rows using the Galleryberg plugin.
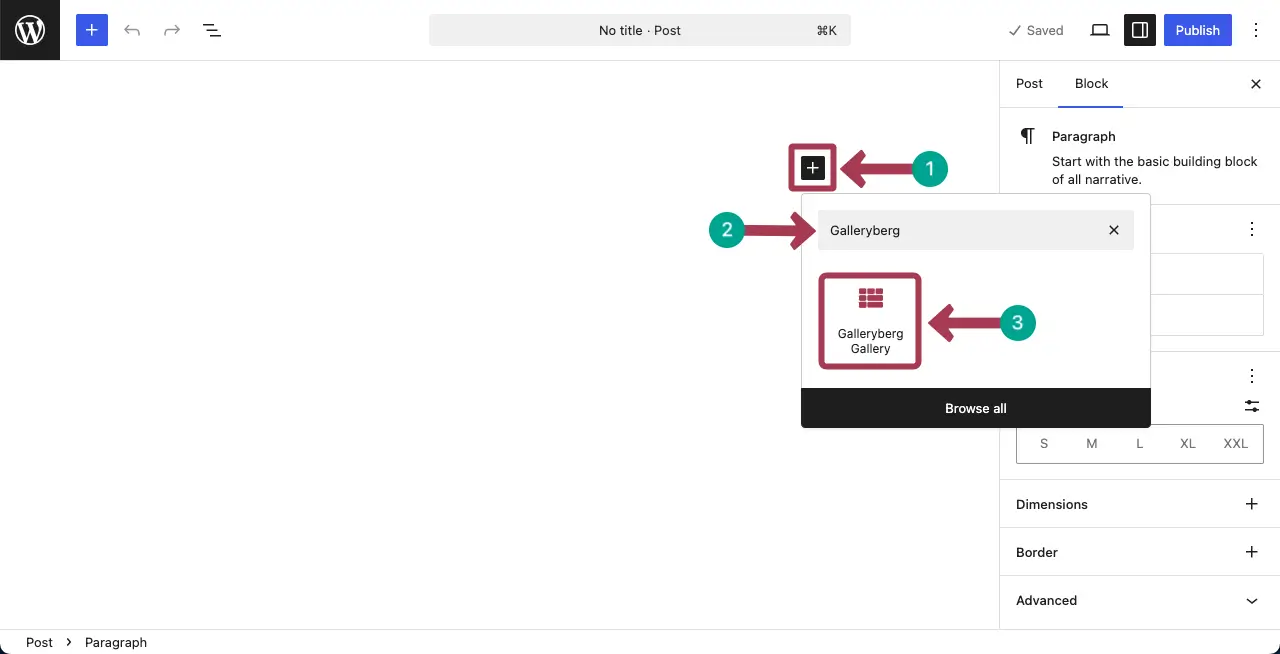
Add the Galleryberg block to the editor.
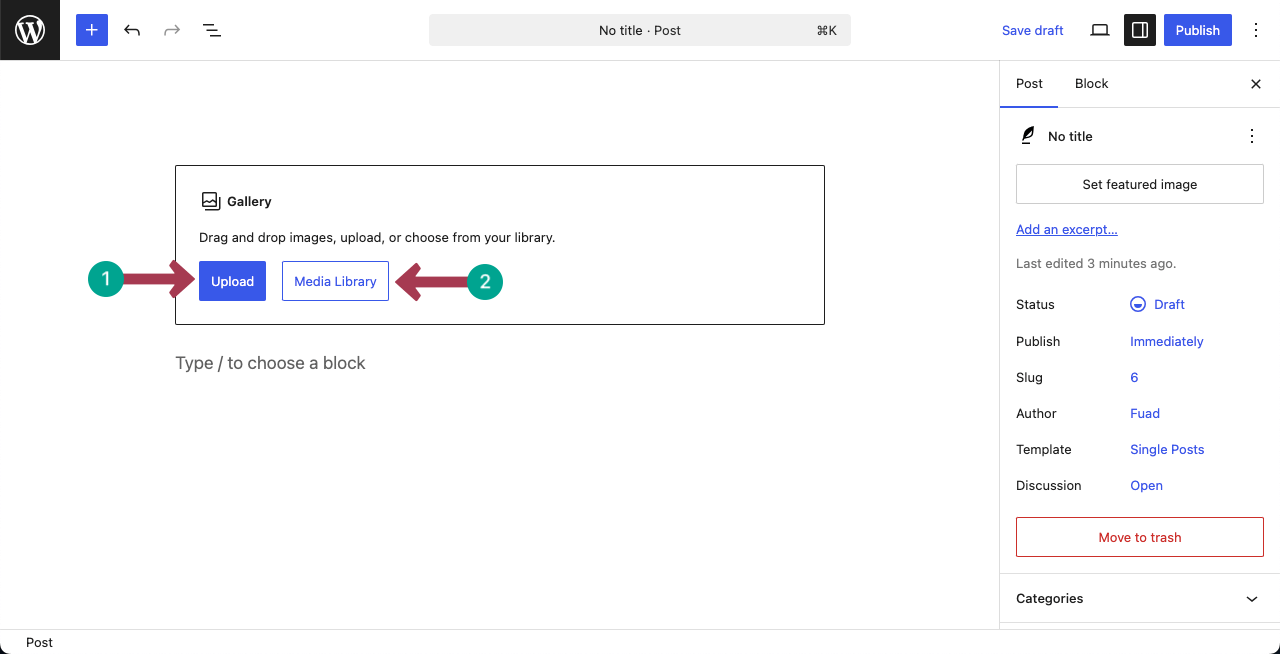
In the same way, upload images from your local drive or media library. You can add as many images as you want. Not limit!
For the tutorial, we have added six images to the block.

Select the entire gallery by clicking the Galleryberg icon on the toolbar. You will see the Columns option show up on the right sidebar.
From this option, you can change the number of columns in the gallery. The number of rows will automatically change corresponding to the number of columns you set.
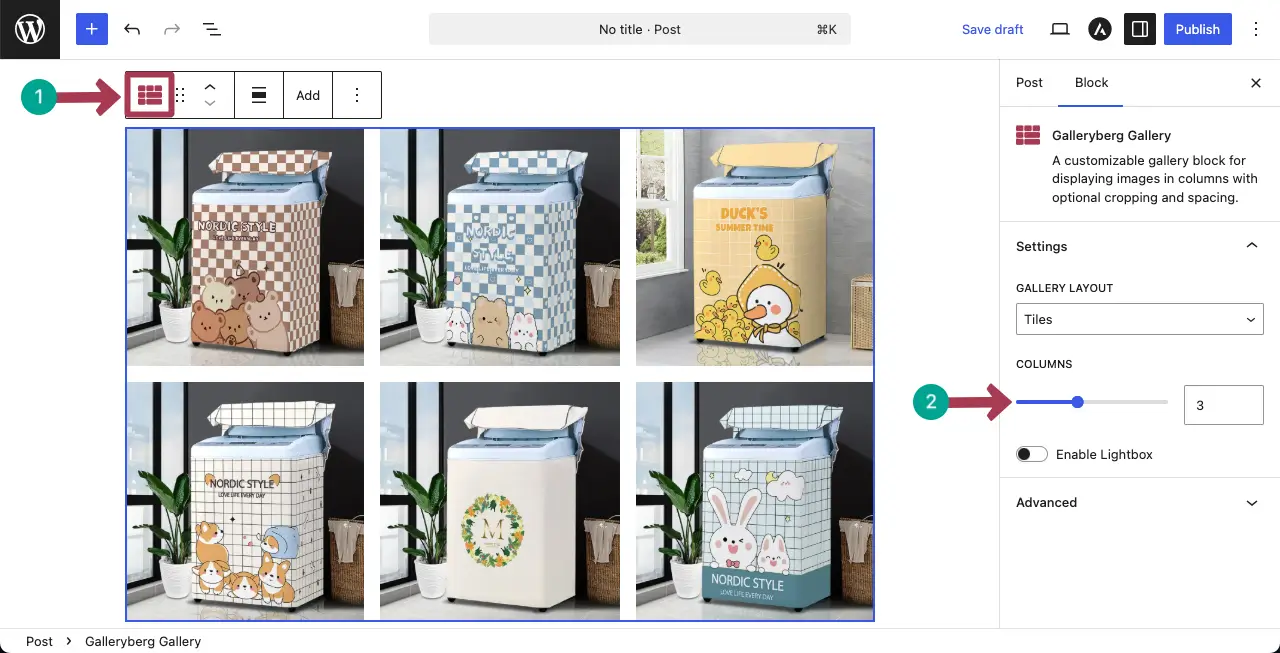
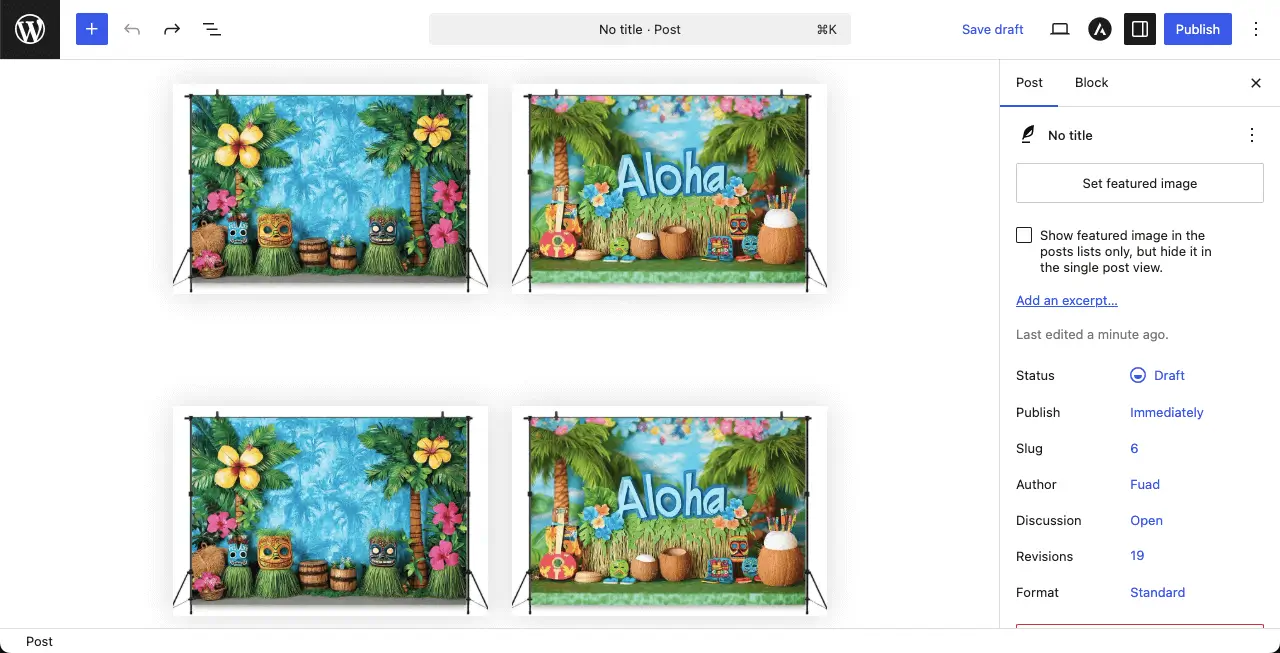
For example, you can see that we have changed the column number. It’s automatically changing number of rows on the editor.
Thus, you can display WordPress images in columns and rows using the Galleryberg plugin.
Method Three: Using the Tableberg Plugin
Tableberg is a multi-purpose table-builder plugin. It allows you to add various custom blocks to its cells, including images, which isn’t possible with the default table block. As a result, you can display images in the table columns and rows.
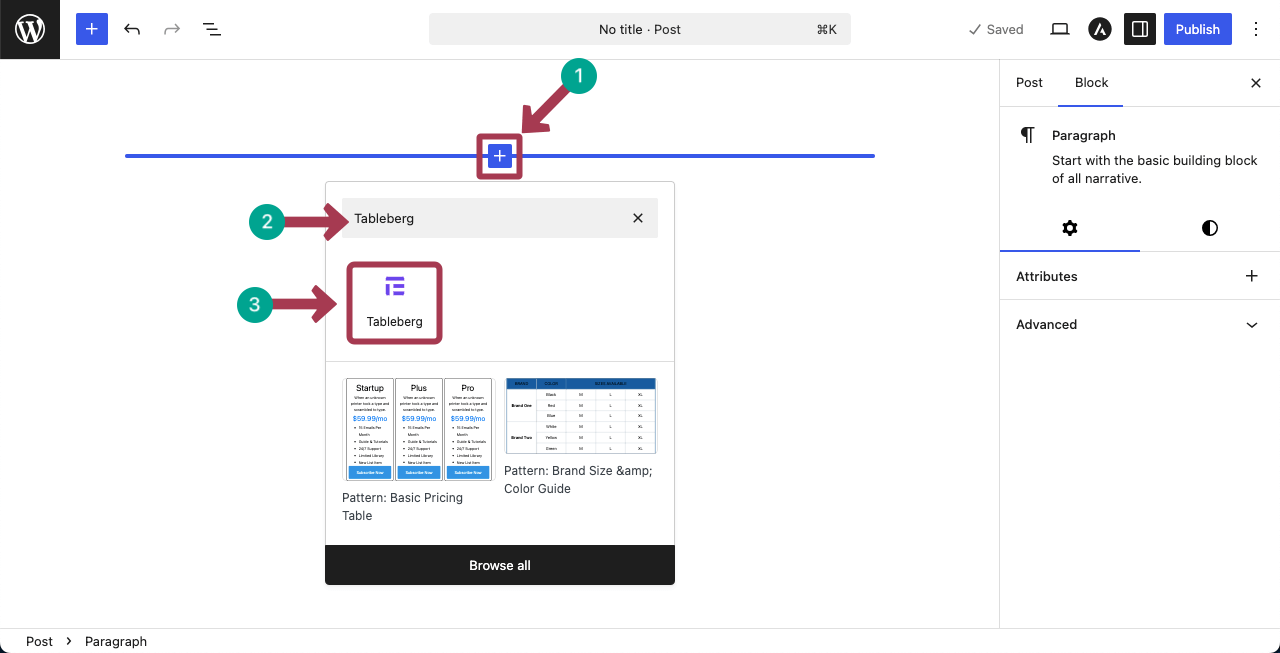
After installing the plugin, open a post or page on your site. Add the Tableberg block to the editor.
Set the number of rows and columns for the table as you want. We are setting 2*4 for the tutorial.
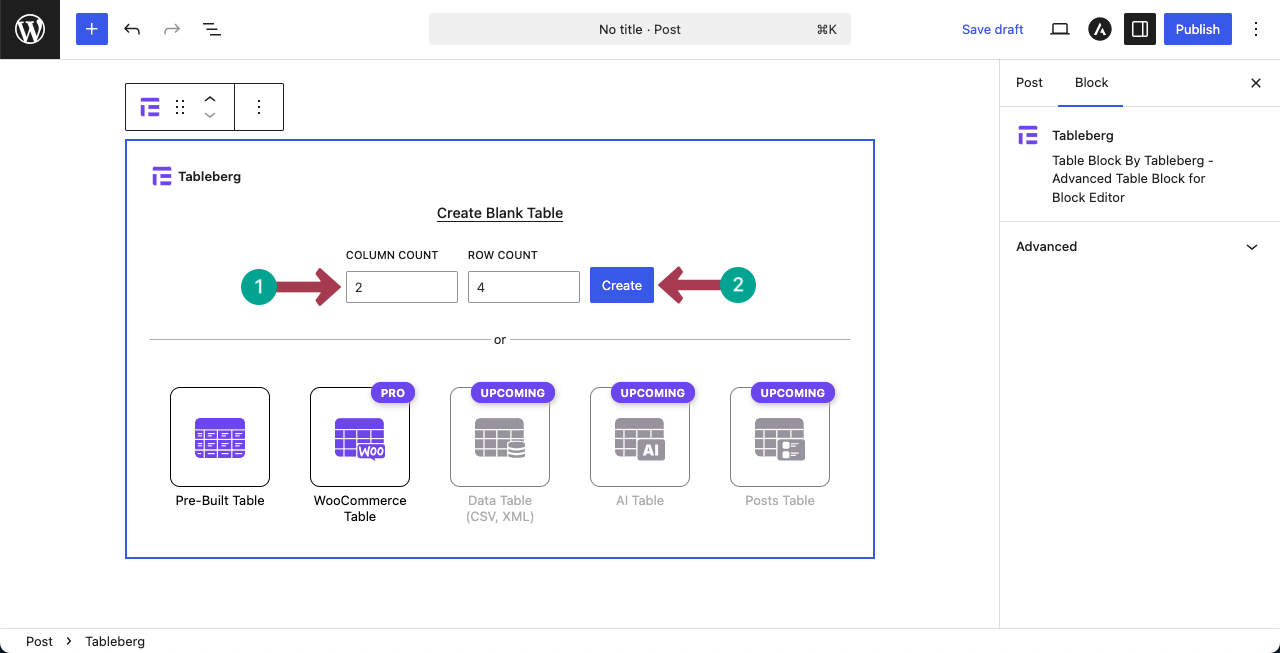
The table layout will be created in a few seconds.
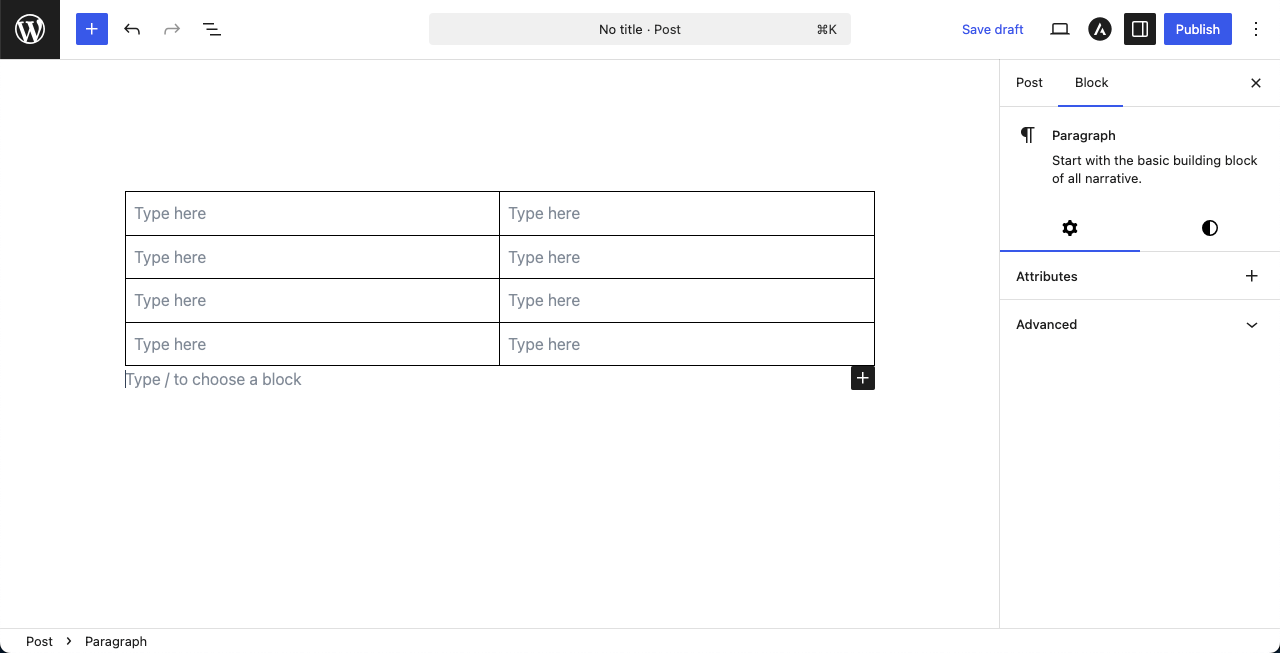
Place your cursor on any cell of the table, and the block icon will appear. Find and add the Image block to the table cell.
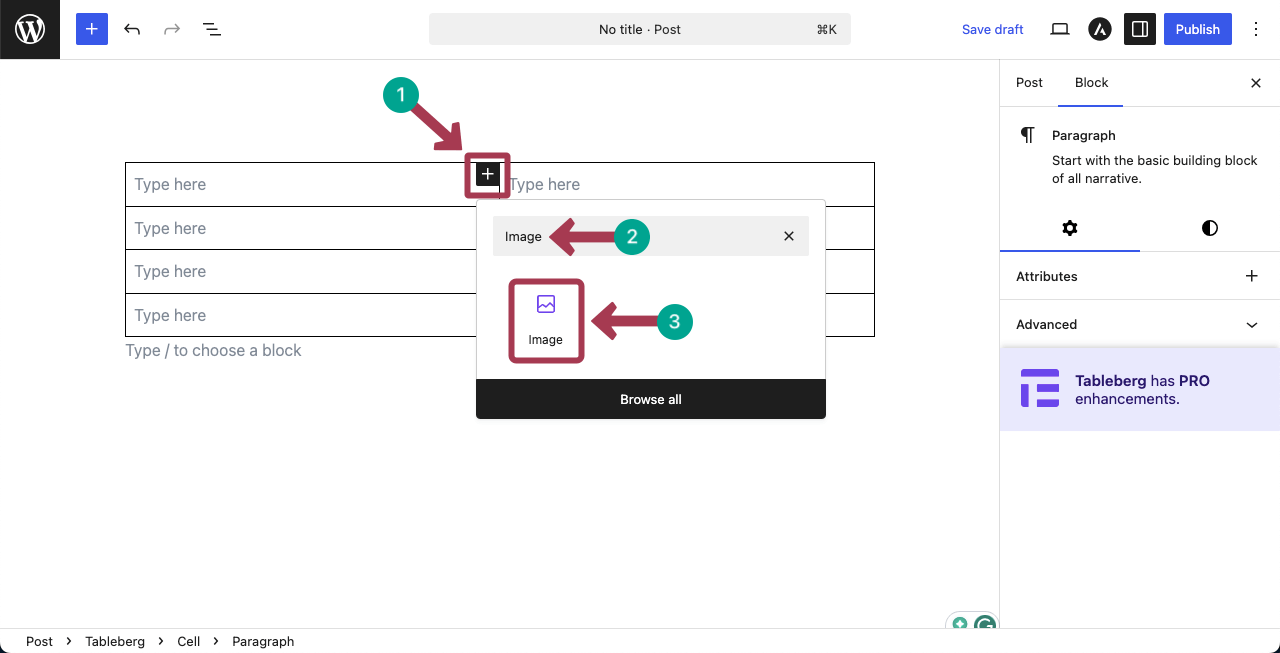
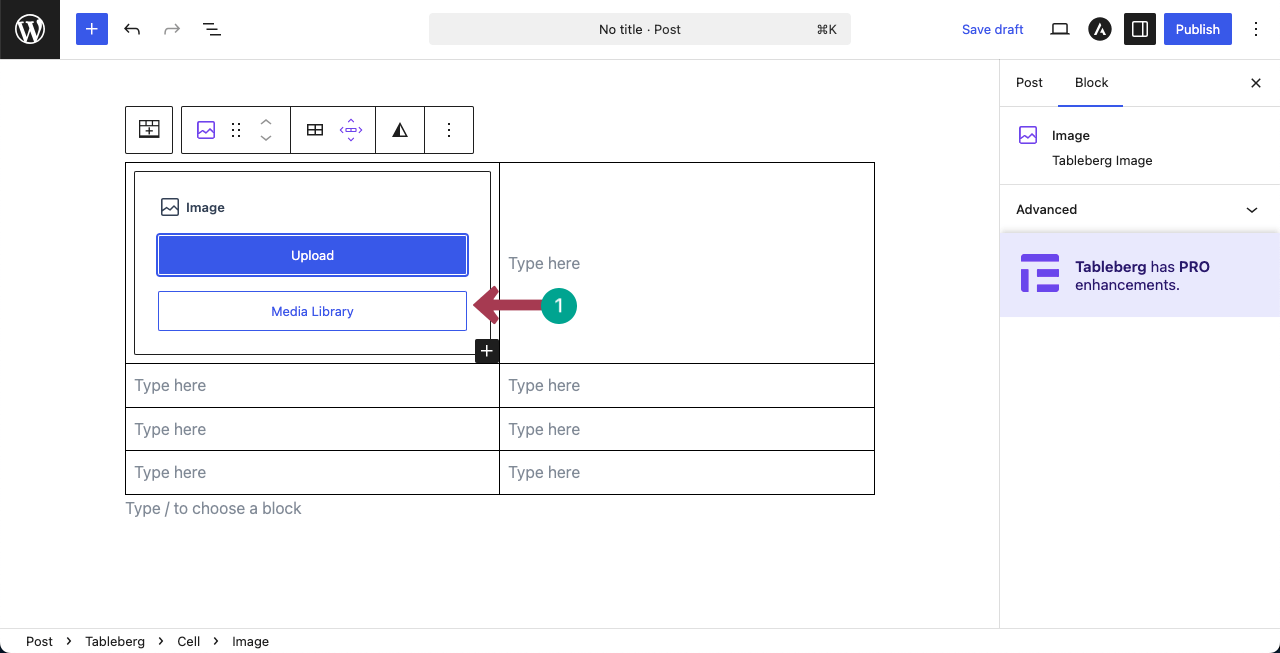
Choose the suitable option to upload or add an image to the table cell.
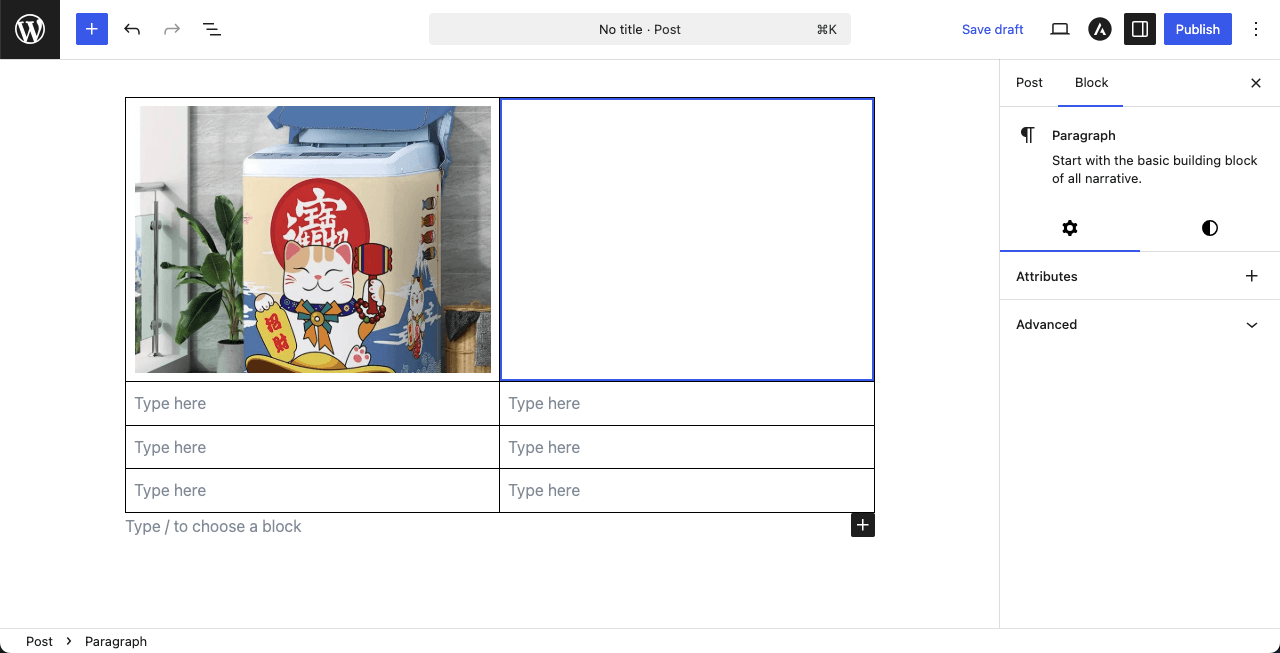
You can see that we have already added an image to the first cell of the table.
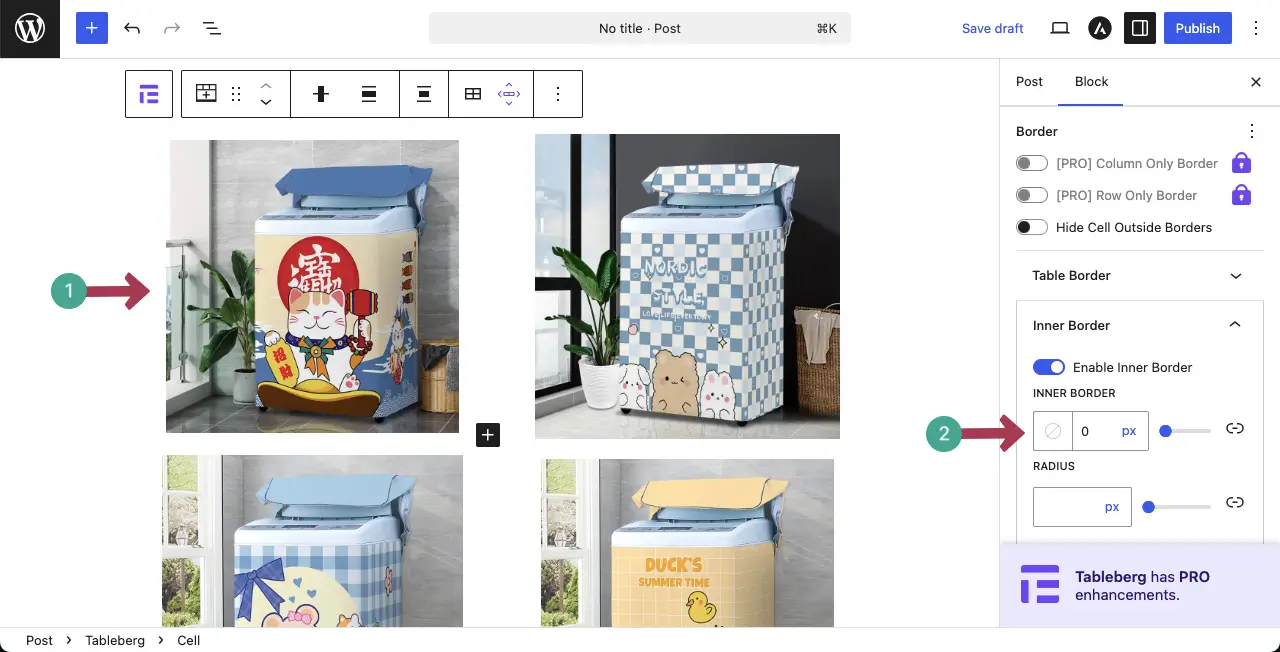
In the same way, add images to the other cells of the table.
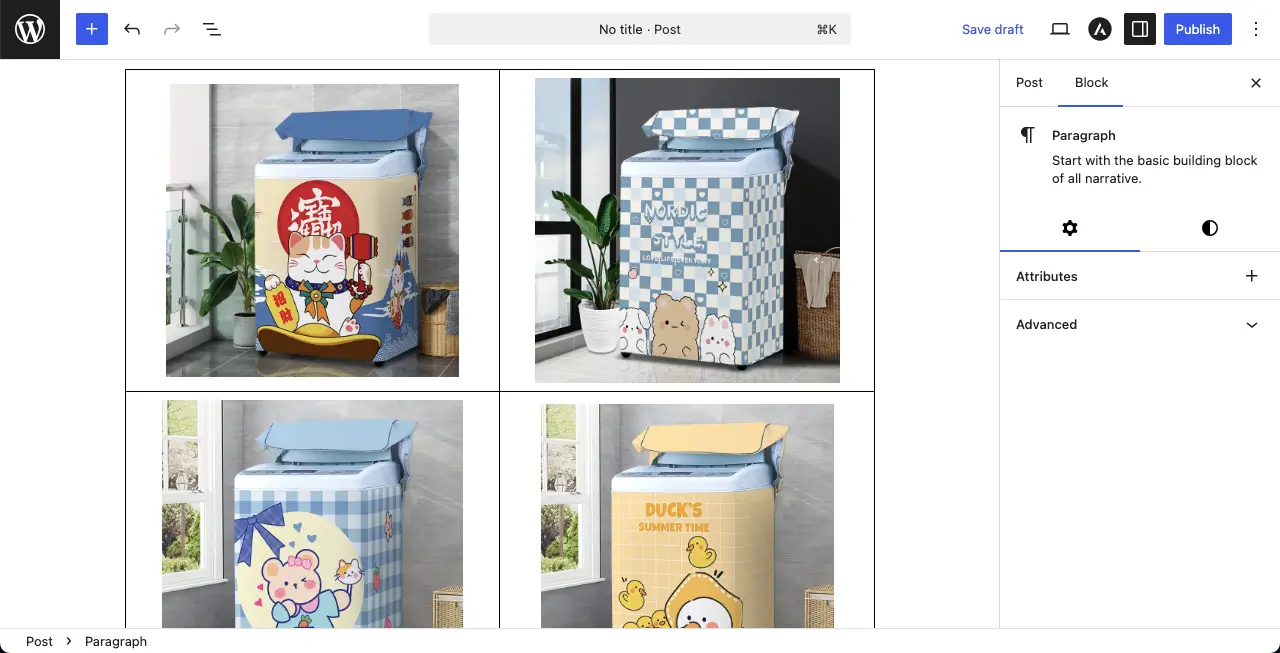
If you don’t like the table border, you can even remove the border to make images look good in columns and rows.
Thus, you can display WordPress images in columns and rows using the Tableberg plugin. Honestly, Tablerberg is a very useful plugin. You can do extensive customizations to create comparison tables, pricing tables, league tables, WooCommerce product tables, and more with it.
Final Words!
Displaying images in columns and rows is a smart way to present multiple visuals in a clean, organized format. However, there are a few things to keep in mind. Make sure your images are all similar in size or aspect ratio to keep the grid looking neat.
Avoid adding too many images in a single row, especially if your site is viewed on mobile. Always check how the layout looks on smaller screens. Also, optimize your image files to prevent slow page load times.
If you have any queries or feedbacks, mention it in the comment box below.
Leave a Reply