
A portfolio gallery is a visual section of your website where you display samples of works that you have already completed. It usually includes images, short descriptions, and sometimes project details or client names. If you are thinking of creating a portfolio site, this section is a must.
Because a portfolio gallery works as proof of your skills. It builds trust with visitors who are thinking about hiring you. Instead of just reading about your experience, they can actually see your work.
In this step-by-step guide, we’ll show you how to build a portfolio gallery in WordPress.
Characteristics of a Portfolio Gallery
A well-designed portfolio gallery is more than just a collection of images. It should be organized in a way that highlights your skills and makes it easy for visitors to explore your work. Below are some of the most important characteristics that a portfolio gallery should have:
1. Clear Visual Presentation
The gallery should display your work in a clean and professional layout. The images should be sharp and well-cropped. Avoid using blurry or low-quality images, as they can leave a bad impression.
2. Organized by Categories or Types
If you work on different types of projects or topics (e.g., photography, web design, branding), group them into categories. This helps visitors easily find the type of work they’re interested in.
3. Clickable Image or Project View
Each image should be clickable and open a larger view or a project detail page. This allows visitors to learn more about the project.
4. Short Descriptions or Captions
Adding a short description or caption helps explain what each project is about. You can include the client name, tools used, date, or the result achieved.
5. Mobile Responsive Design
Your portfolio gallery should work well on all screen sizes: desktop, tablet, and mobile. Make sure the images adjust properly and the layout stays neat across devices.
Explore the best WordPress portfolio plugins to showcase your work.
How to Build a Portfolio Gallery in WordPress
From the discussion above, you can already understand what features a good portfolio gallery should have. And these features are not possible to achieve using the default WordPress Gallery block alone.
That’s why you’ll definitely need additional plugins. But don’t worry, in this tutorial, we’ll use two free plugins to build the portfolio gallery. You won’t need to pay anything to get started. Install and activate the following plugins on your site.
Ultimate Blocks comes with 25+ custom blocks to enhance the default block editor’s library. Galleryberg is a feature-rich gallery-builder plugin, developed to overcome all the limitations of the default gallery block.
Once these plugins are ready on your site, start following the steps explained below.
Step 01: Add the Tabbed Content Block to the Editor
The Tabbed Content is a powerful block of the Ultimate Blocks plugin. With this block, you can create multiple galleries, categorizing them under the same block. This will work as a filterable gallery block.
So, add the Tabbed Block to the editor as you add other blocks.
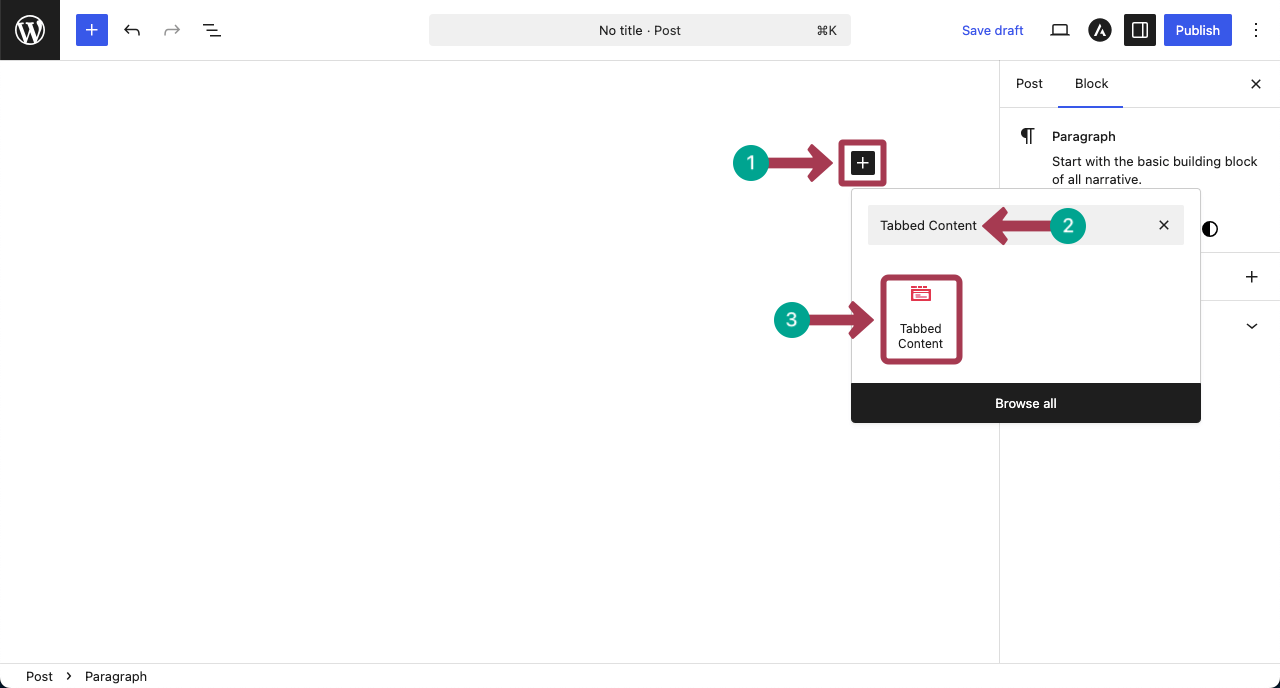
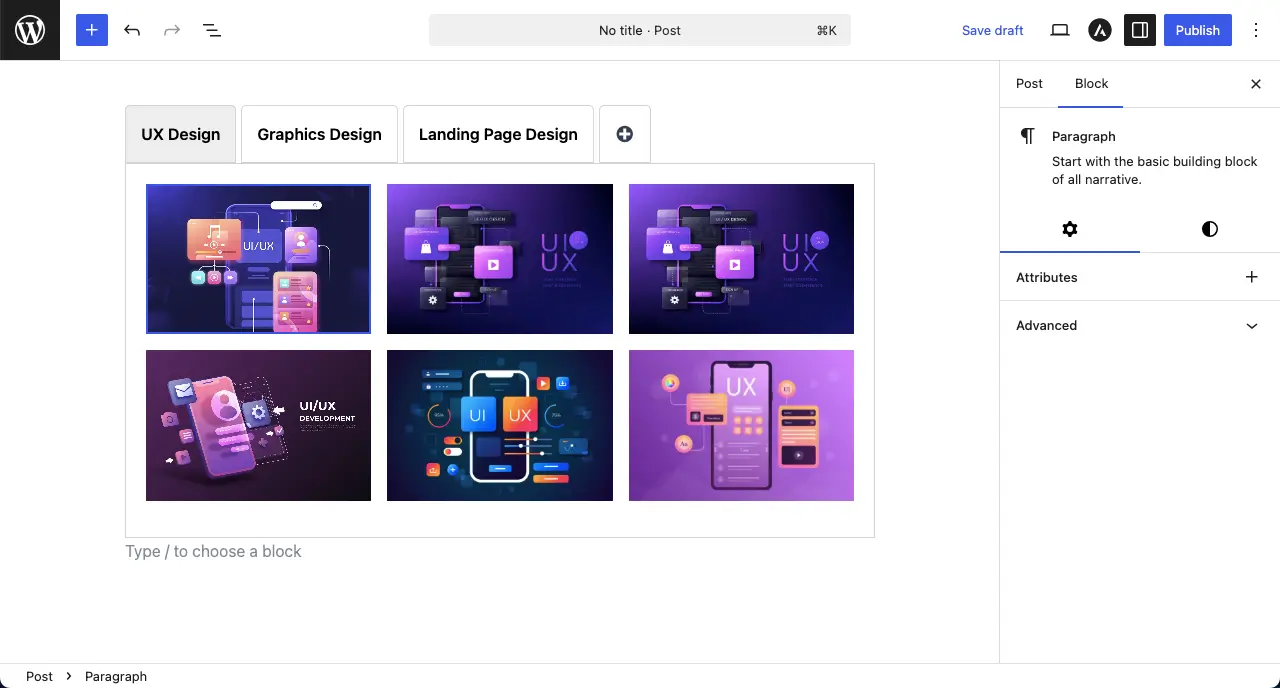
By clicking the (+) icon, you can create as many tabs as you want. Those tabs will be used as categories.

You can see that we have created three tabs for the block.
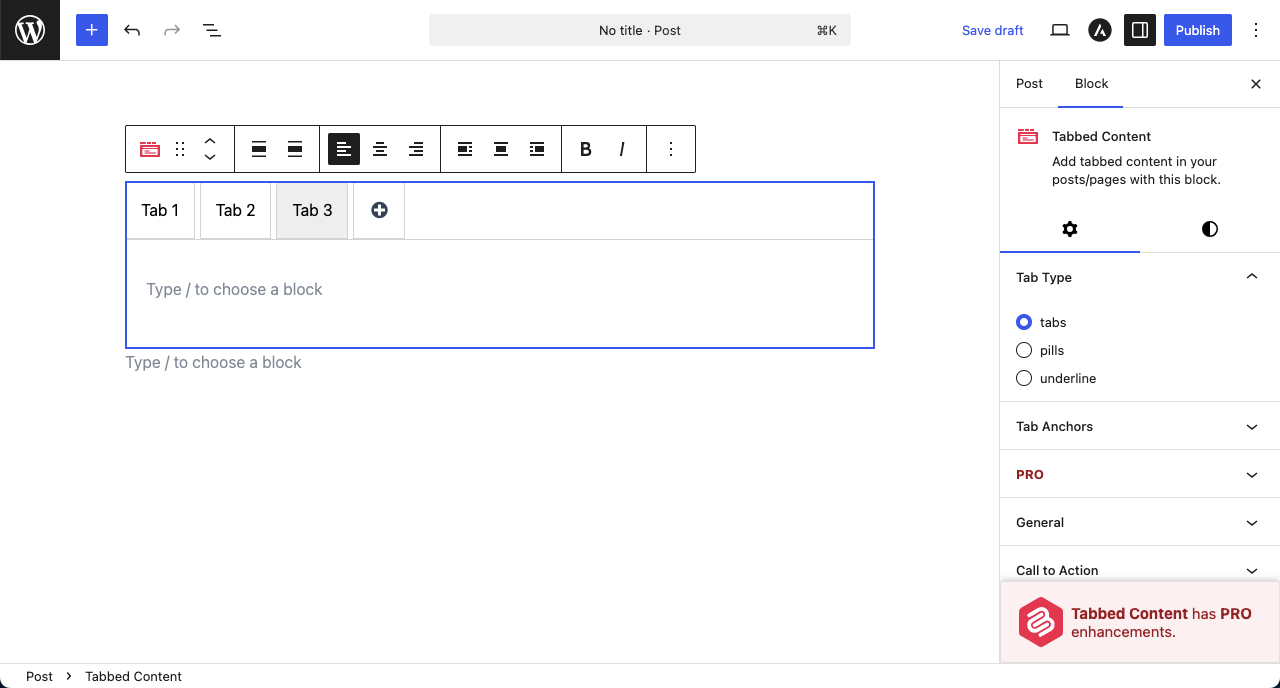
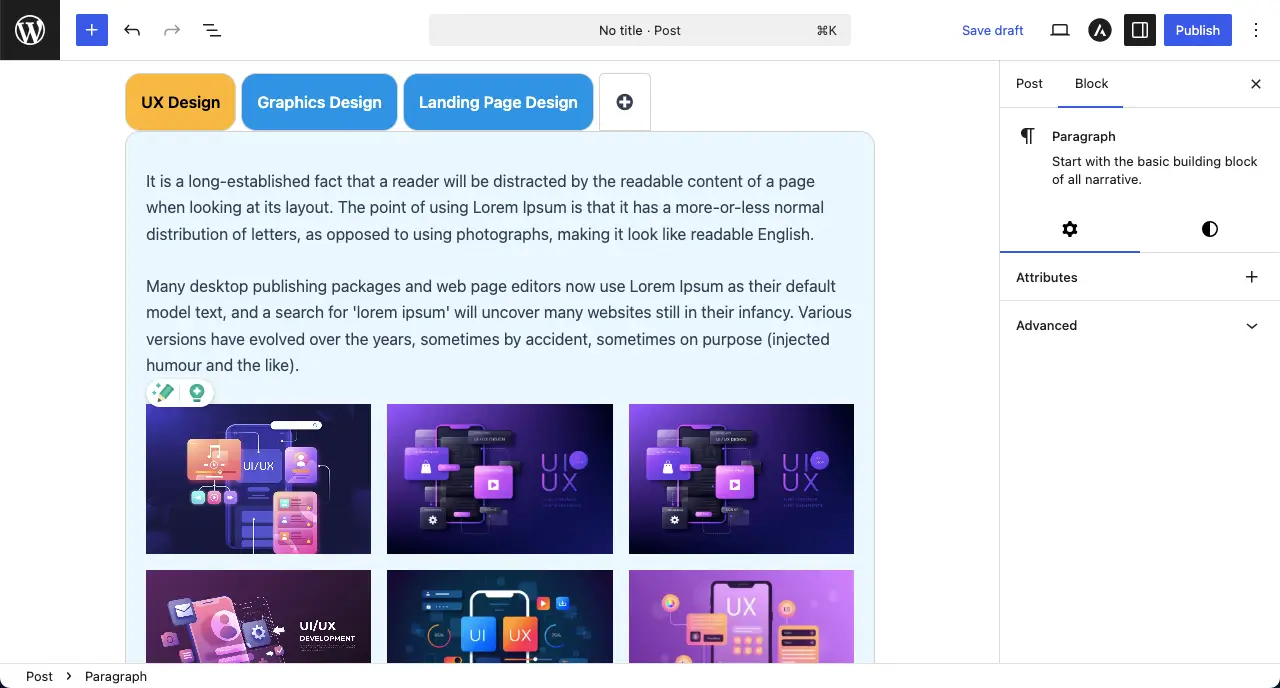
Step 02: Name Categories of Your Portfolio Projects
Once tabs have been created, you have to name them according to the types of project works you want to display.
Just place your cursor on the tabs. You’ll get the option to rename them. The process has been shown in the video clip attached below.
Take a look at the best Gutenberg tab block plugins.
Step 03: Add the Gallery Block to the Tabs One by One
Now, under each category, start adding the Galleryberg block. This block comes with the Galleryberg plugin. The process is as simple as adding blocks to the WordPress editor.
Just place your cursor into the content space of a category. The plus (+) icon will instantly appear. Then, find and add the Galleryberg block.
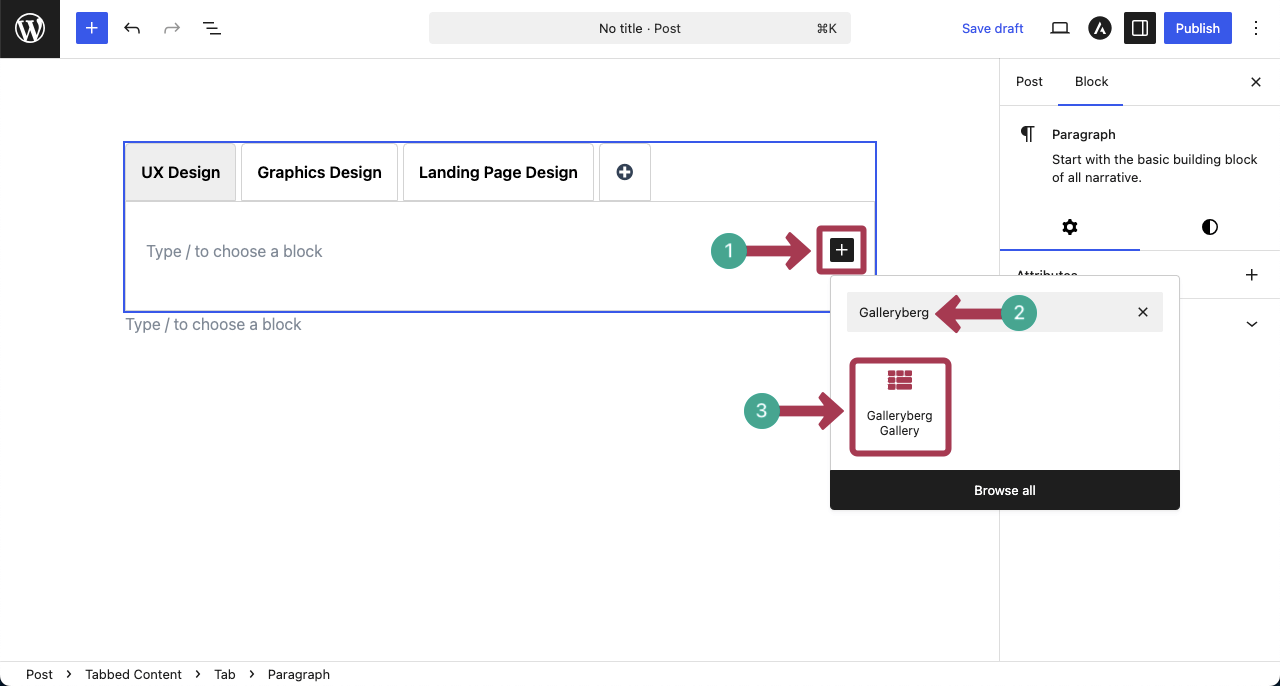
After the block is added, start importing images to the block using a suitable option.
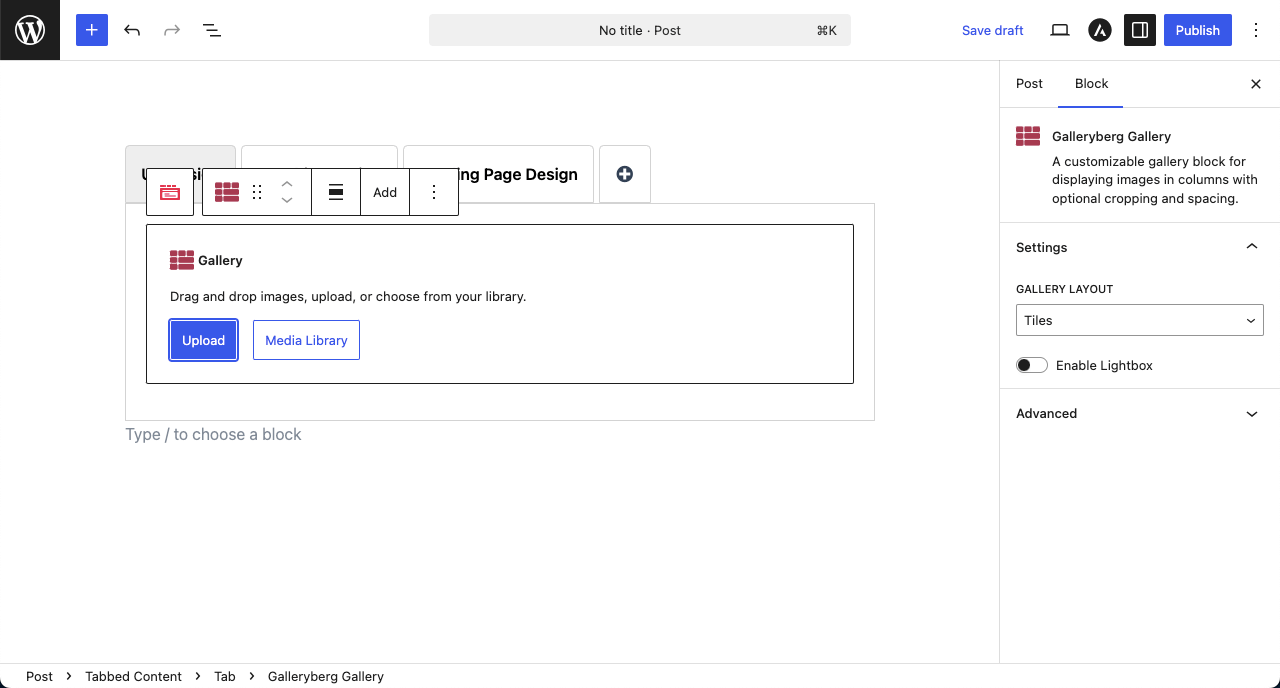
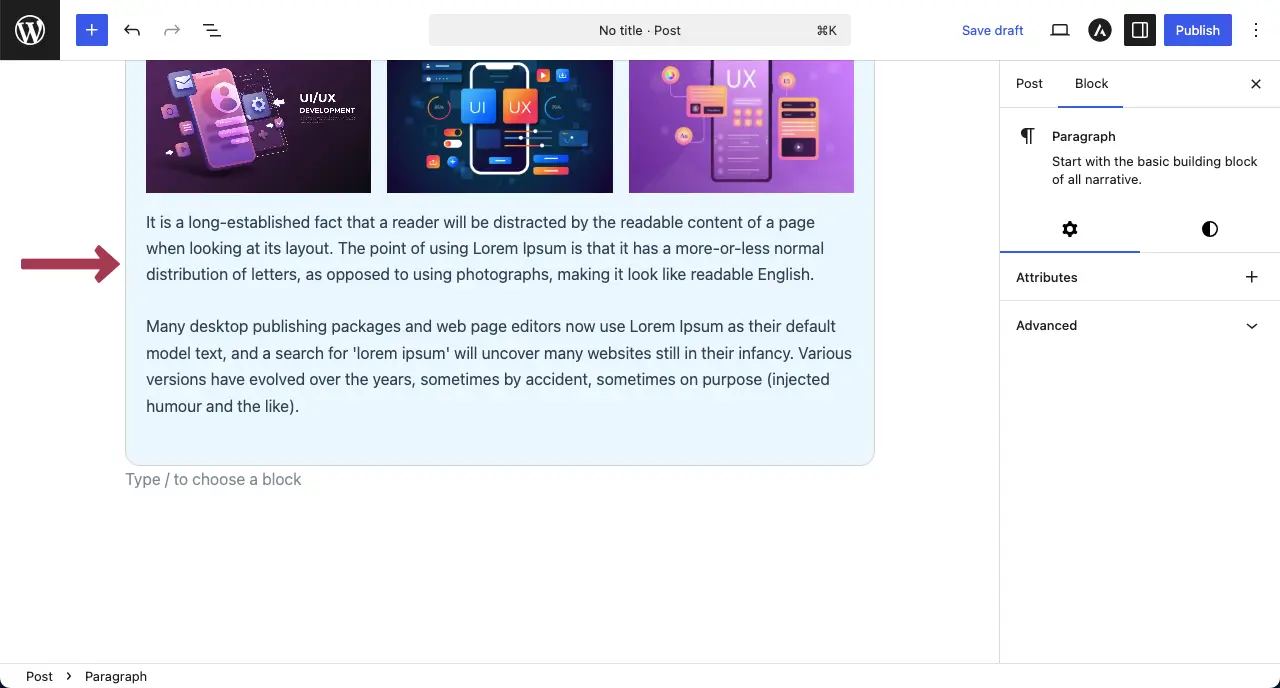
Step 04: Add Images to the Tabs
You can see that we have added a batch of images to the first category (UX Design), as shown in the following image.
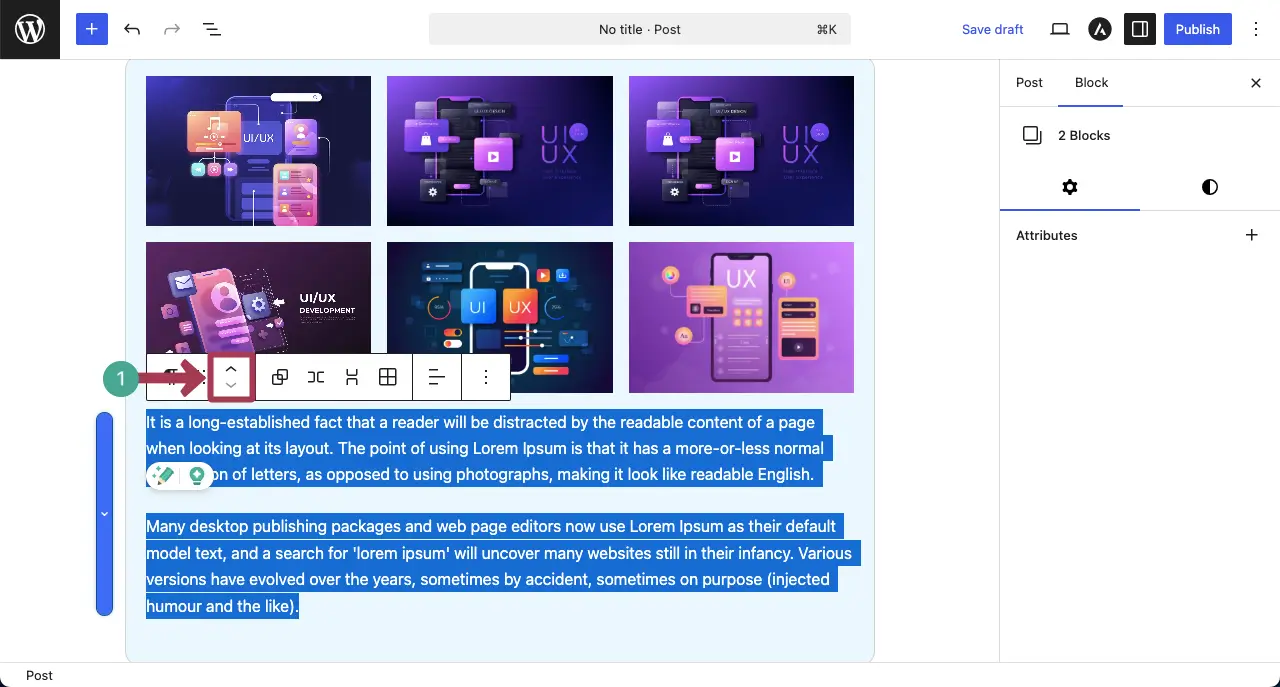
Step 05: Configure the Galleryberg Block
After images are added, you can stylize the Galleryberg block so it can present your content much better.
Select the entire gallery by clicking the Galleryberg icon on the toolbar. Next, you can change the Gallery Layout, Columns, and Lightbox from the right sidebar.

The short video clip attached below shows how the gallery reacts once you start making the changes from the settings section.
When the Lightbox option is enabled, you can change the lightbox effect, navigation, and many other options as you like.
Step 06: Add Galleries to the Other Tabs
In the same way, add galleries to the other tabs of the Content Tabbed block. Also, don’t forget to enable the lightbox and configure the necessary settings for each gallery.
Step 07: Change Settings of the Tabbed Content Block
To get the best from the Tabbed Content block, you can update its settings and stylizations as you desire.
For this, click the Tabbed Content icon on the toolbar to select the entire block. The Settings tab will show up on the right sidebar.
From the settings tab, you can change the Tab Type, Tab Anchors, Call-to-Action, Visibility Control, and Animation. Hope you can do the changes yourself.
Note: The Red Marked sections are reserved only for Premium users.
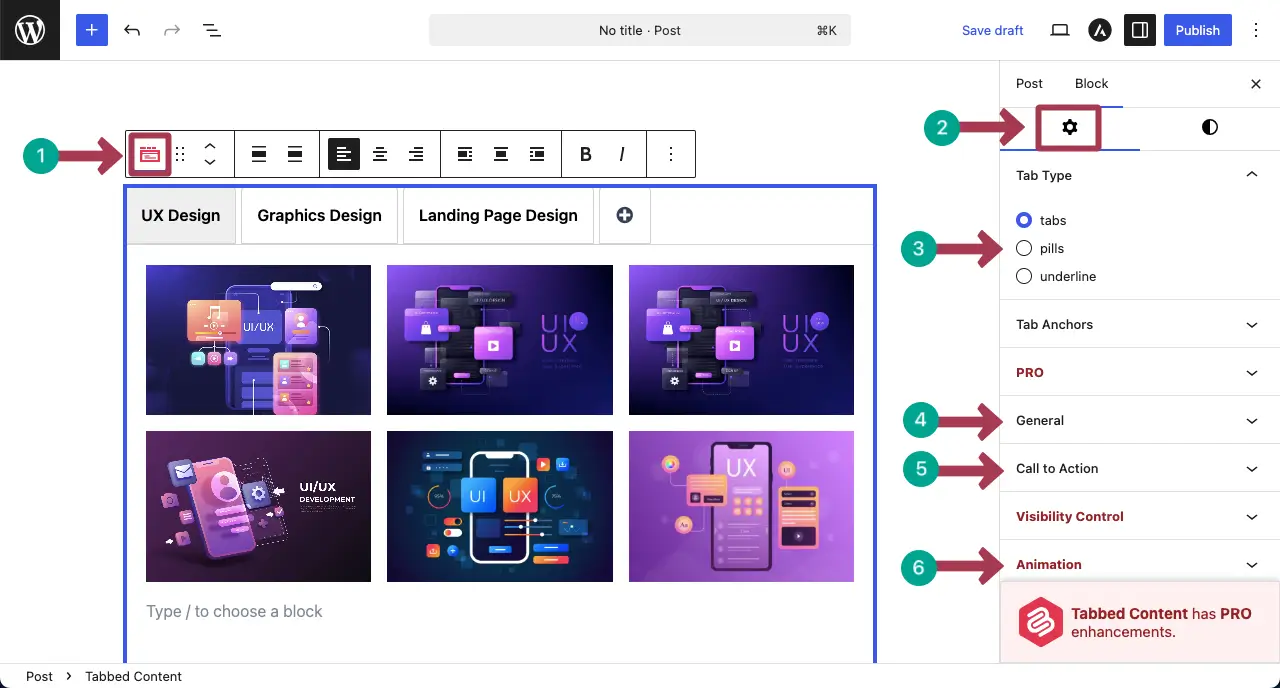
For example, take a look at how the Tabbed Content block reacts when you change the Tab Type.
Explore the best YouTube Gallery WordPress plugins.
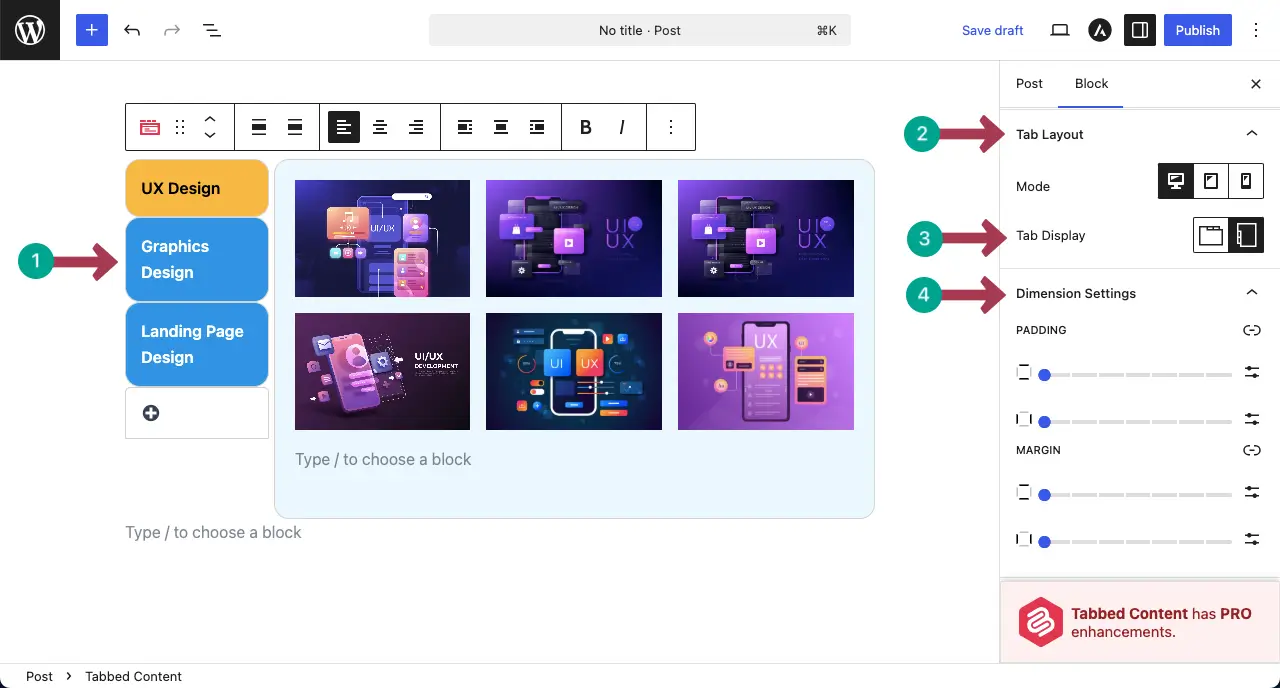
Step 08: Stylize the Tabbed Content Block
From the Styles tab, you can change the coloring of every single part of the Tabbed Content block.
After that, you can specify the radius for the tab buttons and tab corners. Do the changes yourself.

By scrolling down the Styles tab, you’ll see some more options. You can change the tab display from horizontal to vertical. You can also add padding and margin to the block.
Thus, you can create powerful portfolio galleries on WordPress to display your previous projects and tasks.
Step 09: Add More Blocks to the Tab
If you ever think of adding more content to the tabs to accompany your galleries, the Tabbed Content block makes it easy.
Just like the WordPress editor, click on the plus (+) icon. Find and add the block you want to the tab.
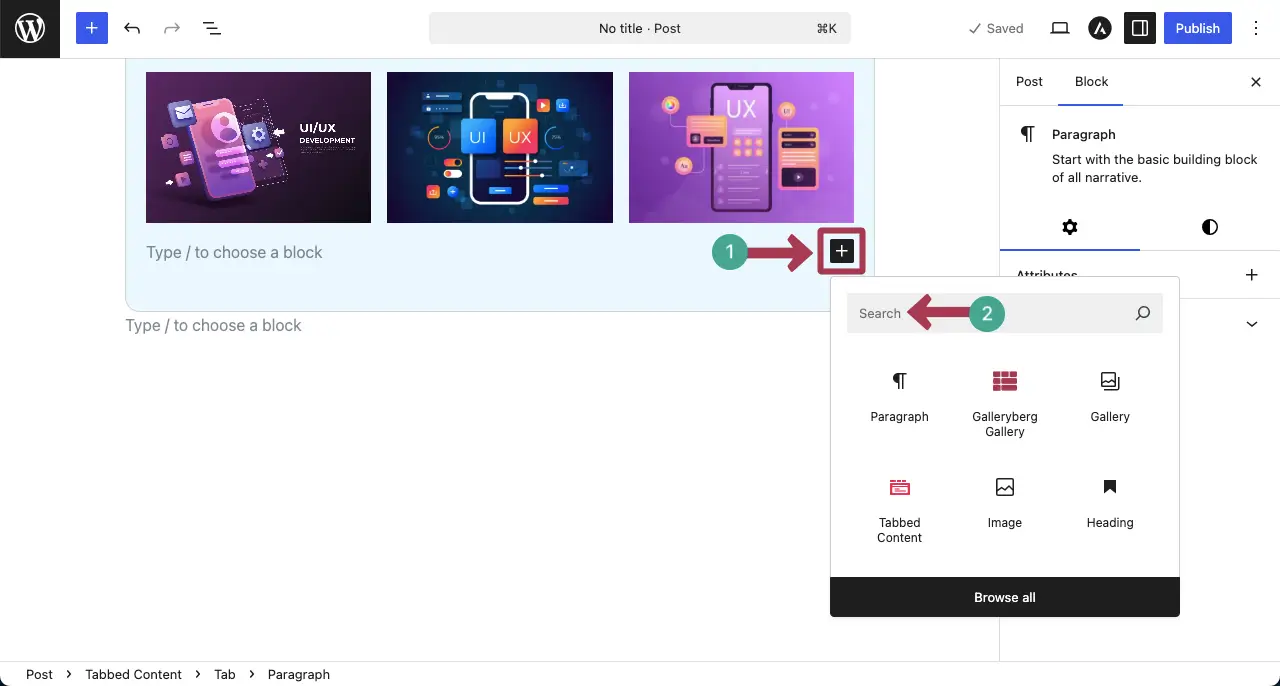
Suppose we’ll add some text to the tab for the tutorial. But you can add any block as you need.
After new blocks are added, you can rearrange them by clicking the move icon. You can move it up or down.
For the tutorial, we have moved the text content above the gallery.
Thus, you can add more blocks to the other tabs of the Content Tabbed block to make your portfolio galleries further meaningful.
Step 10: Preview the Portfolio Galleries
When everything is done, it’s time to preview the portfolio galleries. Go to your portfolio page and check if everything works fine. You can see that it’s working fine on our end.
Conclusion
In this way, we hope that you can easily create portfolio galleries on your WordPress website. But while creating your portfolio gallery, make sure to follow a few best practices. Use high-quality but optimized images to keep the page loading fast.
Group your projects by category if possible, and add short descriptions or captions for context. Keep the design clean and consistent across all sections. Finally, include a clear call-to-action so visitors know how to reach out or view more of your work.
A well-made portfolio not only looks good but also works as a powerful marketing tool. If you have any question, mention it in the comment box below.
Leave a Reply