
Captions are short texts that appear below images. They help describe what the image is about. In WordPress, you can easily add captions to images inside the Gallery block. This small piece of text can give visitors more context and meaning behind the photos you share.
Plus, captions can include keywords, which may help with SEO and bring more traffic to your site. You don’t need any additional plugin to do this. You can add captions to images simply by using the default Gallery block in WordPress.
In this article, we’ll cover an easy step-by-step guide on how to add captions to images in the WordPress Gallery block.
How to Add Captions to Images in the WordPress Gallery Block
It will take you only a few minutes to understand the process. Keep reading it to the end.
Step 01: Add the Gallery Block to the Editor
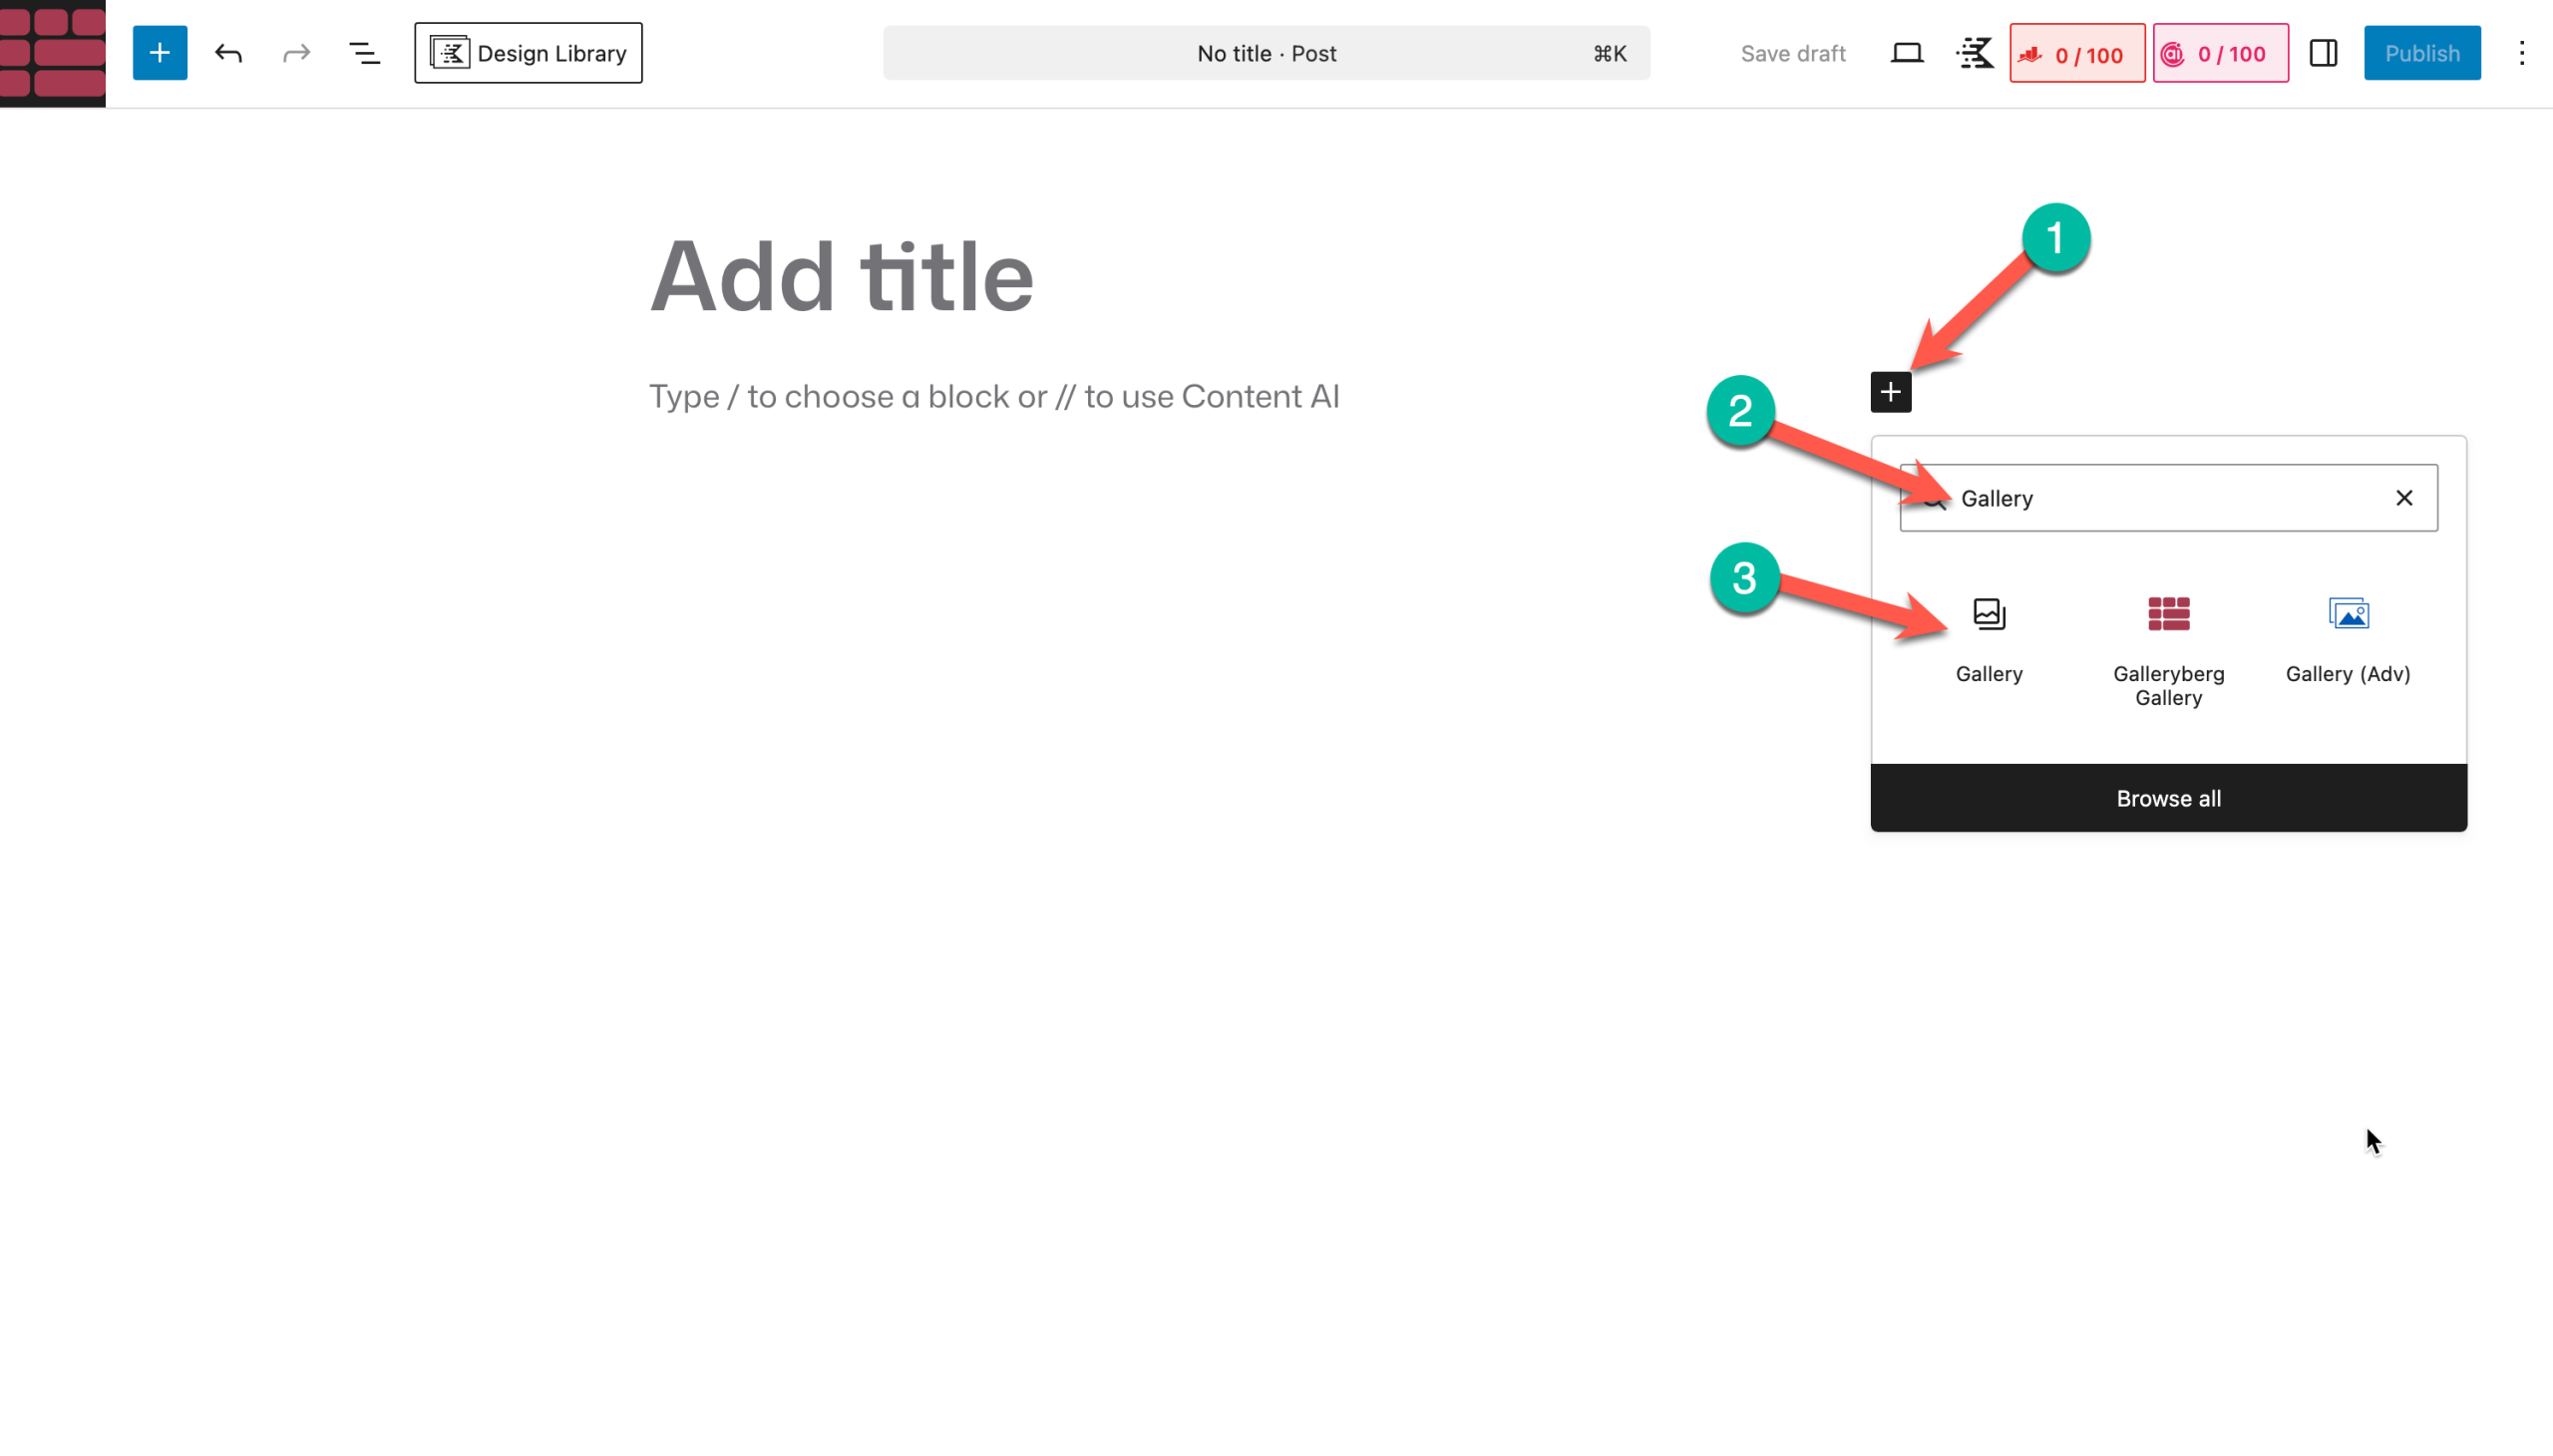
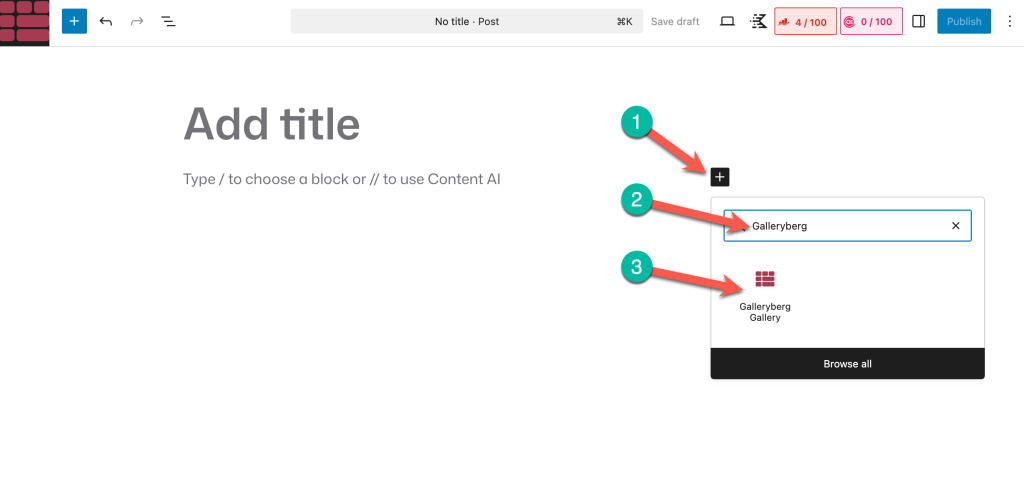
Go to the post/page where you want to add the Gallery block. Simply, click on the (+) icon and search for Gallery and then insert the block.
Step 02: Add Images to the Gallery
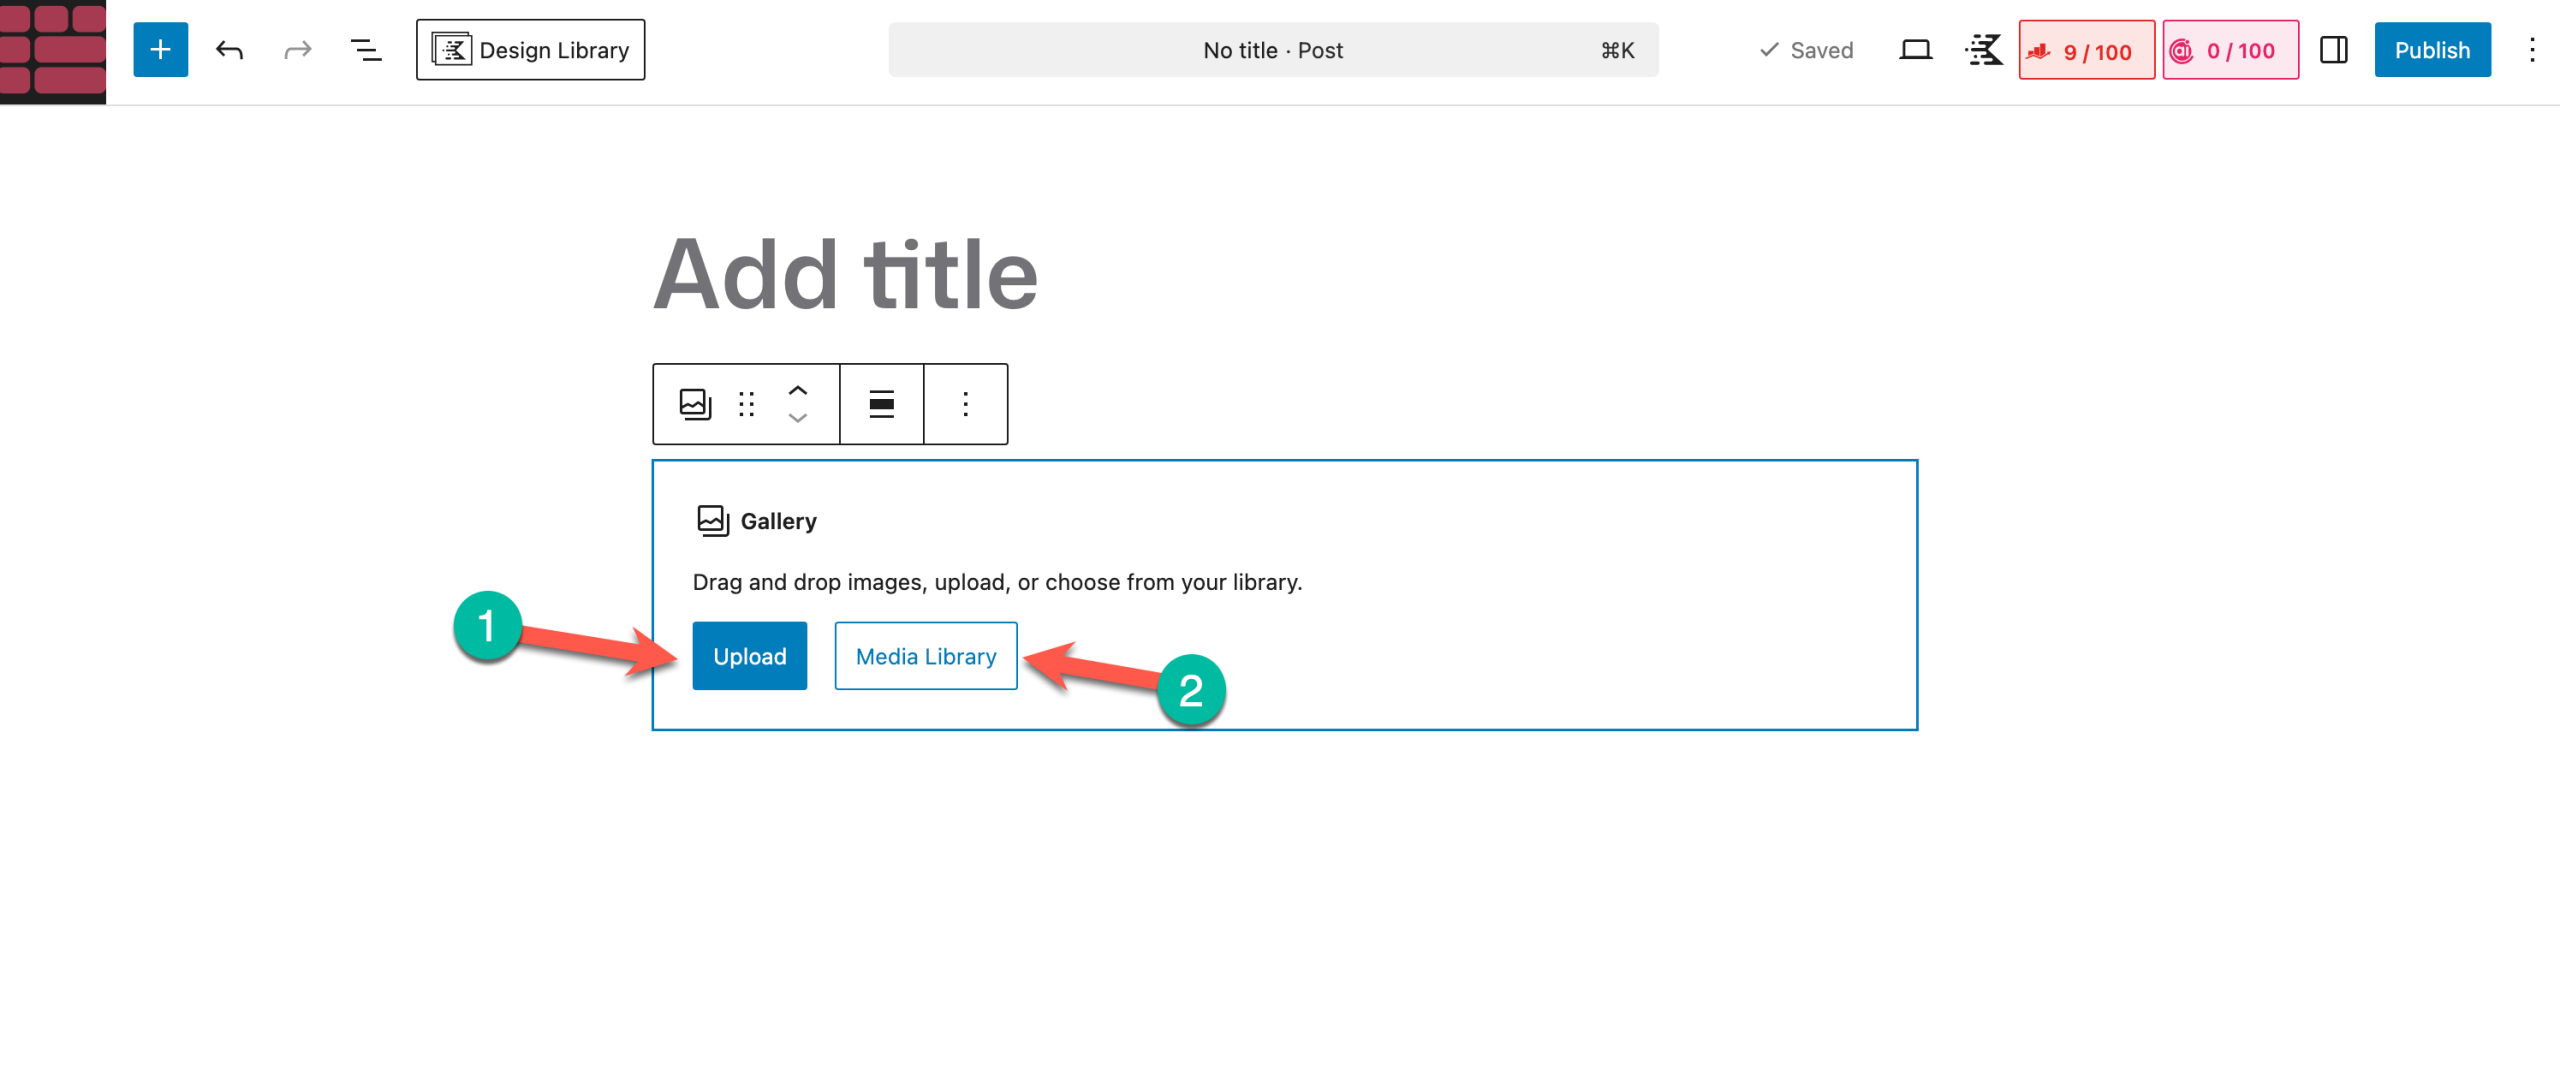
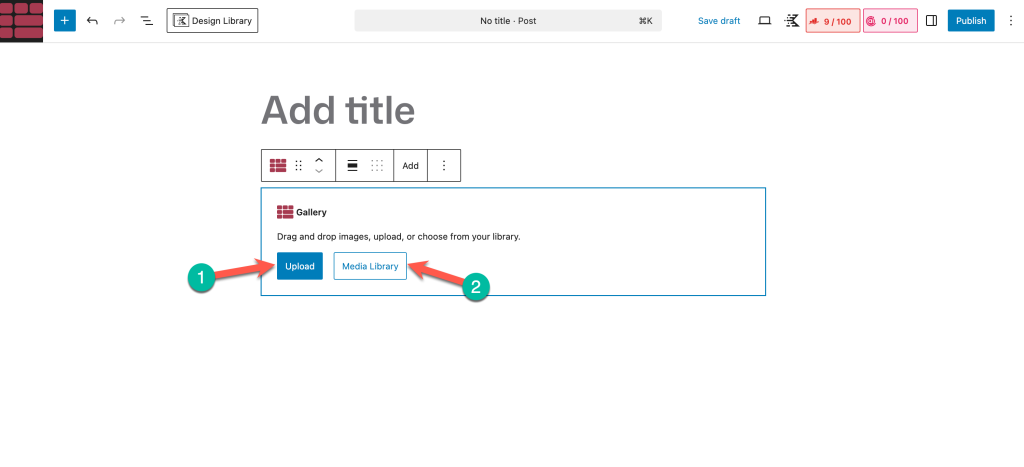
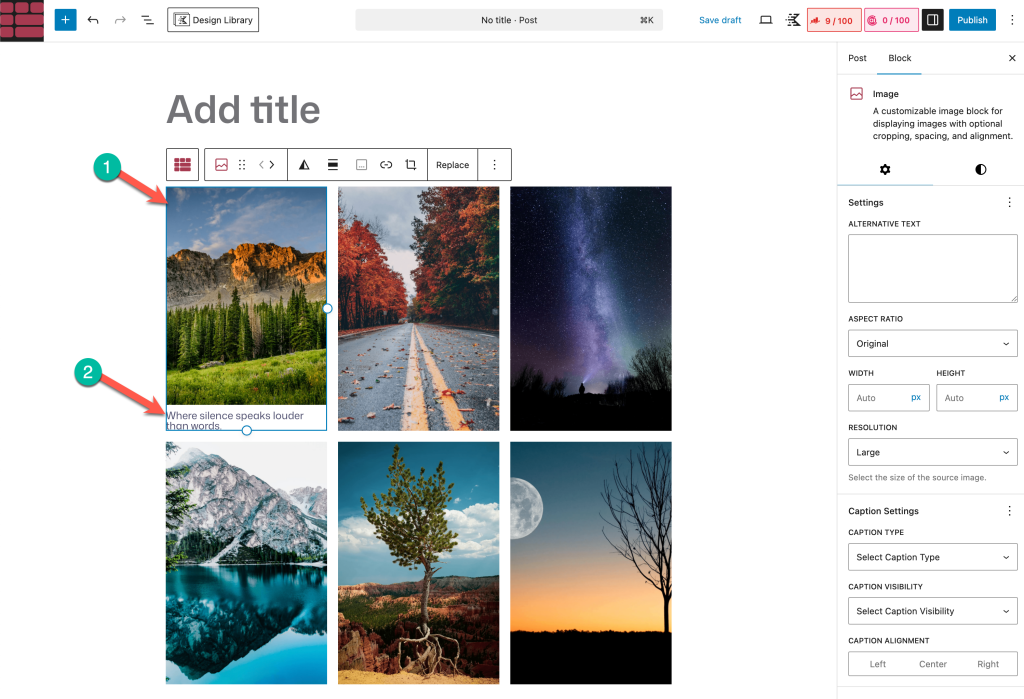
After the block is added to the editor, you’ll get options to add images to the editor whether from the local drive (1) or media library (2).
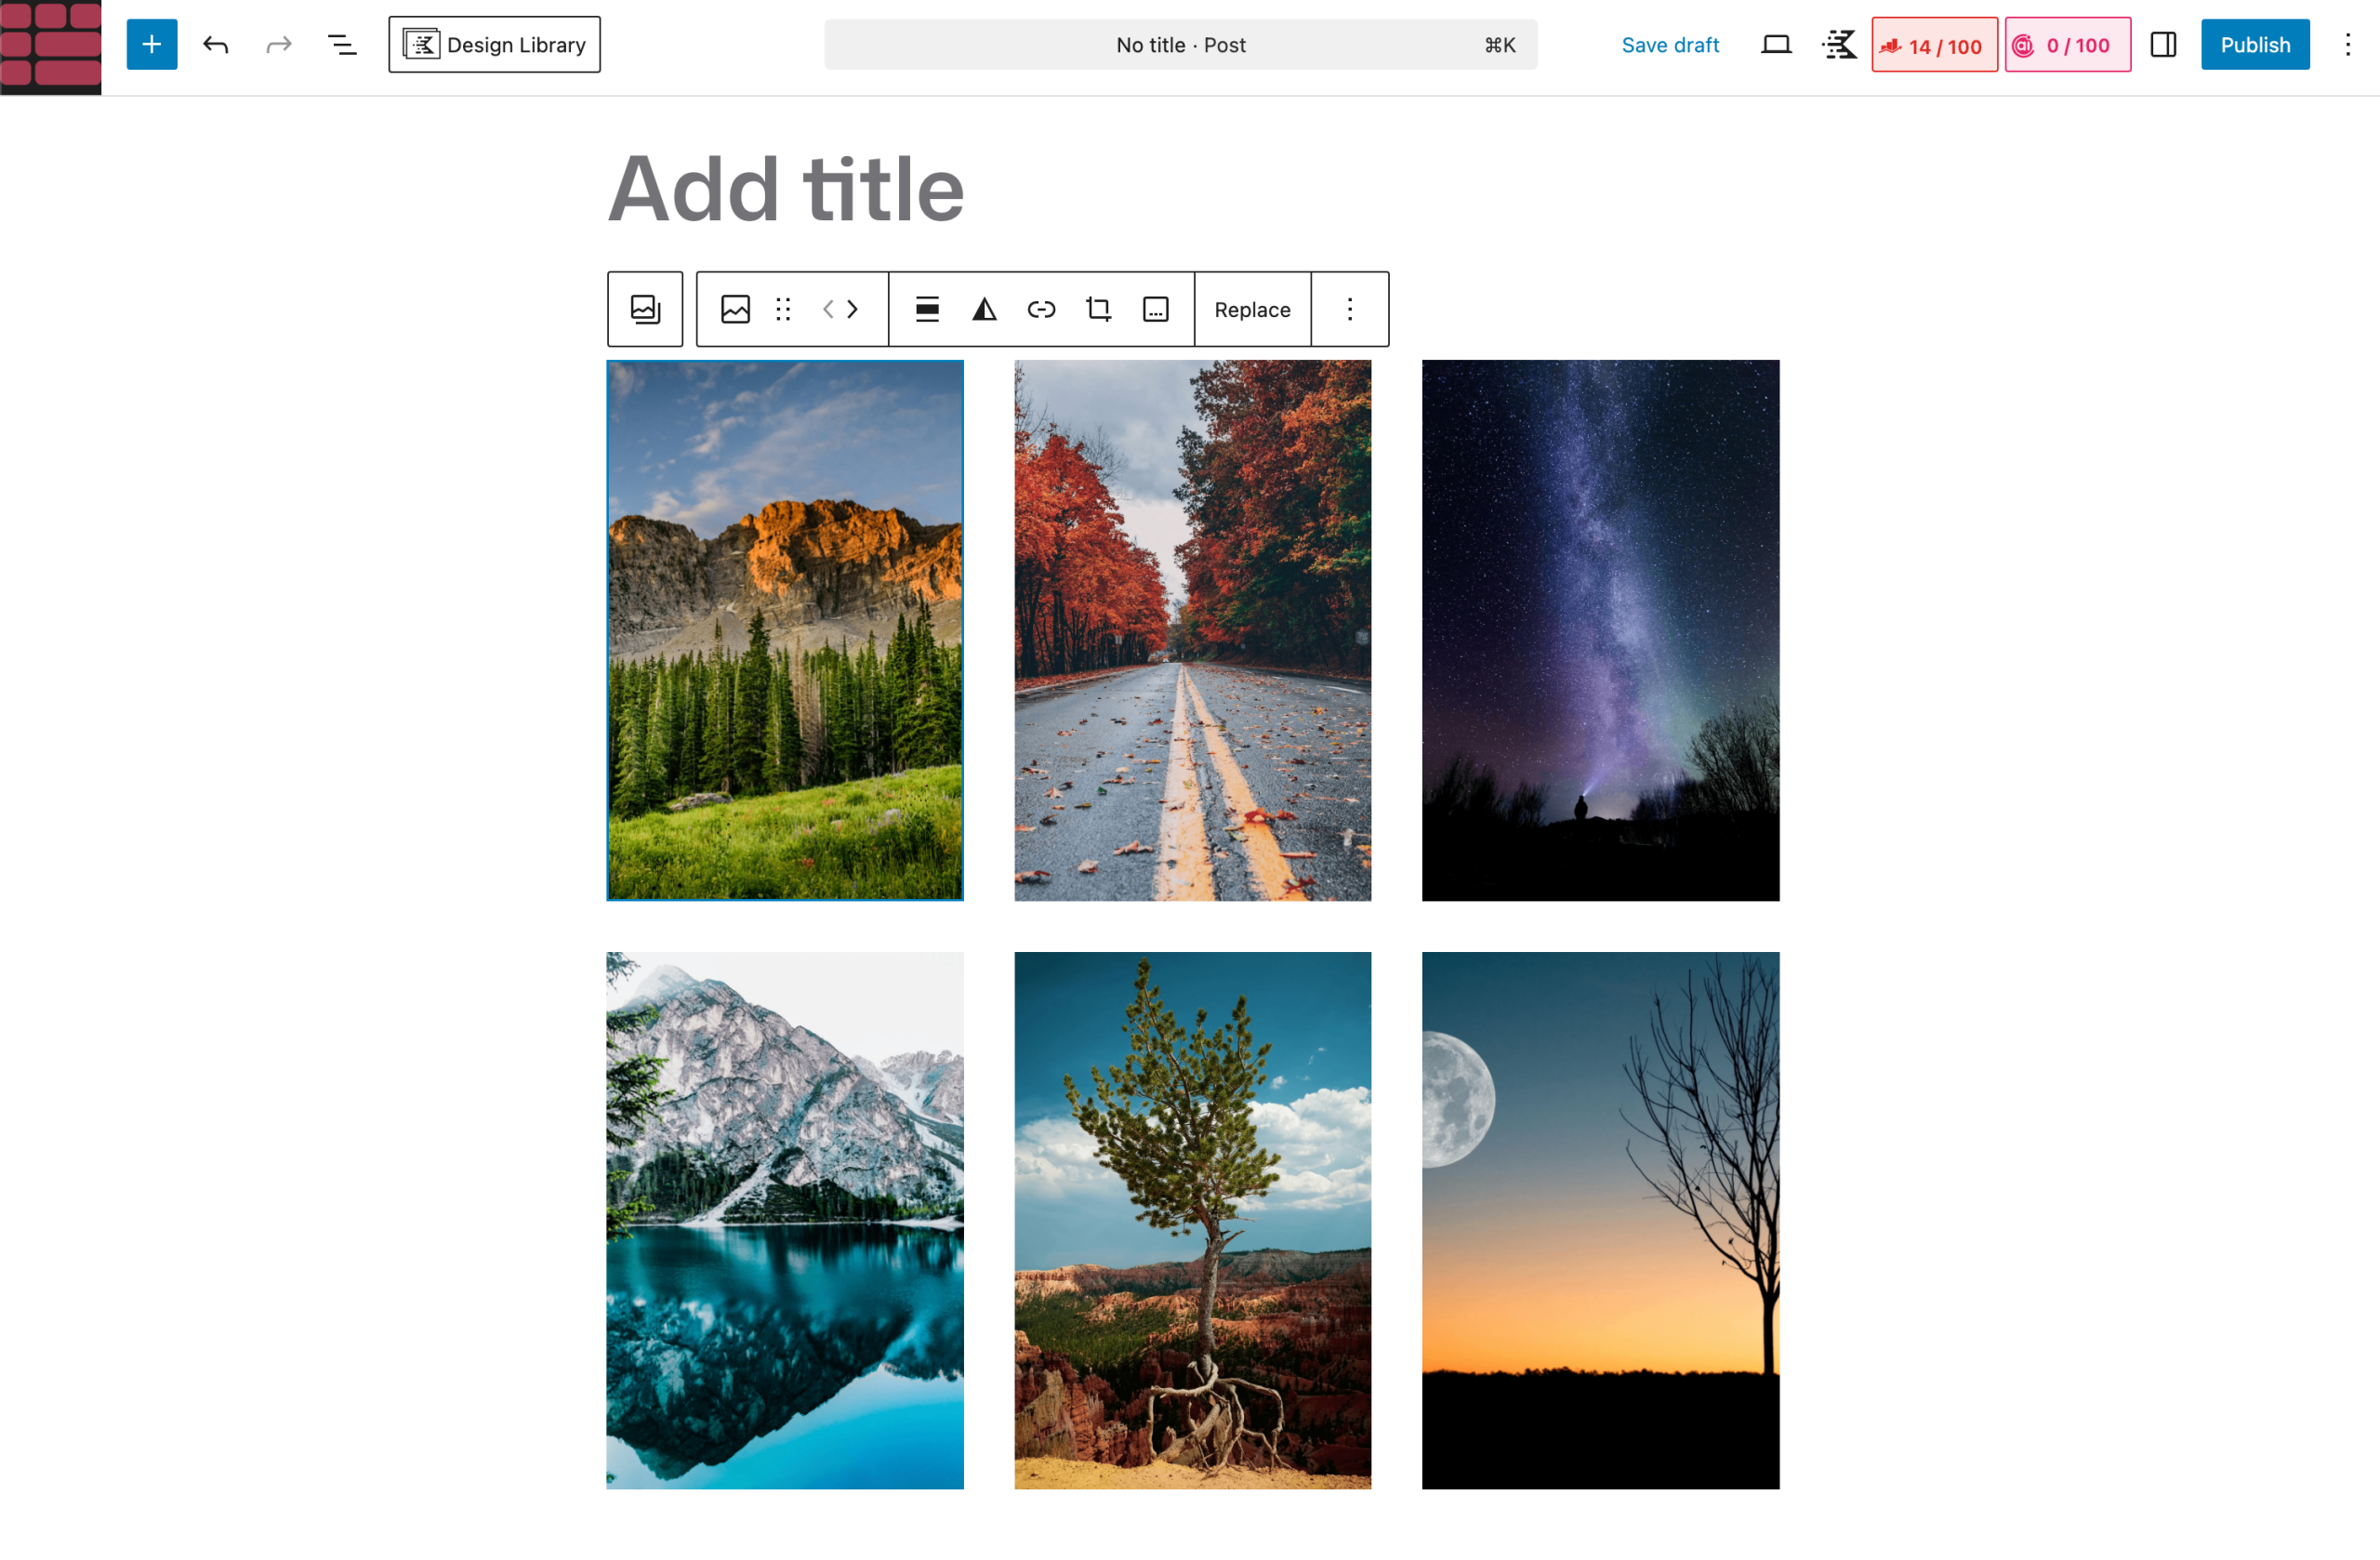
You can see that we have added six images to the gallery.
Step 03: Add Captions to the Images of the Gallery
Once all images are added to the gallery, start adding captions to the images one by one.
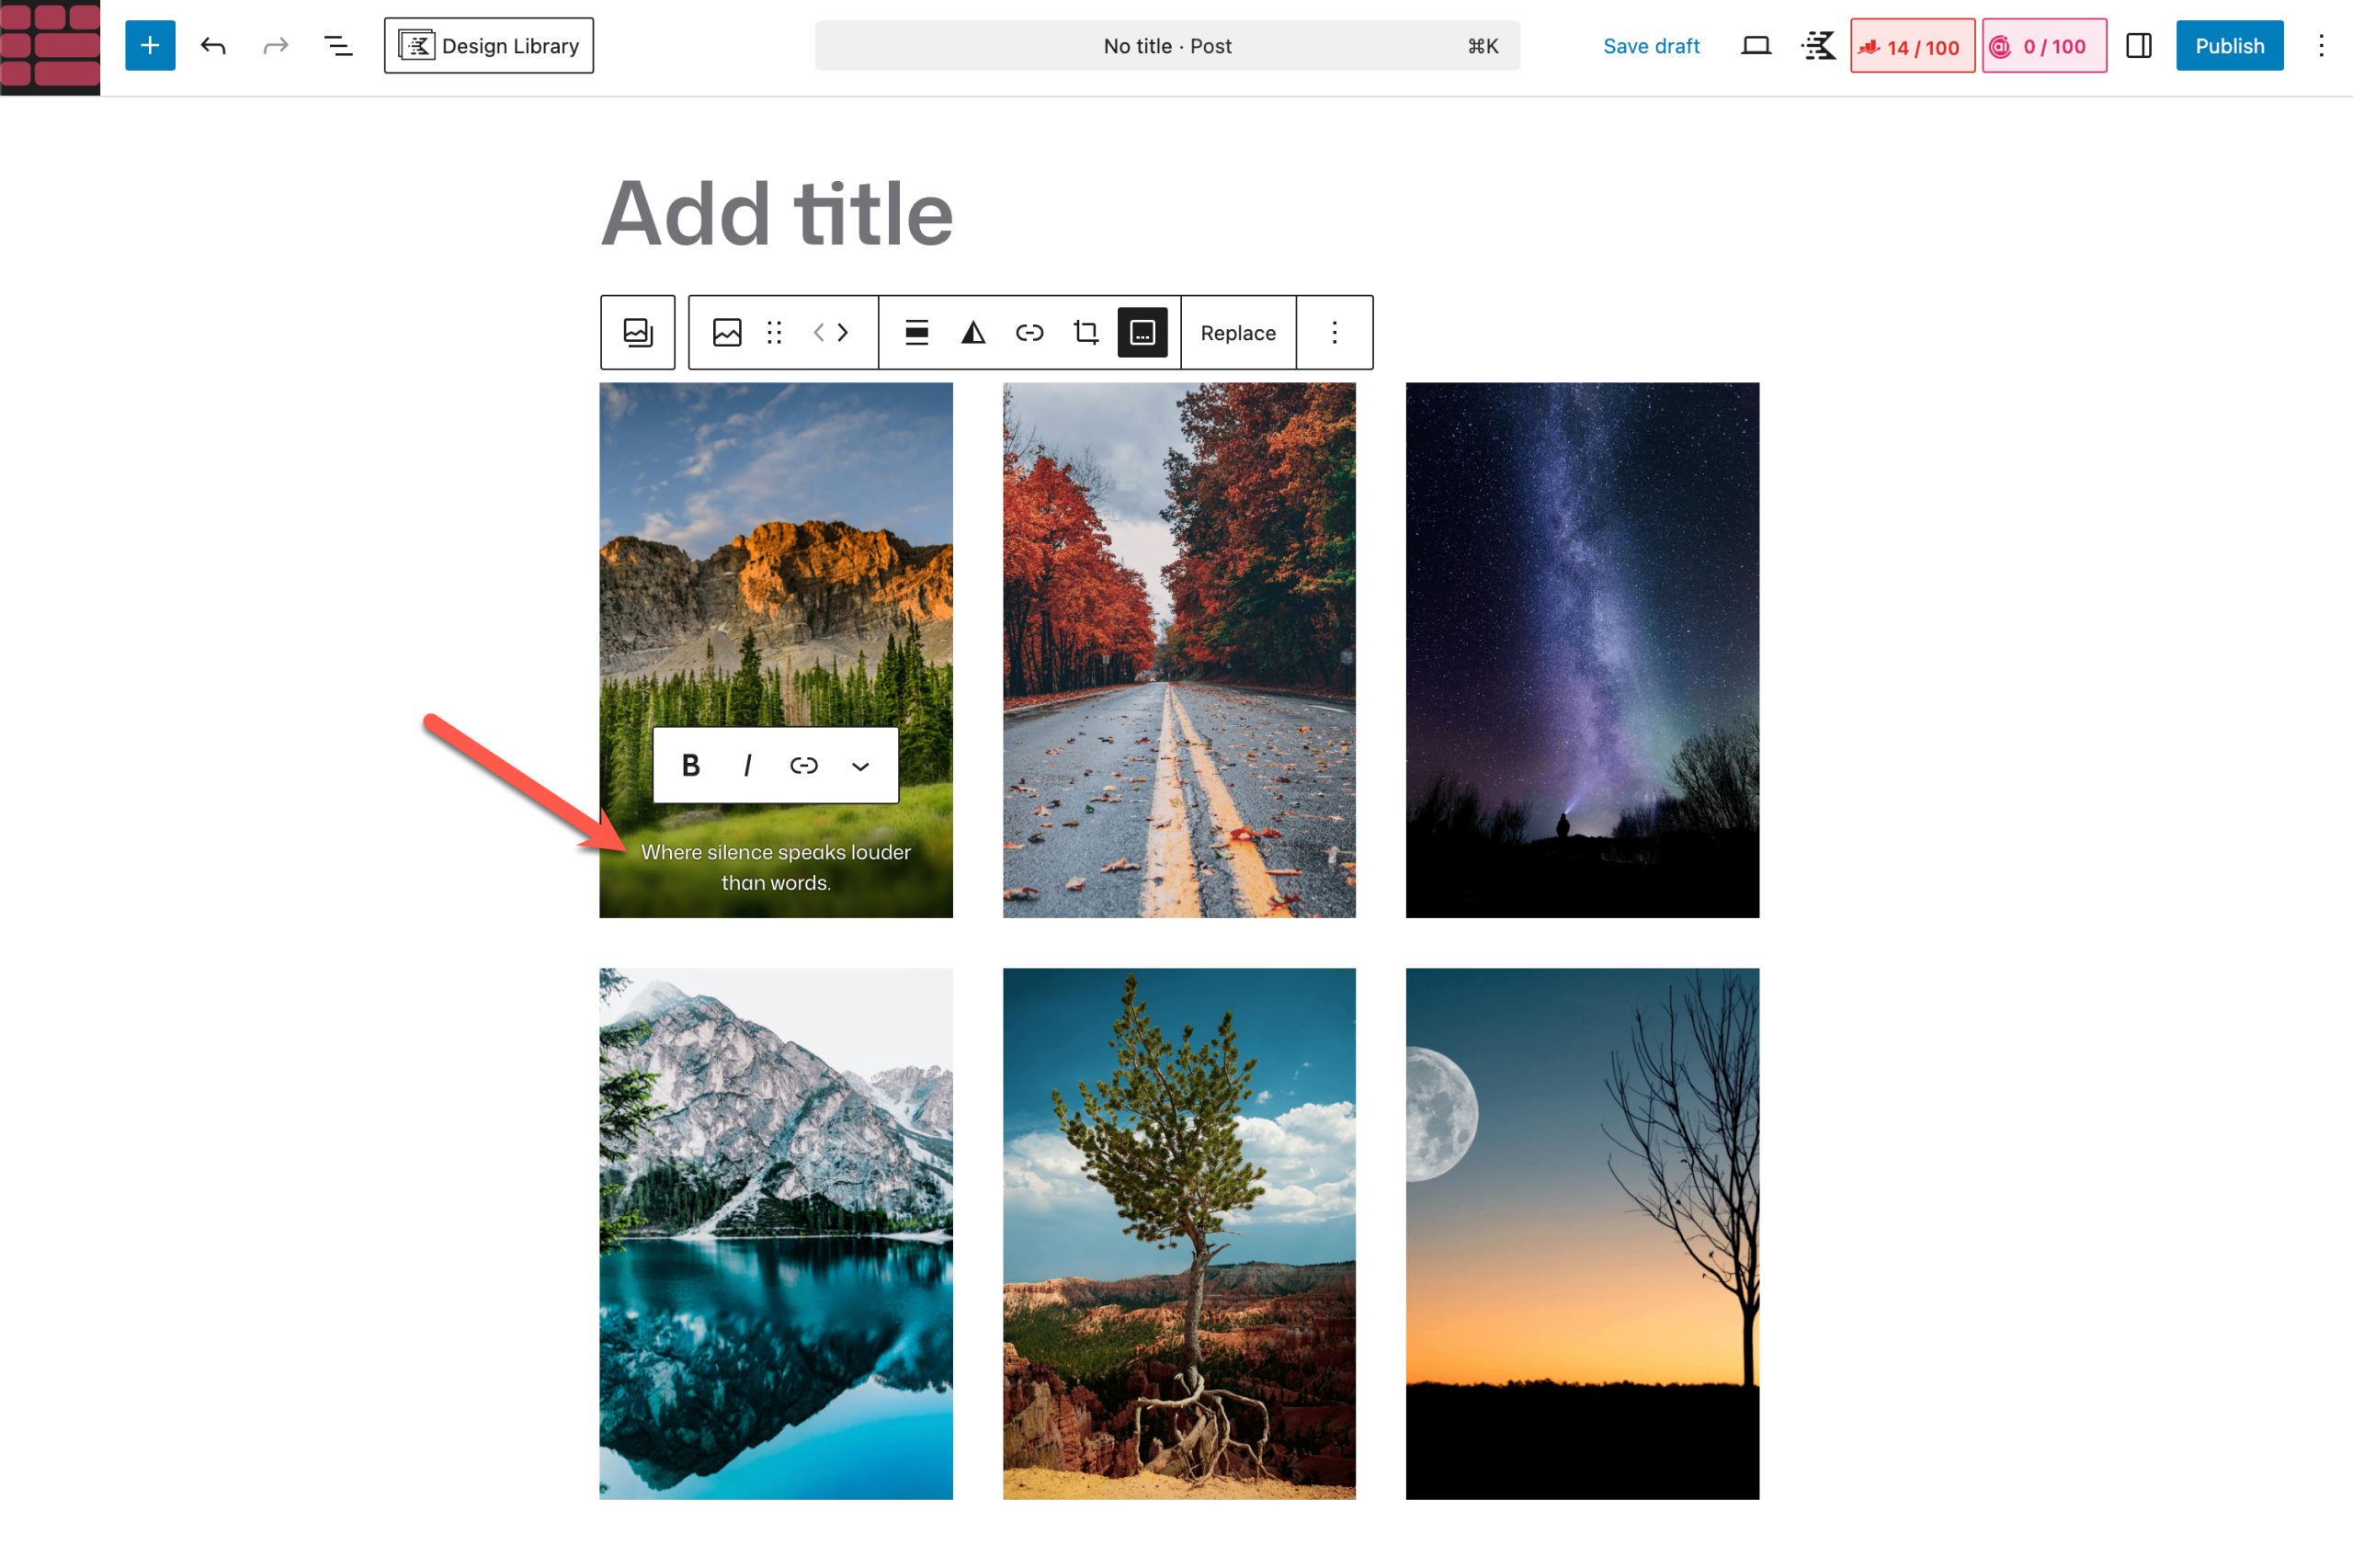
Select any image by clicking it. Then, hit the Add Caption icon on the toolbar.
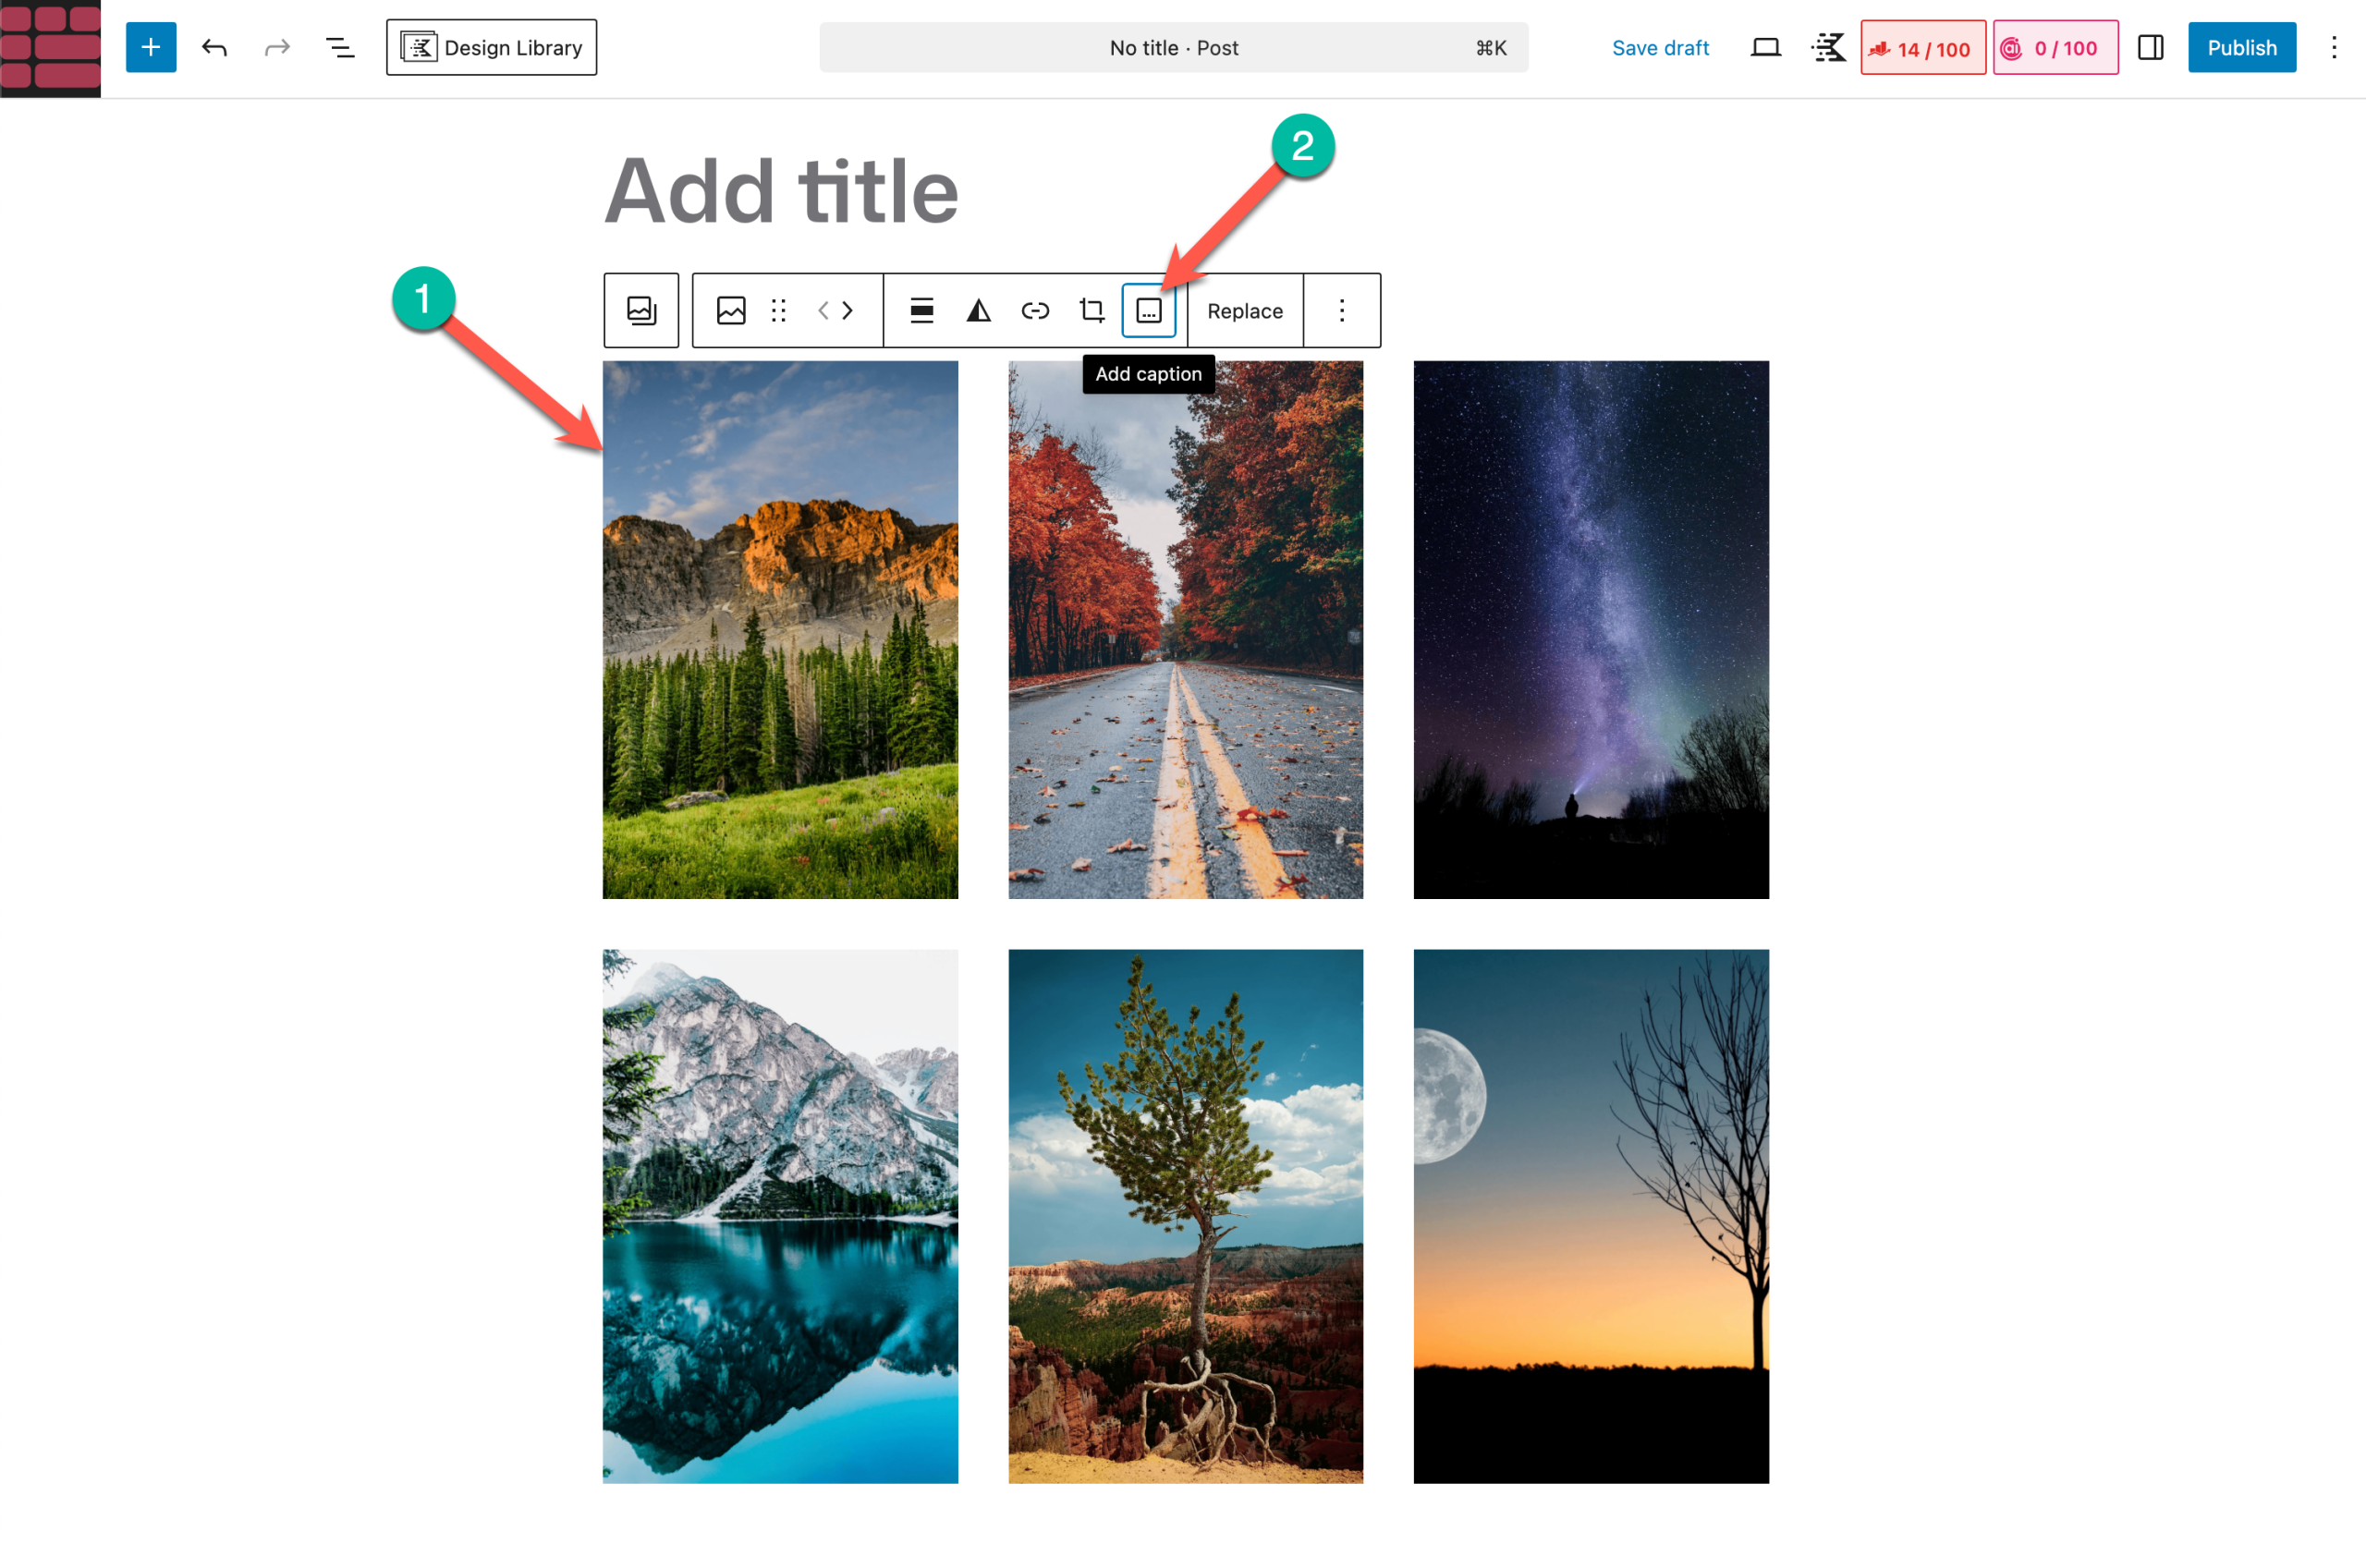
After the icon is clicked, you’ll an option named ‘Add caption’ appears on the image. Just take your cursor there and write the caption you want.
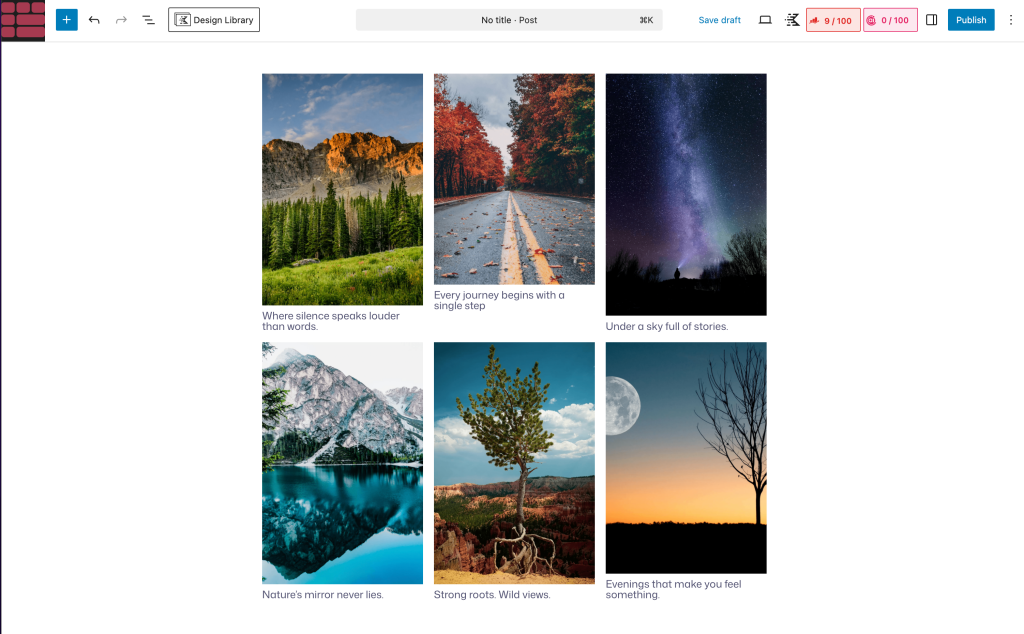
In the same way, add captions to all the images in the gallery. You can see that we have done it in the image attached below.
So this is how you can add captions to the images of a Gallery block.
Recommended Reading: How to Add a Lightbox to the Gutenberg Gallery Block
How to Add Advanced Captions to the Images of a Gallery
The default WordPress Gallery block only lets you add a simple line of text underneath each picture. Galleryberg’s Gallery block, however, includes advanced caption controls that let you decide where captions appear and when they show up.
With this block you can choose from three caption types (below the image, full overlay or a slim bar overlay), set whether captions are always visible or only appear on hover, and align text precisely.
Follow the steps below to use these options.
Step 01: Insert the Galleryberg block
Note: If you haven’t installed the Galleryberg plugin yet, install it first.
In your post or page, click the + inserter icon and search for “Galleryberg Gallery.” Add this block to the editor.
Step 02: Add Images to the Gallery
Upload new images or select them from the media library.
Once you’re done adding all images, move to the next step.
Step 03: Add Captions to the Images.
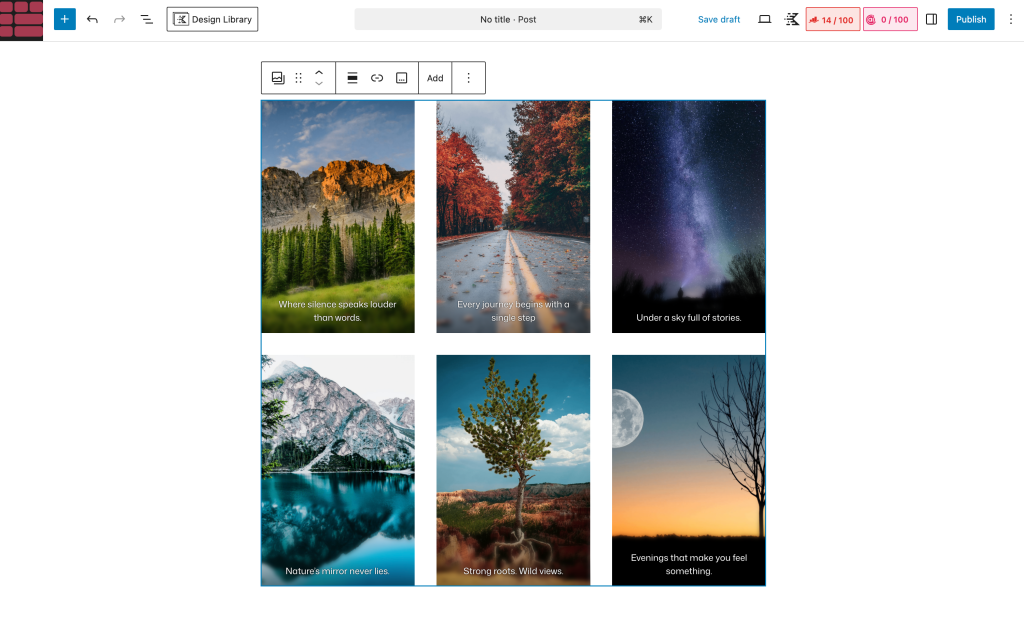
By default, Galleryberg turns on the Captions option. All you have to do is, click on the image and add the caption.
By following the same way, you can add caption to the other images.
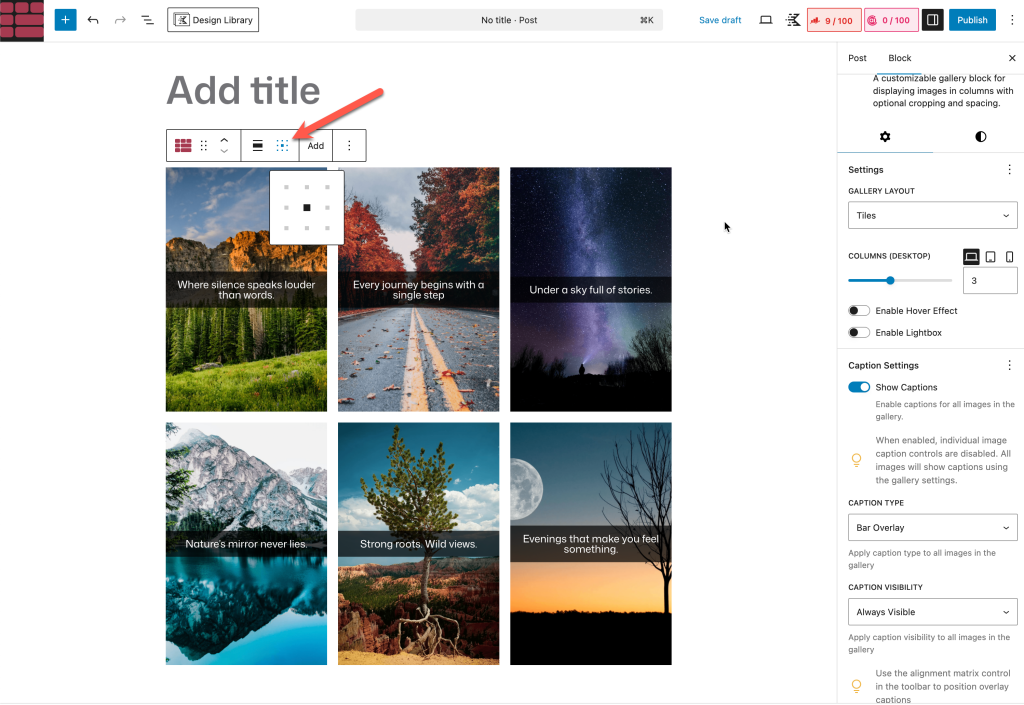
Step 04: Choose a Caption Type
Select the Galleryberg Gallery block and choose a ‘Caption Type’ from the right-hand side options panel.
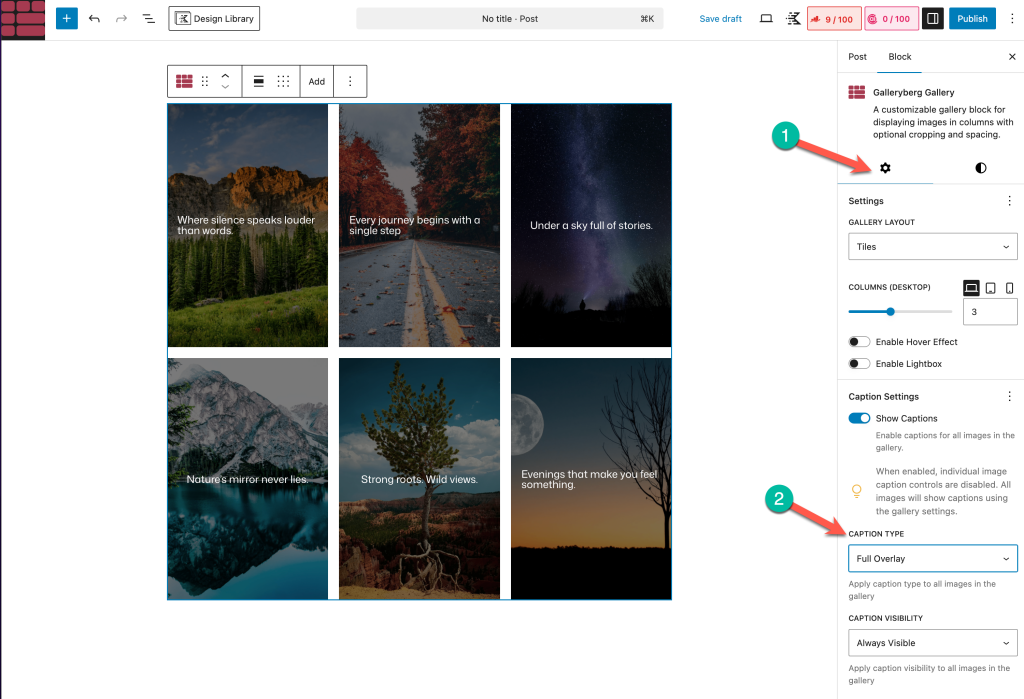
The Caption Type control determines where captions appear. Use the dropdown to select one of the following:
- Below Image – Places the caption underneath the image like a traditional caption.
- Full Overlay – Displays the caption over the entire image, typically with a semi‑transparent background.
- Bar Overlay – Shows a slim bar overlay across the bottom of the image.
Select the option that fits your design. For example, a bar overlay works well when you need unobtrusive labels, whereas full overlay emphasizes descriptive text.
Step 05: Set when captions appear
Then choose a caption visibility option.
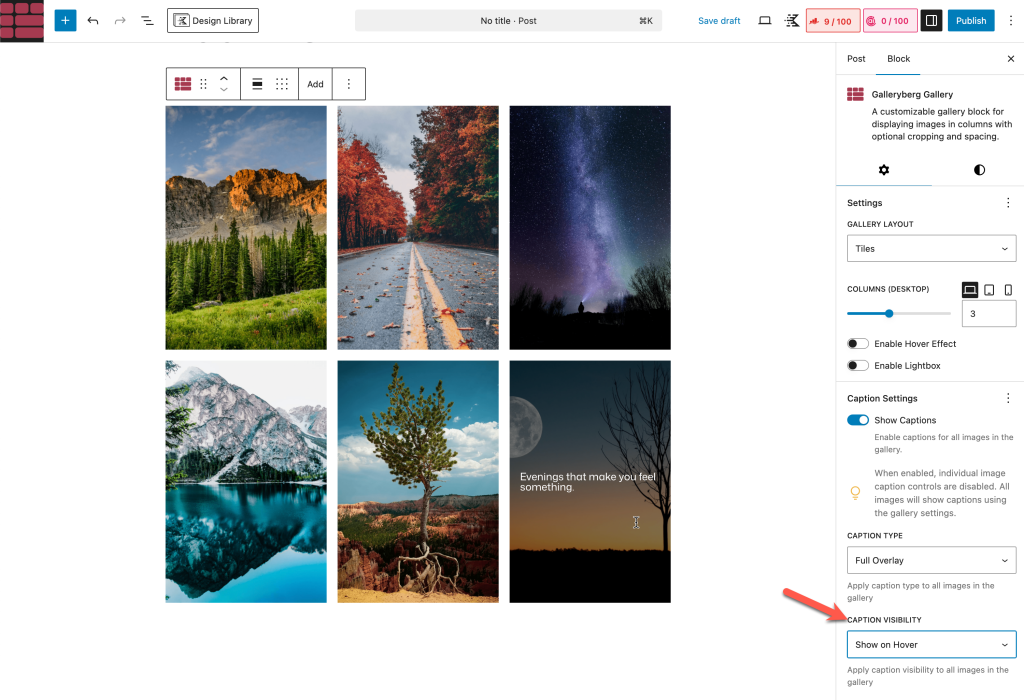
Under Caption Visibility, choose when captions should show up:
- Always Visible – Captions are shown at all times (the default).
- Show on Hover – Captions remain hidden until visitors hover over the image.
- Hide on Hover – Captions are visible by default but disappear when the cursor is over the image.
Pick the behaviour that provides the best user experience—for example, using Show on Hover keeps galleries clean while still revealing information when needed.
Step 06: Align and Style Captions
Caption Alignment lets you align text to the left, center, or right within the caption area.
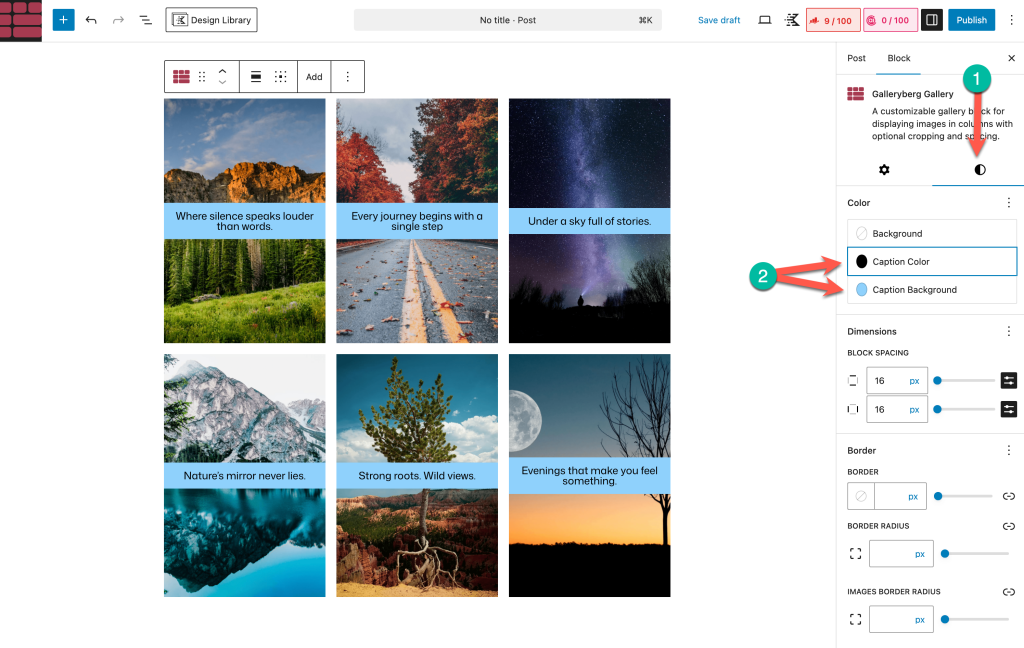
For more styling options, switch to the Styles tab in the sidebar. In the Colors section you can change the Caption Color and Caption Background for a single image.
Step 07: Edit or Remove Captions
- To edit a caption, click directly on the caption text in the editor and make your changes.
- To remove all captions quickly, select the entire gallery, open the Settings panel and toggle off Show captions.
Pro Tips for Effective Captions
- Keep captions short and meaningful; avoid repeating obvious details and only include text when it adds value.
- Use clear fonts and high‑contrast colors so captions remain readable.
- When using overlays, make sure the caption does not cover important parts of the image or distract viewers.
With Galleryberg’s flexible caption controls, you can give each image the context it deserves without cluttering your gallery. Experiment with the different placement and visibility options to find a style that matches your design.
Closing Up!
You may confuse between image alternative texts and captions. Alt text is mainly used for screen readers and SEO. It describes what the image is showing to help users who cannot see the image. Captions, on the other hand, are visible on the front end and give extra information or context to all users.
However, when writing captions, try to keep them short, clear, and meaningful. Avoid repeating what’s already obvious from the image. Use captions to tell a story, give background information, or highlight a key point. Make sure the caption matches the tone of your content.
Leave a Reply